
It’s “Tricky Tuesday” which is a way for me to share some of the tricks, tools and techniques I’ve used over the years when shooting portraits in the studio, Today’s post features the versatile Pam Simpson aka Polaris Dreamer, this time from a recent shoot with her now as a brunette.
Today’s Post by Joe Farace
“My technical equipment is very simple, very basic because it gives me more time to work with the subject,”—Helmut Newton (1920-2004)
 “Light,” as a wise photographer once told me, “is light.” That wasn’t a statement by Mr, Newton, whose work I have long admired, but from a Denver photographer who was offering me some advice about about how to improve my portraits. It must have worked because he ended up using one of my bridal portraits that I shot for him in an ad for his studio.
About that Light
The main characteristics that any studio lighting system can have are quality, color, quantity and direction. The kind of hardware you decide to use can have an impact on all of these aspects but the quality of the light can further be affected by your choice of light modifiers, such as umbrellas and soft boxes.
Studio lighting equipment can be divided into three basic categories: Continuous or Electronic Flash and that includes speedlights.
- Continuous lighting is always “on,” much like turning on a light bulb or shooting outdoors using the sun, enabling you to use your in-camera light meter to measure the light falling on your subject. Continuous lighting equipment lets you see how the light falls on your subject and because some of this kind of lighting gear can be inexpensive, it’s a good starting point for anyone on a budget. Continuous sources sometimes use quartz or photoflood bulbs that can get hot, even dangerously so, leading to the use of the term “hot lights” to describe them. Some continuous lighting tools are made with fluorescent and LED lights producing what are, in effect, cool “hot lights.”
- Electronic flash may be more familiar because almost every camera has one built-in. Because the light from electronic flash is almost instantaneous you can’t directly see the effect of the light on your subject, which is why most studio electronic flash units have a modeling light to show an approximation of what the lighting will look on the final image. The featured image, for example, was made using Paul C Buff monolights, one of the many variations of electronic flash equipment that’s available.
- Available light is both the simplest and cheapest way to make portraits, especially the use of Window Light. This approach includes both outdoor, environmental portraits or portraits made indoors using, well. the light that’s “available.”
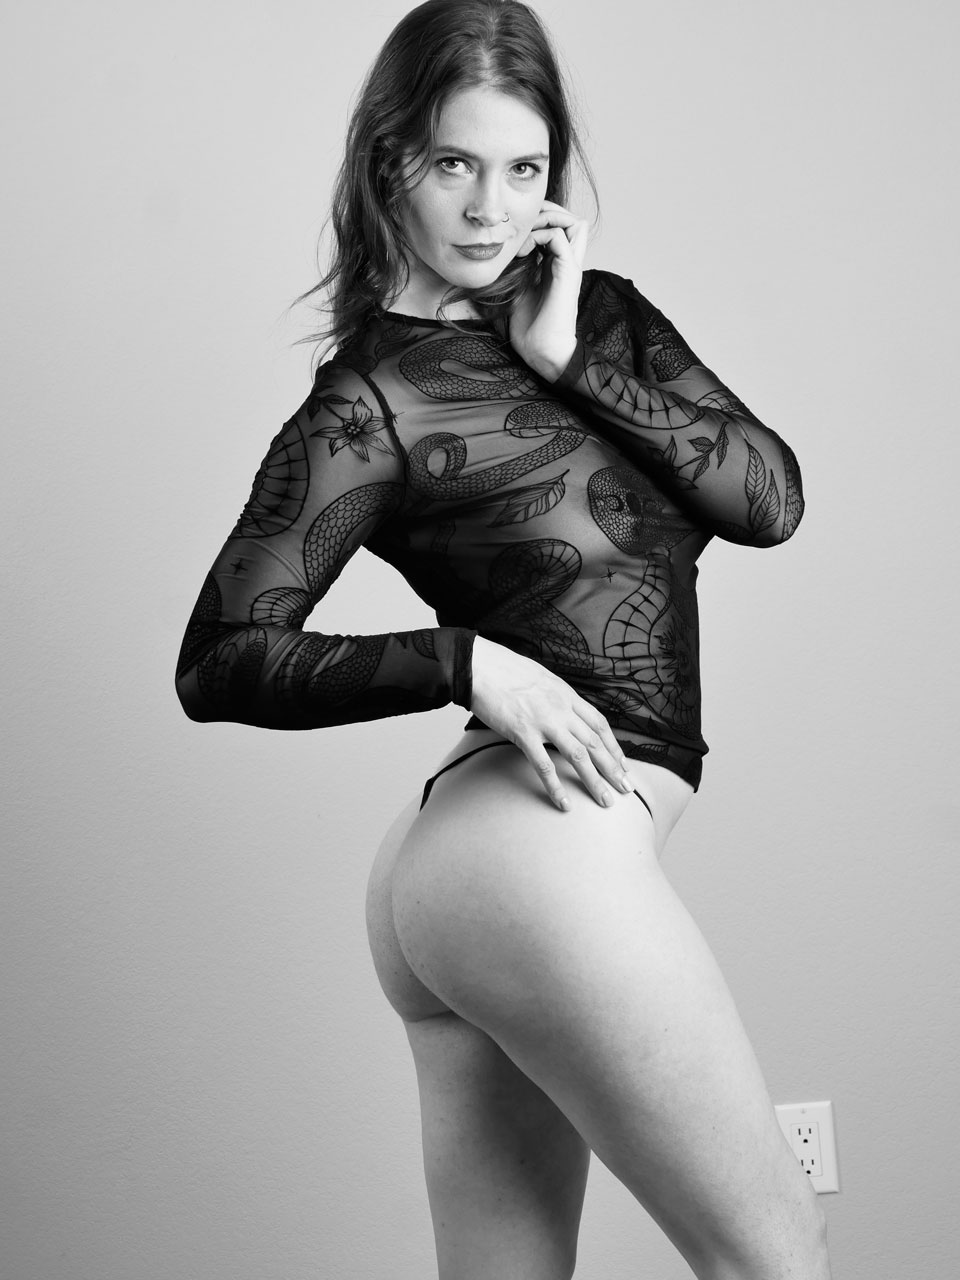
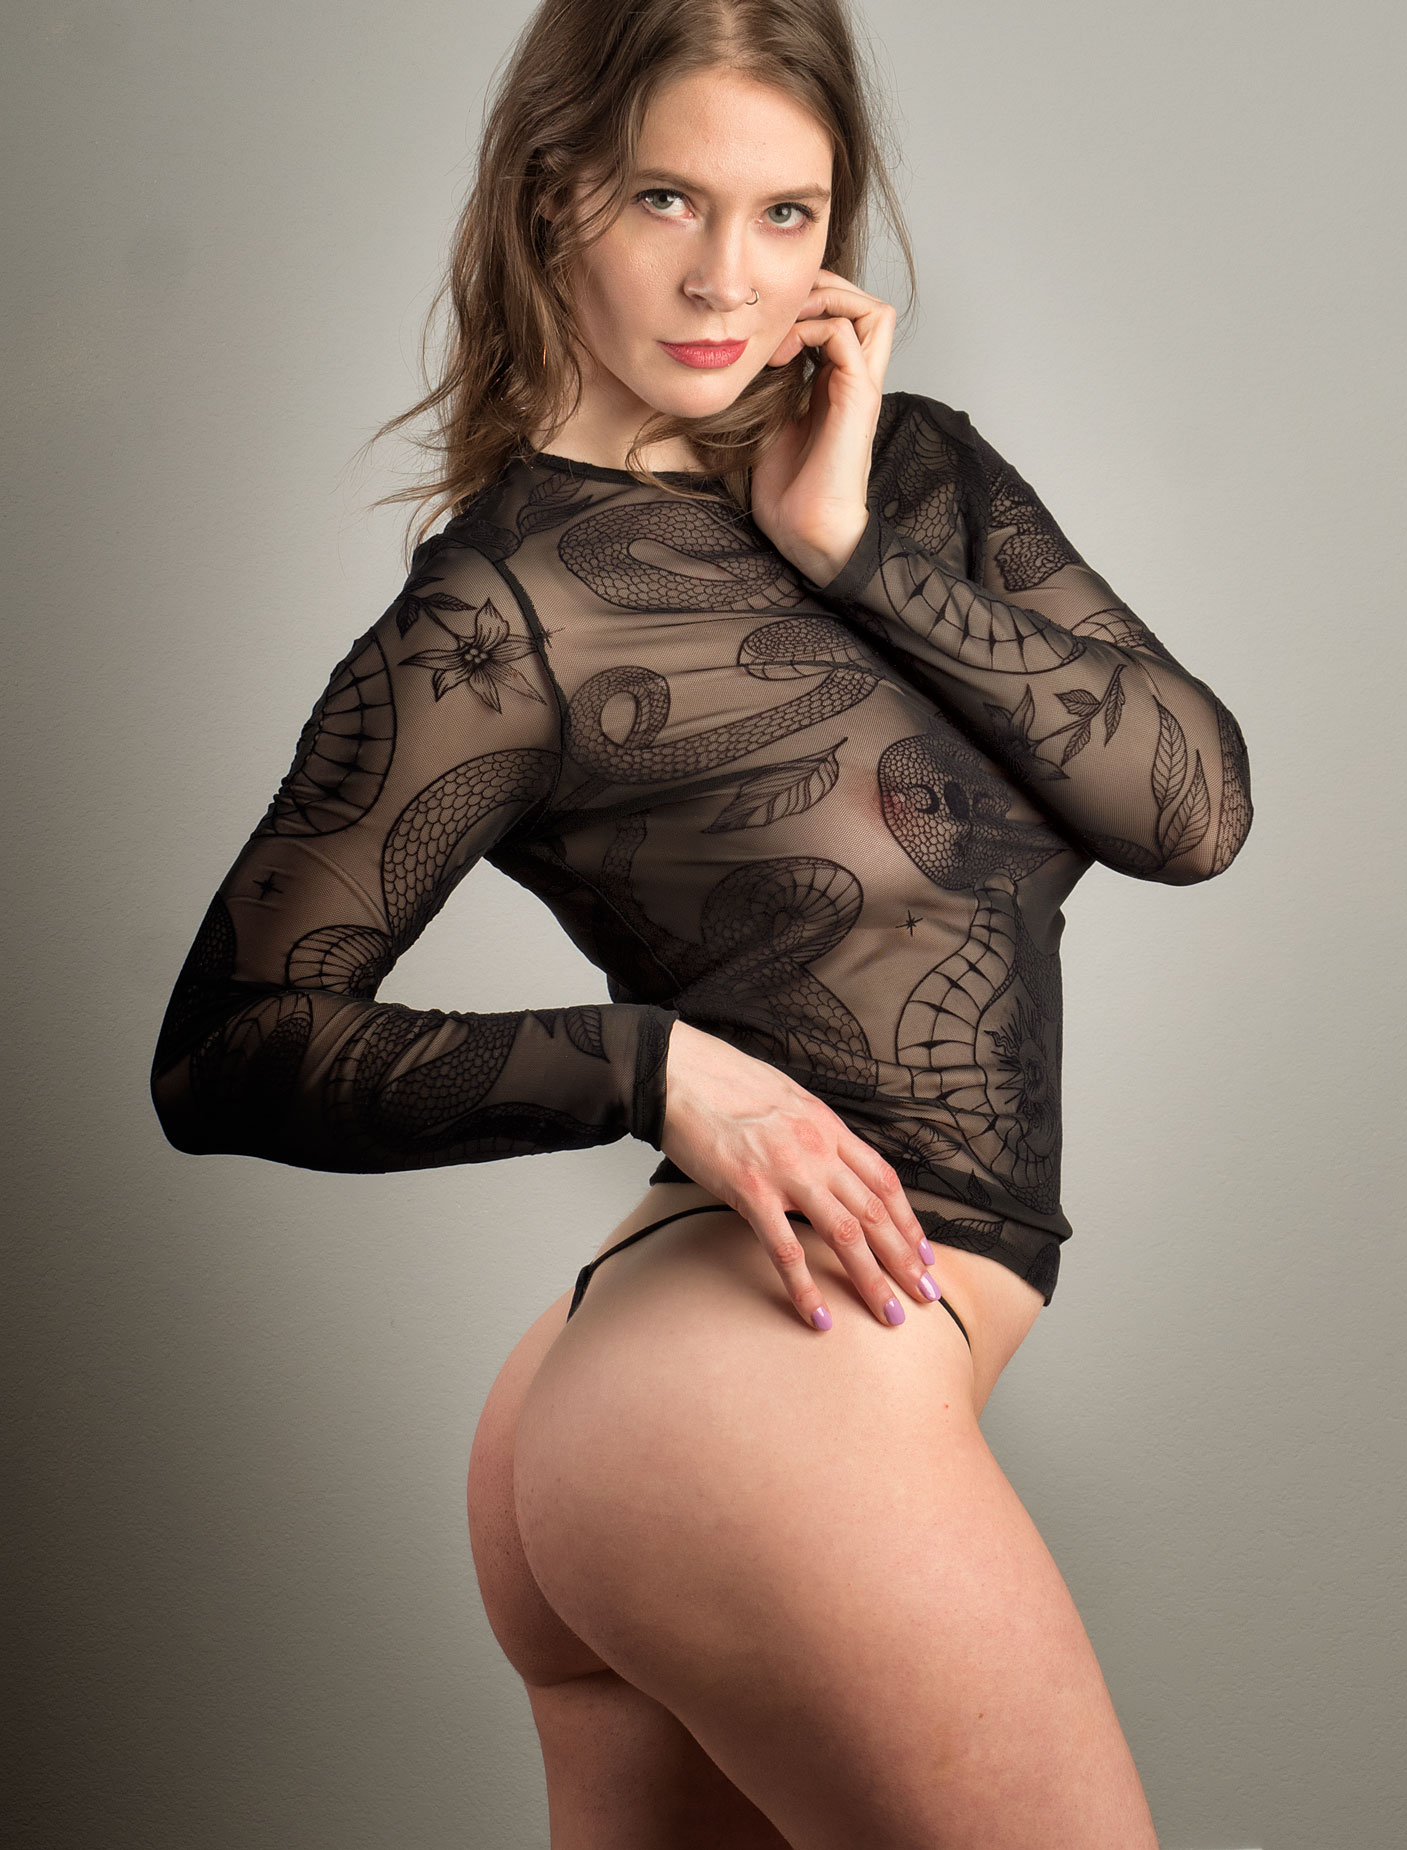 How I made this portrait: All, but one, of the 35 images I made of Pam during this session image were shot as RAW+JPEG in direct monochrome mode. You can see the monochrome JPEG of this image above right, I did it that way so I could get a sense of what the image would look like in black and white. I liked the color RAW file best but to tell the truth I think a black and white version might look pretty good too. That might be a subject of one of my uncensored Password Protected posts for my Patreon subscribers…
The lighting consisted of two Paul C Buff DigiBee 800’s monolights and one Alien Bees 800 monolight. One DigiBee 800 with a 37x27x12-inch Plume Ltd. Wafer soft box attached was placed at camera right and was fairly close to Pam. An Alien Bees 800 with an 16 x 30-inch Westcott Apollo Strip (40 x 76cm) soft box mounted was located at camera left. Another DigiBee 800 with a Paul C Buff 18-OMNI Reflector attached, softened by a triple-layer Diffusion Sock, was located at camera left and placed near the back corner of my home studio.
The camera used was a Panasonic Lumix GH4 with a Leica DG Macro-Elmarit 45mm f/2.8 with an exposure of 1/125 sec at f/10 and ISO 200. That nice grey background? It was the wall of my studio, which is now covered in Lazy Grey from Sherwin Williams painted by Mary and I. The portrait was cropped using Photoshop’s Cropping tool into a 4:3 ratio, then lightly retouched before applying the Tonal Contrast filter from Color Efex as a 50% opacity layer.
 If you enjoyed today’s blog post and would like to buy Joe a cup of Earl Grey tea ($3.50), click here. And if you do, thank you very much.
My book Joe Farace’s Glamour Photography is full of tips, tools and techniques for glamour and boudoir photography and includes information on all of the cameras used as well as the exposure data for each image. Used books are available from Amazon for $45.08, I write this. The Kindle version is $19.99 for those preferring a digital format.