
Today’s Post by Joe Farace
“Perfection is achieved, not when there is nothing more to add, but when there is nothing left to take away.” — Airman’s Odyssey
 When I was teaching a basic photography course at Howard Community College in Columbia, Maryland, I would often tell students that the perfect photographic exposure was the one they liked.
In those pre-digital days, I suggested that one way to achieve their goal of “perfect exposure,” was to shoot tests using their favorite slide film, making notes on how the film behaved under different kinds of lighting conditions such as cloudy days, back lighting, side lighting and electronic flash. This would give them baseline, maybe several baselines, on how a particular film emulsion behave under various lighting conditions. But digital capture is different, or is it?
Is it Perfect Exposure?
Even with all the automation built into modern DSLRs and mirrorless cameras, getting perfect exposures seems to be the first thing students in most my photography workshops still ask about.
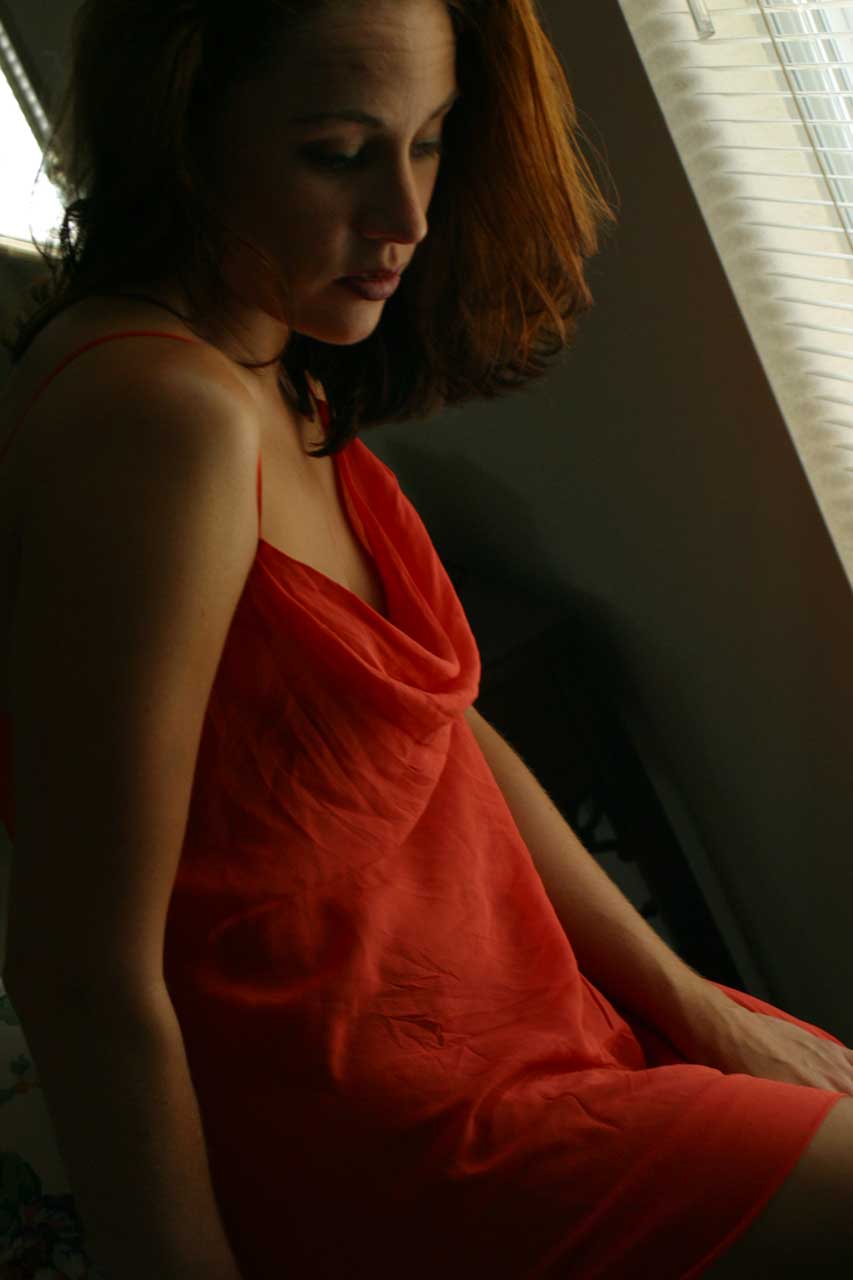
Part of the confusion seems to come from how some digital gurus compare capturing digital images with shooting slide film, using advice such as “be careful not to blow out the highlights, all the pixels will evaporate.” Or they compare it to negative film, advising that digital sensors have a two to three stop exposure latitude. I think and it’s most decidedly my opinion that depending on lighting conditions, images captured by digital cameras behave more like a blend of slide and negative film at the same time. It most resembles slide film on the overexposure side and more like negative film on the underexposure side. I think today’s featured portrait goes to proves that, especially when related to underexposure as you can see in the original JPEG file at right.
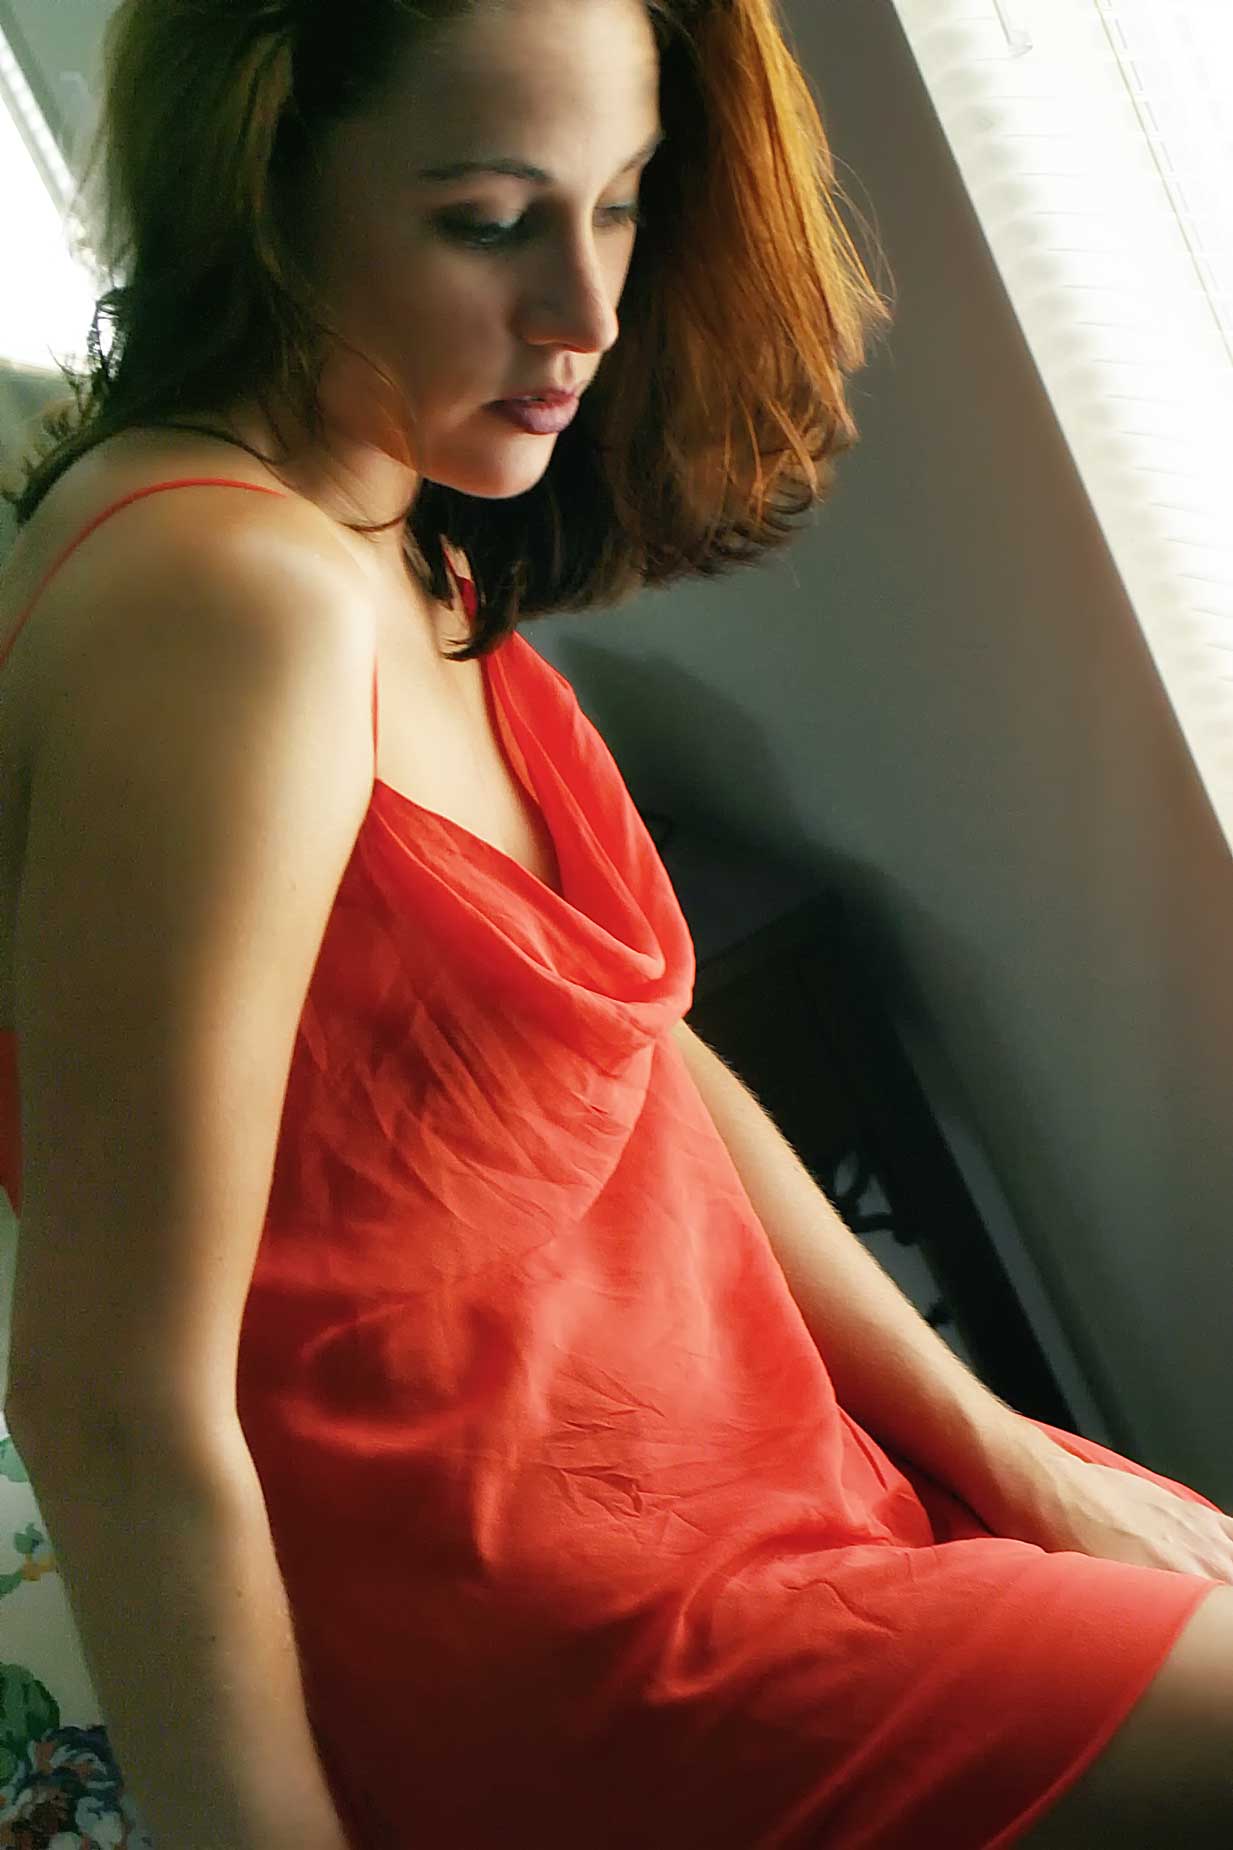 How I made this Portrait: Before she became a pastry chef, Megan was one of my favorite models and once called me about updating her portfolio with some new images that would feature moody lighting and shadows. Since she wanted me to create portraits with extreme contrast I picked a tall, thin south-facing window in my former living room as the main lighting source and no reflectors or supplemental lighting were used fill in shadows.
The camera used was a Canon EOS D60 and a EF 22-55mm f/4-5.6 USM EF lens at 55mm. The Program mode exposure was 1/100 sec at f/7.1 and ISO 400 with a minus one-stop exposure compensation, which turned out to be a bad idea. The camera’s white balance was set at “daylight,” not auto white balance (AWB) as I usually do.
How I processed this file: Not surprisingly, the photographs produced during this session were far from perfect. As you underexpose digital images, noise can become a major problem but that can be, somewhat, minimized by using noise reduction software or you can let it add to the mood, much like film grain. For this particular image I used the Dfine plug-in to minimize noise. Most noise reduction software reduces the amount of noise, often at the expense of image sharpness, so I used Photoshop’s Smart Sharpen command to overcome any softness, if only a little.
Next I used the techniques mentioned in How to Correct Underexposed Portraits to compensate for my exposure error. Then I applied a touch of the Pro Contrast filter from Color Efex , which was followed by a light application of the Glamour Glow filter to knock off any rough edges and you end up with the finished image at above left. Was it a perfect exposure? Far from it but I think the final image has a nice moody feel about it.
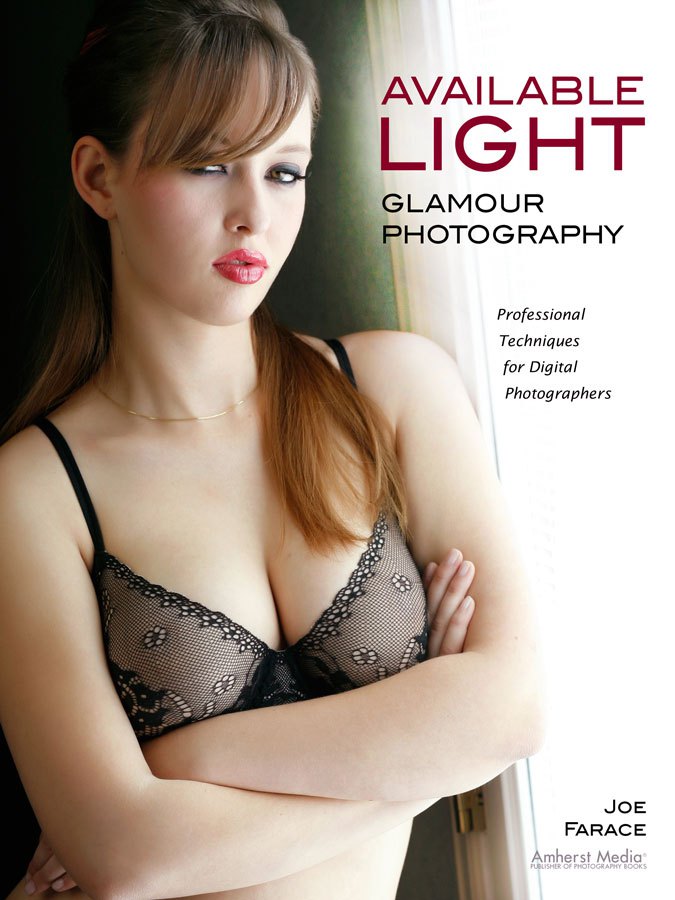
You can learn all of my tips, tools and techniques on shooting available light glamour photography in my book surprisingly titled Available Light Glamour Photography. Used copies of the book are available from Amazon for $24.16, as I write this. Kindle copes are $28.36 if you prefer a digital format.