
It’s “Tricky Tuesday” on the blog, a way for me to share some of the tricks, tips and techniques I’ve used over the years when shooting portraits in the studio. Today’s post features aspiring model Laura May Bachmayer, who I had seven shoots with and every one of them was a delight.
Today’s Post by Joe Farace
sThe LED light bulb is more than ten times the efficiency of regular incandescent lighting, so it can save the world hundreds of billions of dollars in electricity costs. –Shuji Nakamura
I think it’s obvious that LED studio lighting is a trend that isn’t going away any time soon.
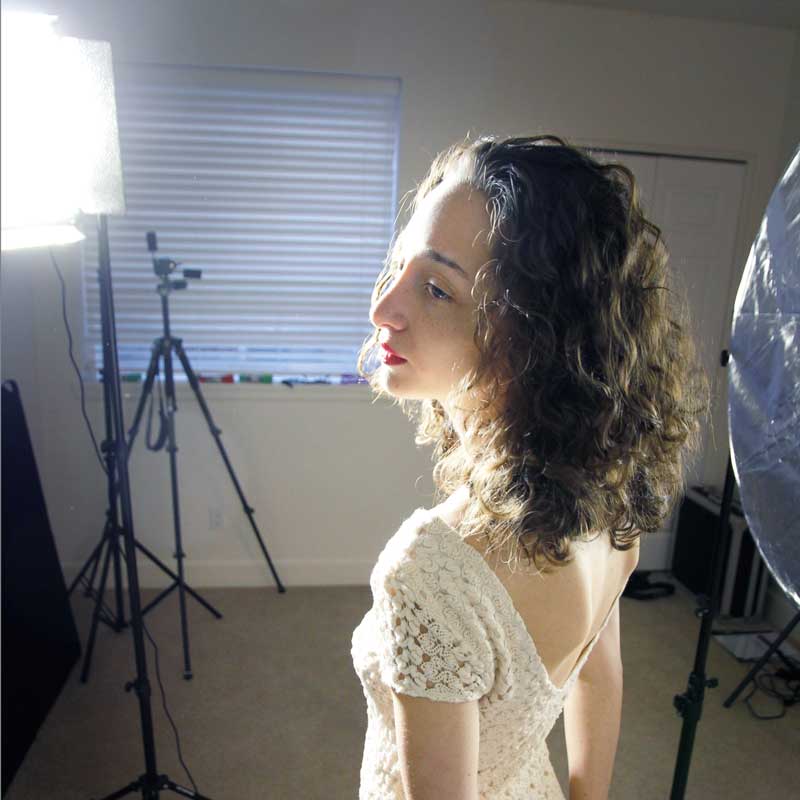 Working in the studio using LED lighting systems will, however, bring you face-to-face with some buzzwords such as lux, lumens and foot-candles that you may not be familiar with. Don’t worry, there was a time when megapixels were unfamiliar to you as well. Here’s how it all works…
It’s All About Lighting
If you’re interested in the nitty gritty of LED lighting keep reading; if not, please skip to “the next section.” Light Value Charts, such as this one from Photography Life, show the relationship of shutter speeds to aperture at a given Exposure Value (EV) for a specific ISO setting. With a little practice you can convert these numbers into shutter speed and lens apertures combinations that can be used for shooting under LED lighting, if only to provide you with an order of magnitude exposure.
A Few Buzzwords: Lux is a unit of illumination that’s equal to one lumen per square meter or the equivalent of 0.0929 foot-candles. A lumen (luminous flux) is the equivalent of 1.46 mW of radiant electromagnetic power at a frequency of 540 THz. Foot-candle is defined as the illuminance of the inside surface of a one-foot-radius sphere with a point source of one candela at its center. By now you can see the rabbit hole we’re jumping into when it comes with the jargon that surround LED lighting and, for that matter, all kinds of other continuous lighting. What it all comes down to is that your handheld or in-camera meter is the final arbiter of any real world exposure settings.
The Next Section: When looking at using LED lighting in your studio, it’s not just the way LED sources are measured, it’s mostly about the quality of that light because not all LED lights are created equal and there doesn’t seem to be any direct correlation between the price of a light and its quality. Although the output quality of some cheap LED lights reflect their price point others are surprisingly good, just as some expensive LEDs are not all that great.
 Reality check: The light output from the kind of LEDs that are used for still photography can often appear harsh and some, but not all, models that I’ve photographed have told me the intensity of the lighting bothers them and causes then to squint, which is not the kind of expression you want for a portrait. That’s why sometimes I’ve had to use different kinds of diffusion to make my models comfortable when shooting wit lEDs Yet some of my other subjects don’t seem bothered by the lights; it all depends on the model. Tip: As you do a warm up with them, make the time to ask your model how she feels about the the lighting; Don’t assume that because she hasn’t said anything that they are happy with the lighting. Farace’s Law: Happy models equal better photographs.
Although your eyes automatically adjust for missing color bands or spikes from different kinds of lights, your camera cannot do that and this difference can results in time spent in Photoshop \\trying to get the portrait’s color “right.” I have found that some kind of spectroscope can be useful to measure the quality of LED or fluorescent studio lighting because it lets me visually inspect a light source’s spectrum and see any peaks or missing color bands.These kinds of devices are used by rock and mineral collectors and you used to be to find them on eBay for affordable prices but that no longer seems to be the case. That’s why nowadays, using one of these devices is only recommenced for the perfections amongst us.
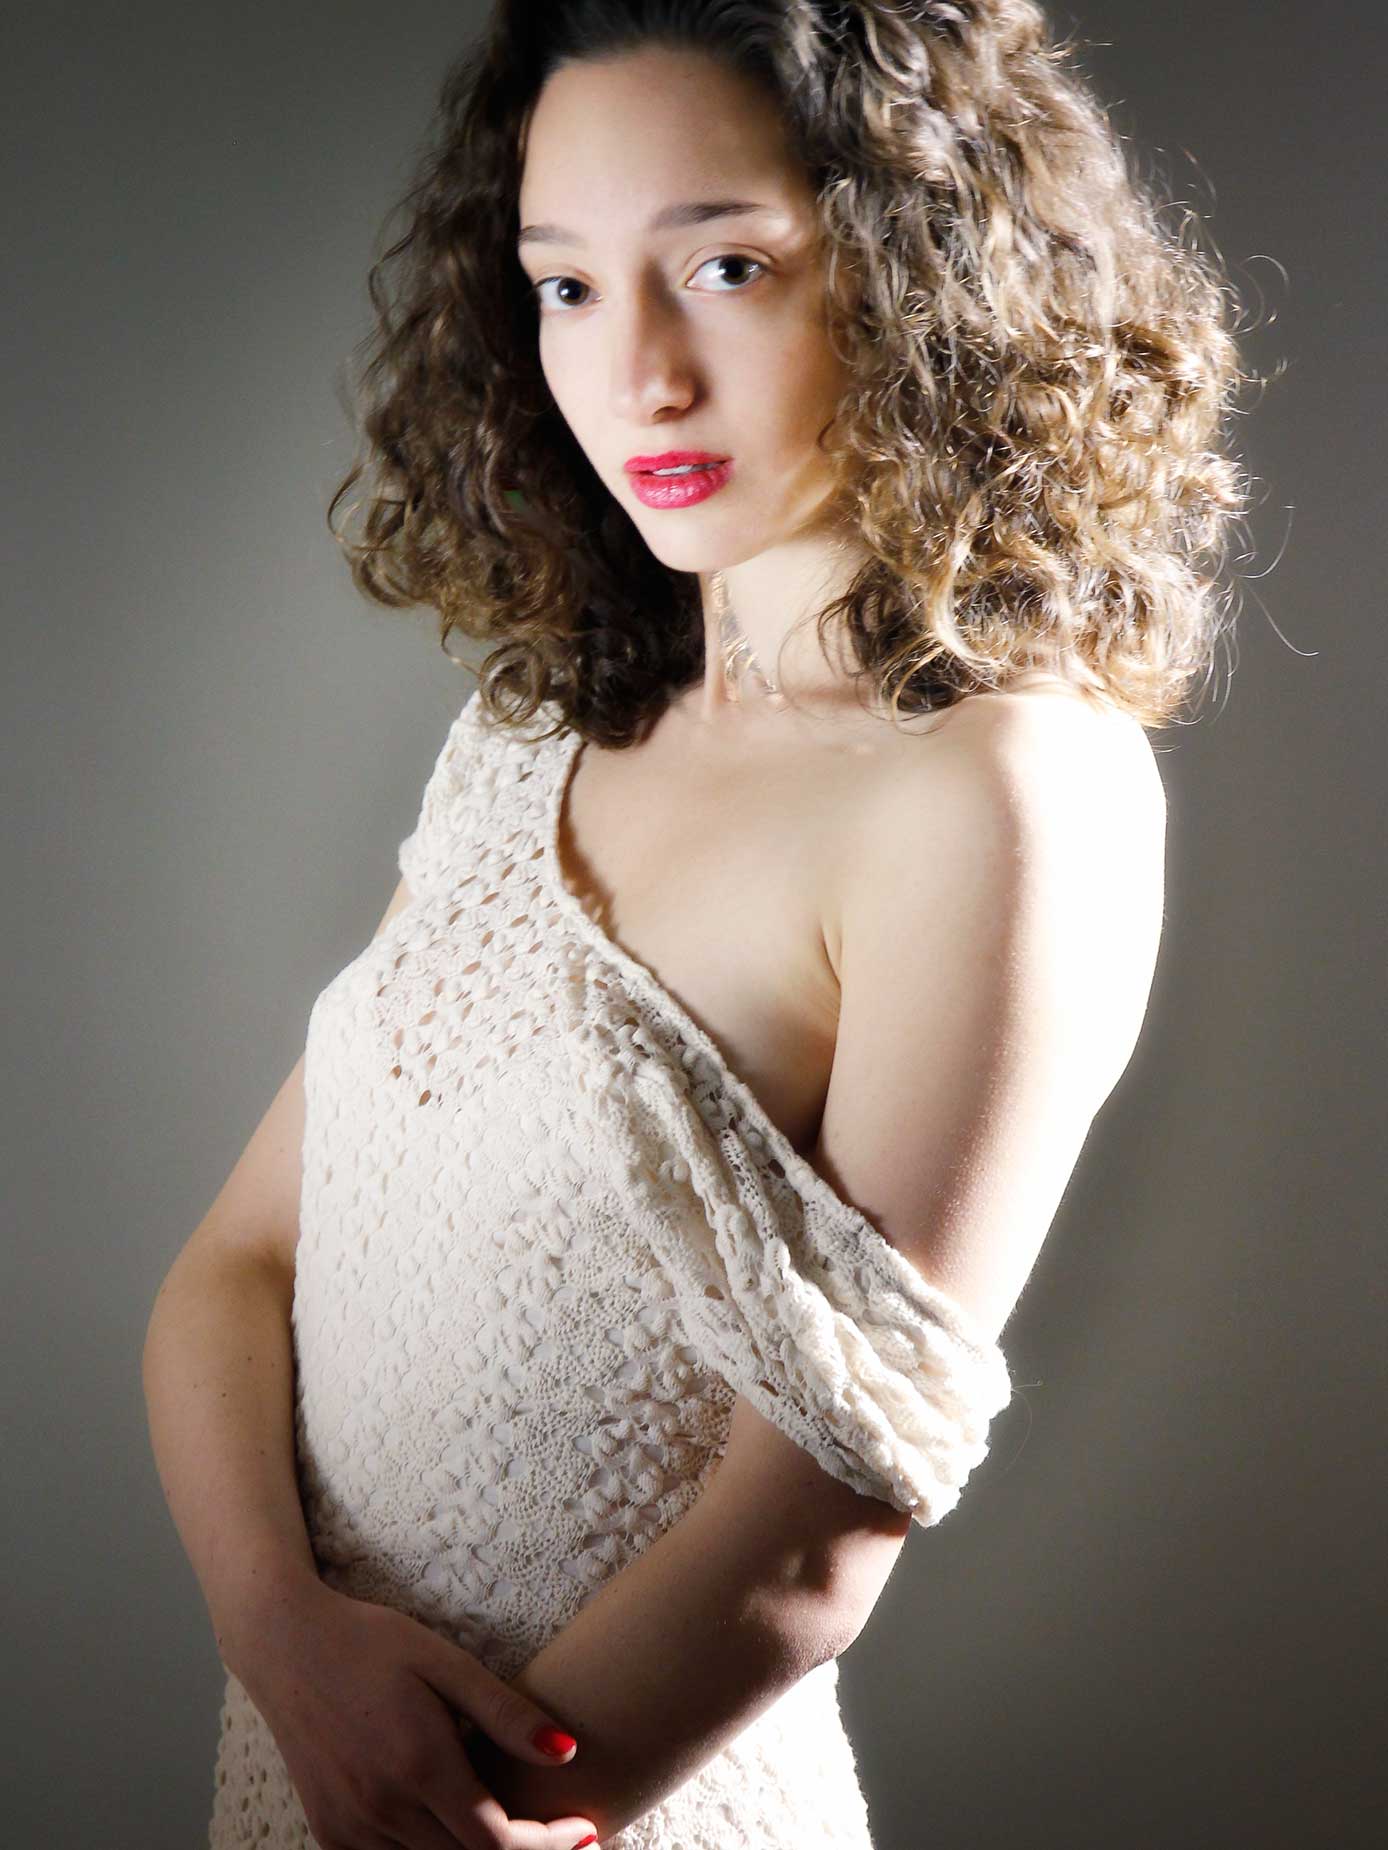
How I made this photograph: The portrait (above )of aspiring model Laura May Bachmayer was made using a 12×12-inch Daylight LED Panel that was placed at camera right with no diffusion in place with barn doors used to narrow the light. A 32-inch reflector was placed at camera left. She was photographed against a 5×7-foot Savage Universal Photo Gray Infinity vinyl backdrop. The portrait was shot with a Canon EOS 60D and EF-S 15-85mm f/3.5-5.6 IS USM lens at 61mm with an exposure of 1/15 sec at f/5.6 and ISO 800 with a plus two-thirds stop exposure compensation.
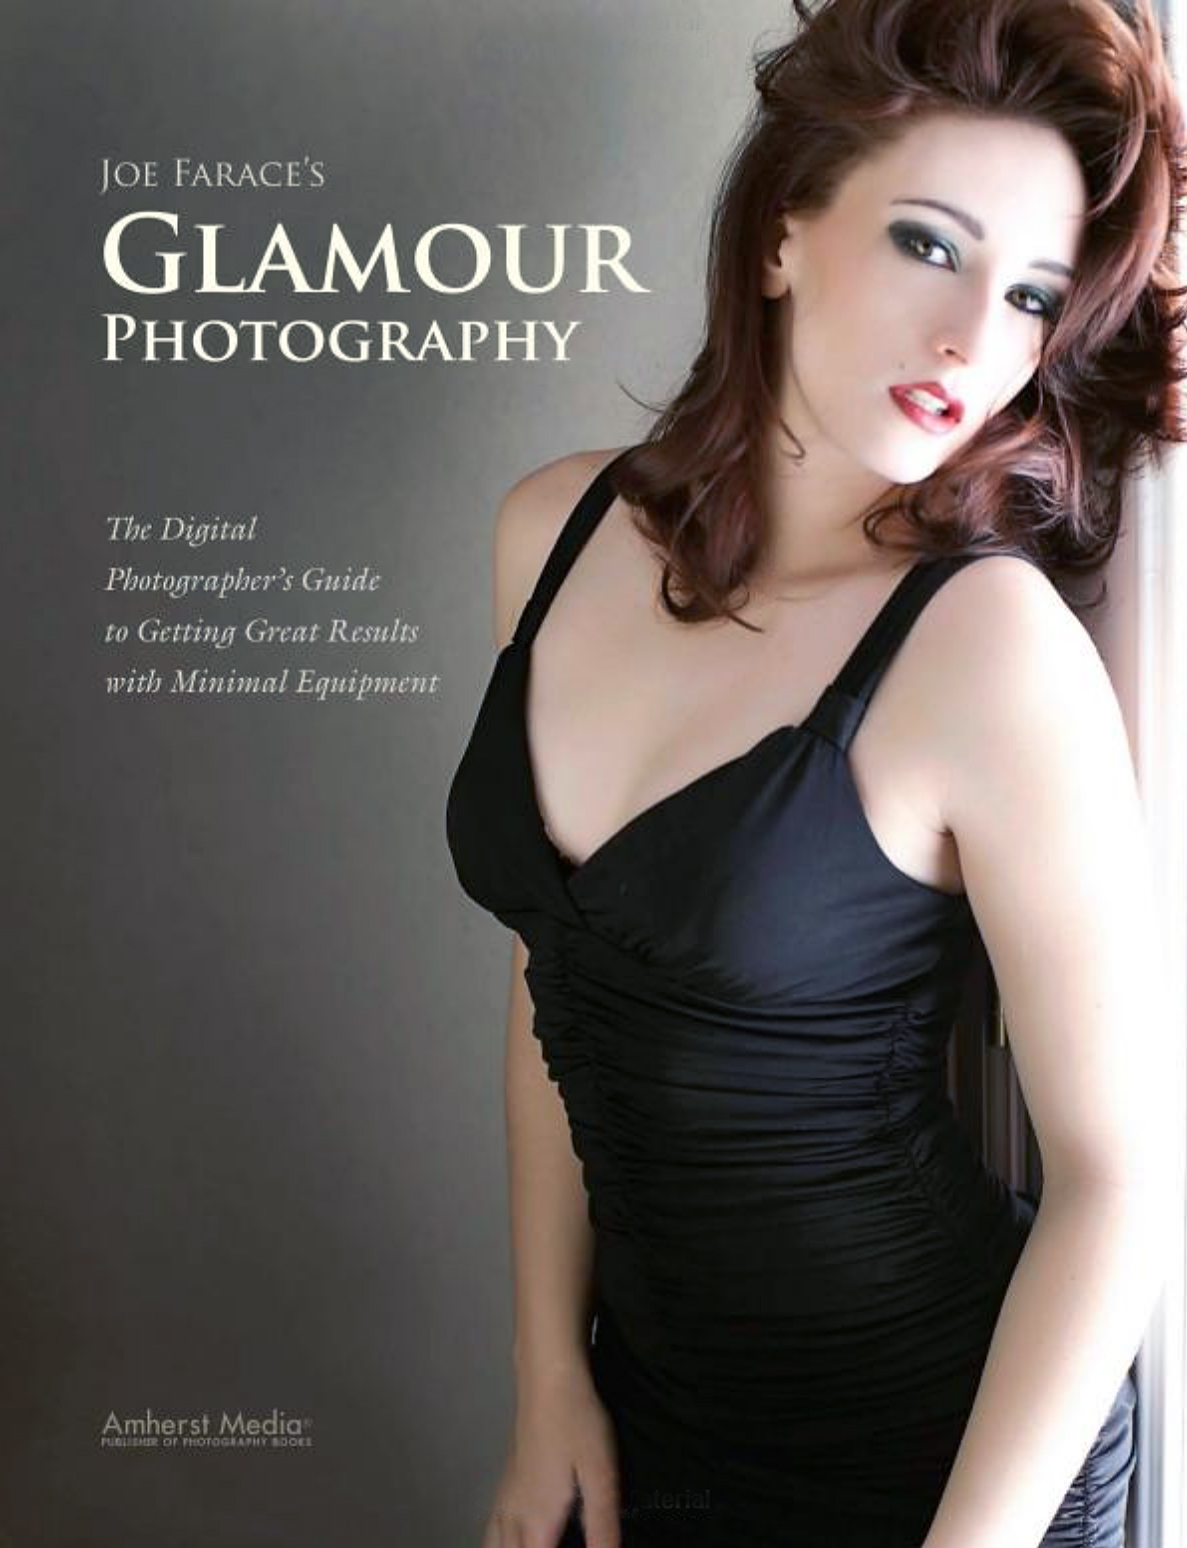
My book Joe Farace’s Glamour Photography is full of tips, tools and techniques for glamour and boudoir photography and includes information on all of the cameras used as well as the complete exposure data for each image. Used copies are $33.65.as I write this. The Kindle version is $19.99 for those preferring a digital format