I originally started the Stupid Photographer’s Tricks series of posts in March, 2019. The series began with a four posts where I shared some of the dumb things that I’ve done over the years and that, for some reason, always seemed to involve photographing attractive women. But not always. The series expanded to examples with car photography and then into some film and digital editions too. Welcome to the infrared version…or as Bob Ross once said, “We don’t make mistakes, we make happy accidents.
Today’s Post by Joe Farace
Most of our assumptions have outlived their uselessness.—Marshall McLuhan
 If you are interested in seeing the initial posts in this series, they are first, second, third and fourth but to see the others just use the blog’s Search function (the little magnifying glass in the upper right-hand corner) to search for “stupid” and you’ll find the others. That first post is also available in a different, uncensored version as part of my Password Protected posts.
Last Sunday, was a perfect Infrared Day. It was 88 degrees F, sunny and hot but for a short while there was a cool breeze blowing across McCabe Meadows, I brought with me a Panasonic Lumix G5 with Standard IR (720m) IR conversion from Life Pixel. The lens used was a Lumix G Vario 12-32mm f/3.5-5.6 kit lens that I borrowed from my Lumix G6.
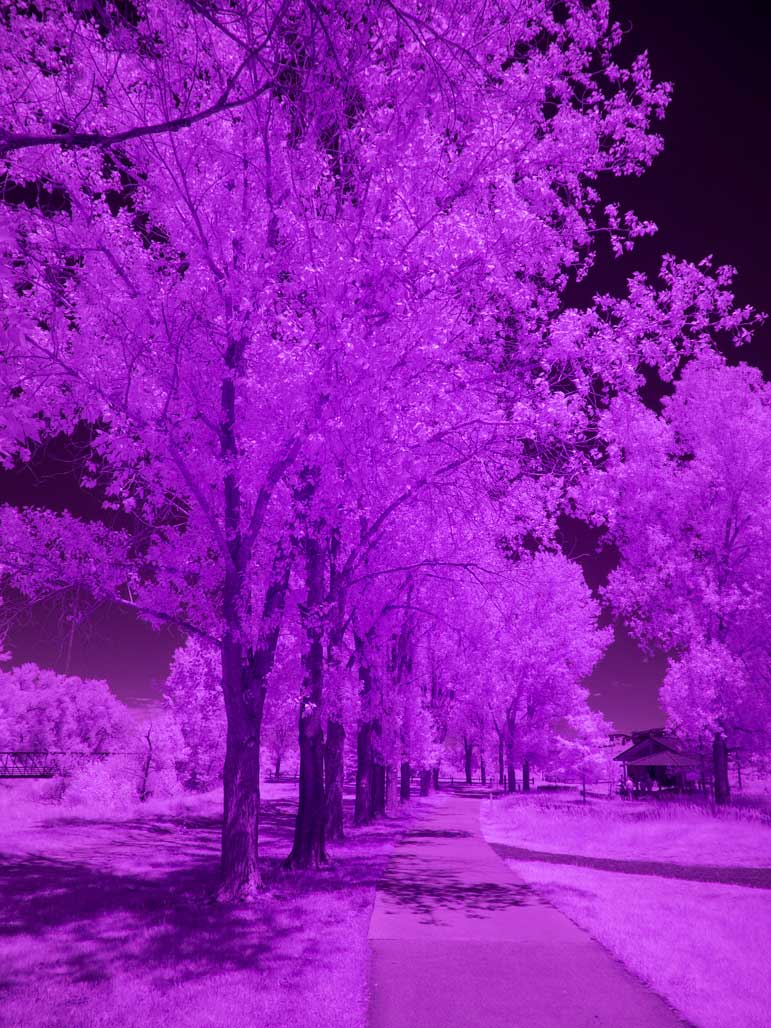
How I Made the Original Image: At right, is the unretouched, unprocessed (SOOC) RAW file from my Panasonic Lumix G5 with Life Pixel’s Standard Infrared conversion. The G Vario 12-32mm f/3.5-5.6 kit lens was set at 12mm (24mm equivalent.) The “assumption” exposure) see below) was 1/3200 sec at f/4 and ISO 400.
Making Assumptions
 Assume: We have all heard what the word “assume” really means but that doesn’t mean you don’t need to have that explanation beaten over your head every now and then. Take my recent excursion with my IR-converted Panasonic Lumix G5, for example.
Before I even left my Daisy Hill home. the first thing I did was change the aspect ratio from the 3:2 aspect ratio I’ve been using for way too long to the 4:3 ratio that’s native to Micro Four-thirds cameras. Next I looked at the Mode dial and made sure it was set at my preferred Av mode when shooting infrared but this is where my assumptions went horribly wrong. I assumed that since this camera only shoots infrared that my aperture was still set at my preferred f/16 or f/11 to give me enough depth-of-field that wold cover any discrepancies between focusing with visible and IR light. I didn’t check to see if my ISO was set at 400—it was— and made the assumption that I was ready to go. So I jumped into Mary’s 2016 VW Beetle convertible and headed to McCabe Meadows, my favorite local infrared shooting location.
When I got there the small parking lot was almost full but there was two spaces left and I grabbed one of them as, what else, a Ford F-150—the Beetle strangely attracts them—parked next to me in the last available spot. I headed to the walk that was crowded with people on bikes, electric and manual, scooters as well as people out for a Sunday stroll. As I hobbled along with my cane, I was happy snapping away until I noticed that, for some reason, I needed to apply exposure compensation to make corrections more often than was typical under these kinds of lighting conditions.
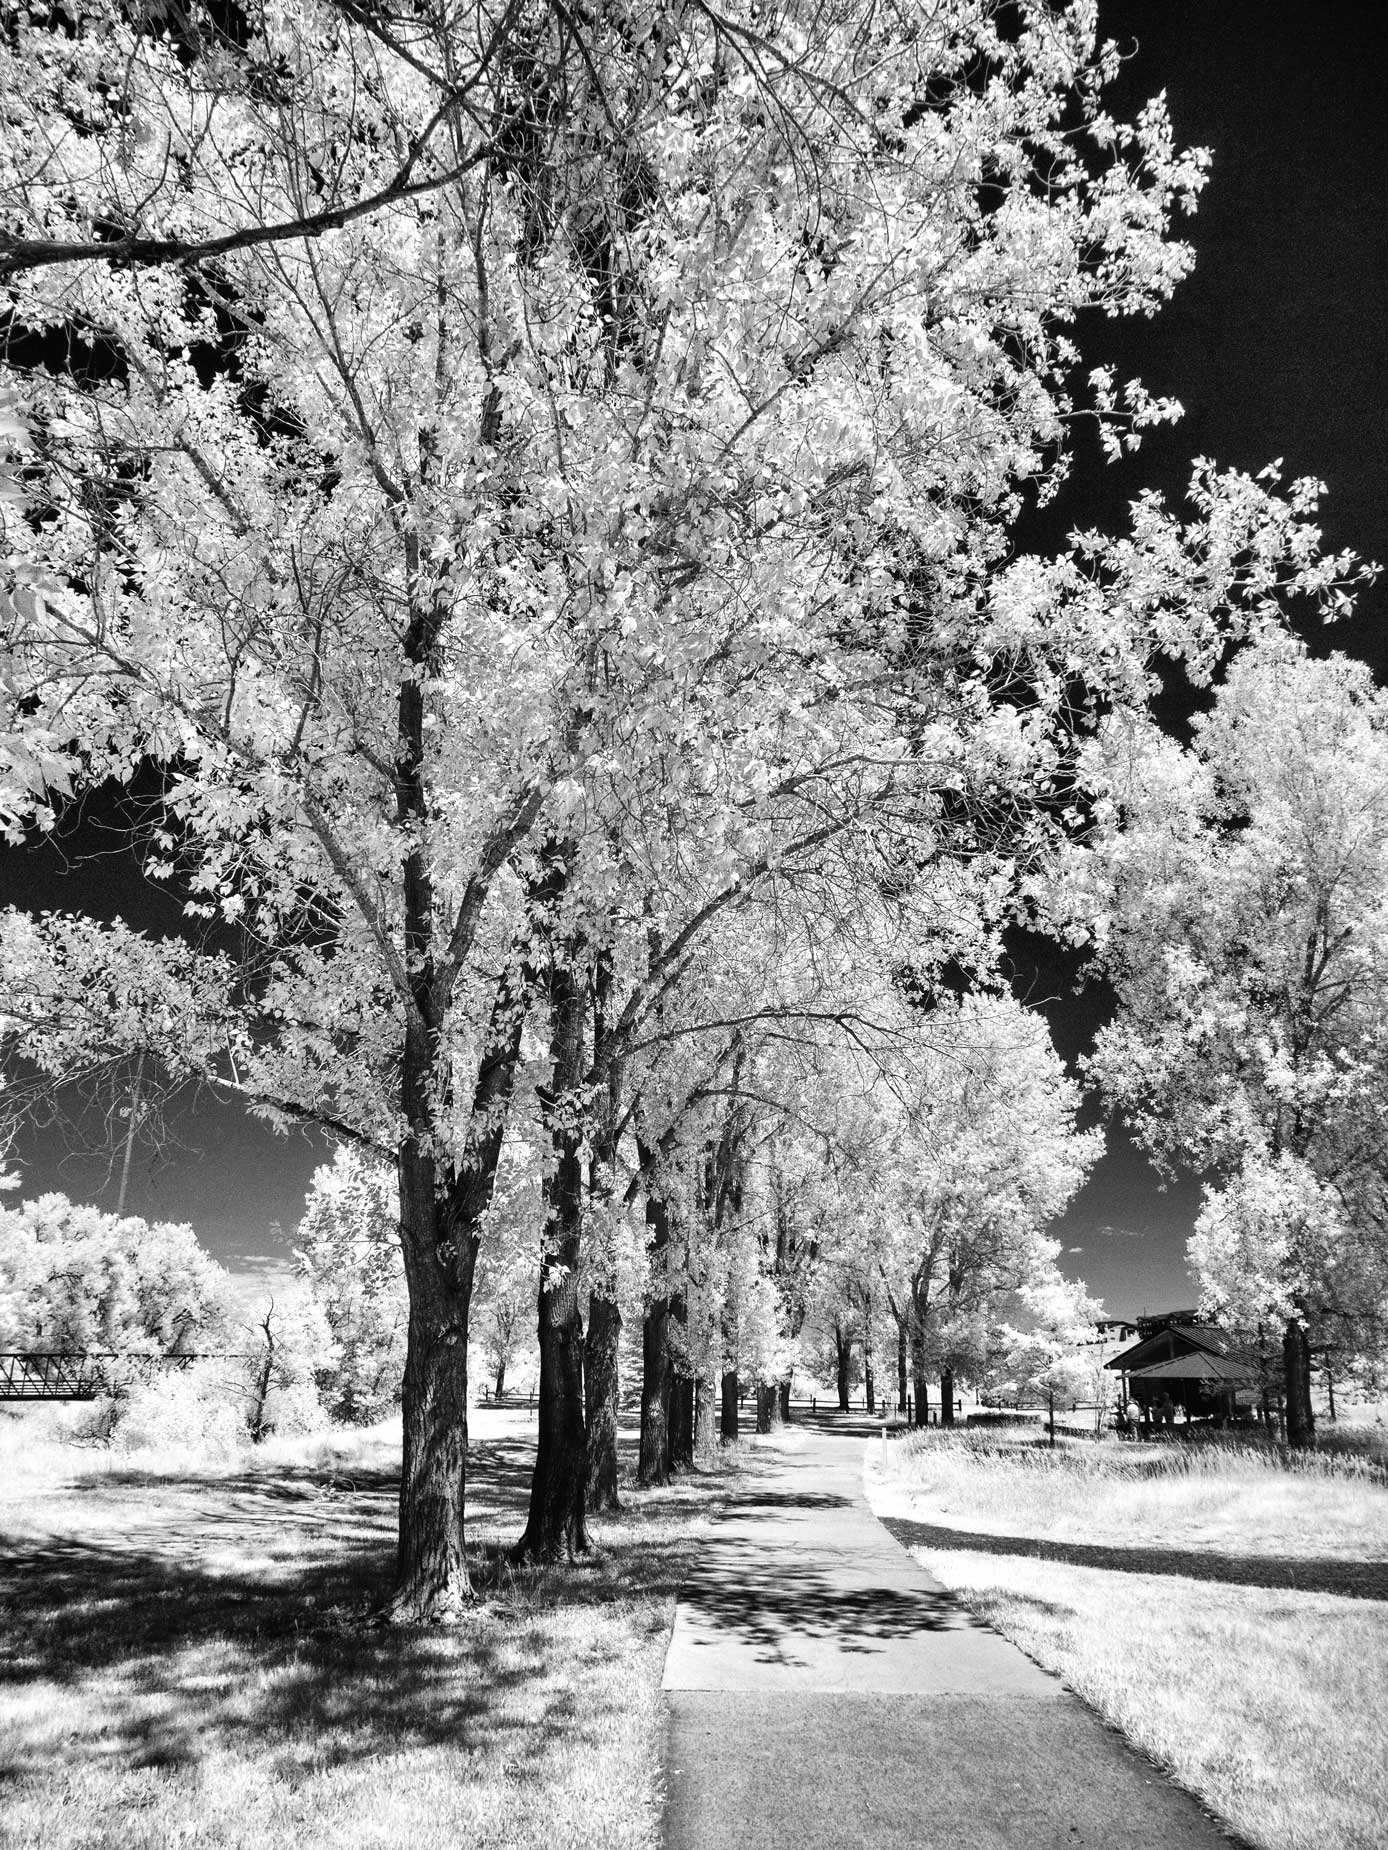
After a while I finally noticed in the EVF that my shutter speed was 1/3200 sec! BOOM! I checked the aperture and it was set at f/4. So I continued my PhotoWalk across the bridge and took a break on the bench next to my second favorite tree. By then the temps had hit 90 degrees F and I hanged the lens’ aperture to f/11. I went back to happily snapping and when I got back to the parking lot it was almost empty! So I drove home, popped the SD card into my 27-inch iMac and braced for the worst. I was amazed, The f/4 shots (at left) looked OK, so sometimes it better to be lucky than good.
How I Processed this shot: The RAW image file was tweaked slightly in Adobe Camera RAW by using the Clarity and Vibrance sliders. Then I converted the image to Black and white using Silver Efex choosing the Full Dynamic preset, adjusting Brightness, Contrast and Structure sliders. I finished the image by using Photoshop’s Levels to produce the final effect.
 I’ve found that Life Pixel does a great job with IR conversions and they’ve done most of the conversions for my Canon DSLRs and all of my Panasonic Lumix G-series cameras. This is not a paid or sponsored endorsement, just my experience.
New copies of my book, The Complete Guide to Digital Infrared Photography are currently available from Amazon for $25 while used copies are starting at four bucks as I write this. Creative Digital Monochrome Effects has a chapter on IR photography and new copies are available from Amazon for $11.46 with used copies starting at a little more than six bucks, which is a heckuva deal.