
It’s “Tricky Tuesday,” a way for me to share some of the tricks, tools and techniques I’ve used over the years when shooting studio portraits. Today’s post features Colleen Brianne, who I photographed five times over a three year period and while she has moved on in her modeling career, I would love to photograph her again.
Today’s Post by Joe Farace
“I have always had an instinct for doing new things. Call it good or bad, I love to experiment.”— Ravi Shankar
 I believe that Mr. Shankar’s above statement can apply to photography too, including portraiture or glamour photography where it’s all too easy to place a subject in “Pose A”, then move onto “Pose B,” making the whole process so mechanical R2D2 could shoot this kind of portrait. Don’t laugh; I once attended a workshop hosted by a respected local photographer who advocated this very approach to making portraits.
But that’s not what portraiture subjects want. They want you to create an image of them that’s completely different from the last person you photographed and especially one that captures their individuality or essence. The same goes for the kind lighting you’ll need to use for that session.
Sometimes You Only Need One Light
I once helped a friend who wasn’t able to photograph his high school senior customers because he was ill. I’m not sure if he was happy with what I did because he recovered really quickly. Before getting started, one of the studio’s assistants showed me their Speedotron Pantograph Studio Ceiling Rail System that had a series of strings tied to the light heads with knots representing different subject-to-light distances. I assumed these were used to maintain a consistent lighting ratio but you don’t have to do it that way. And I don’t do it that way either.
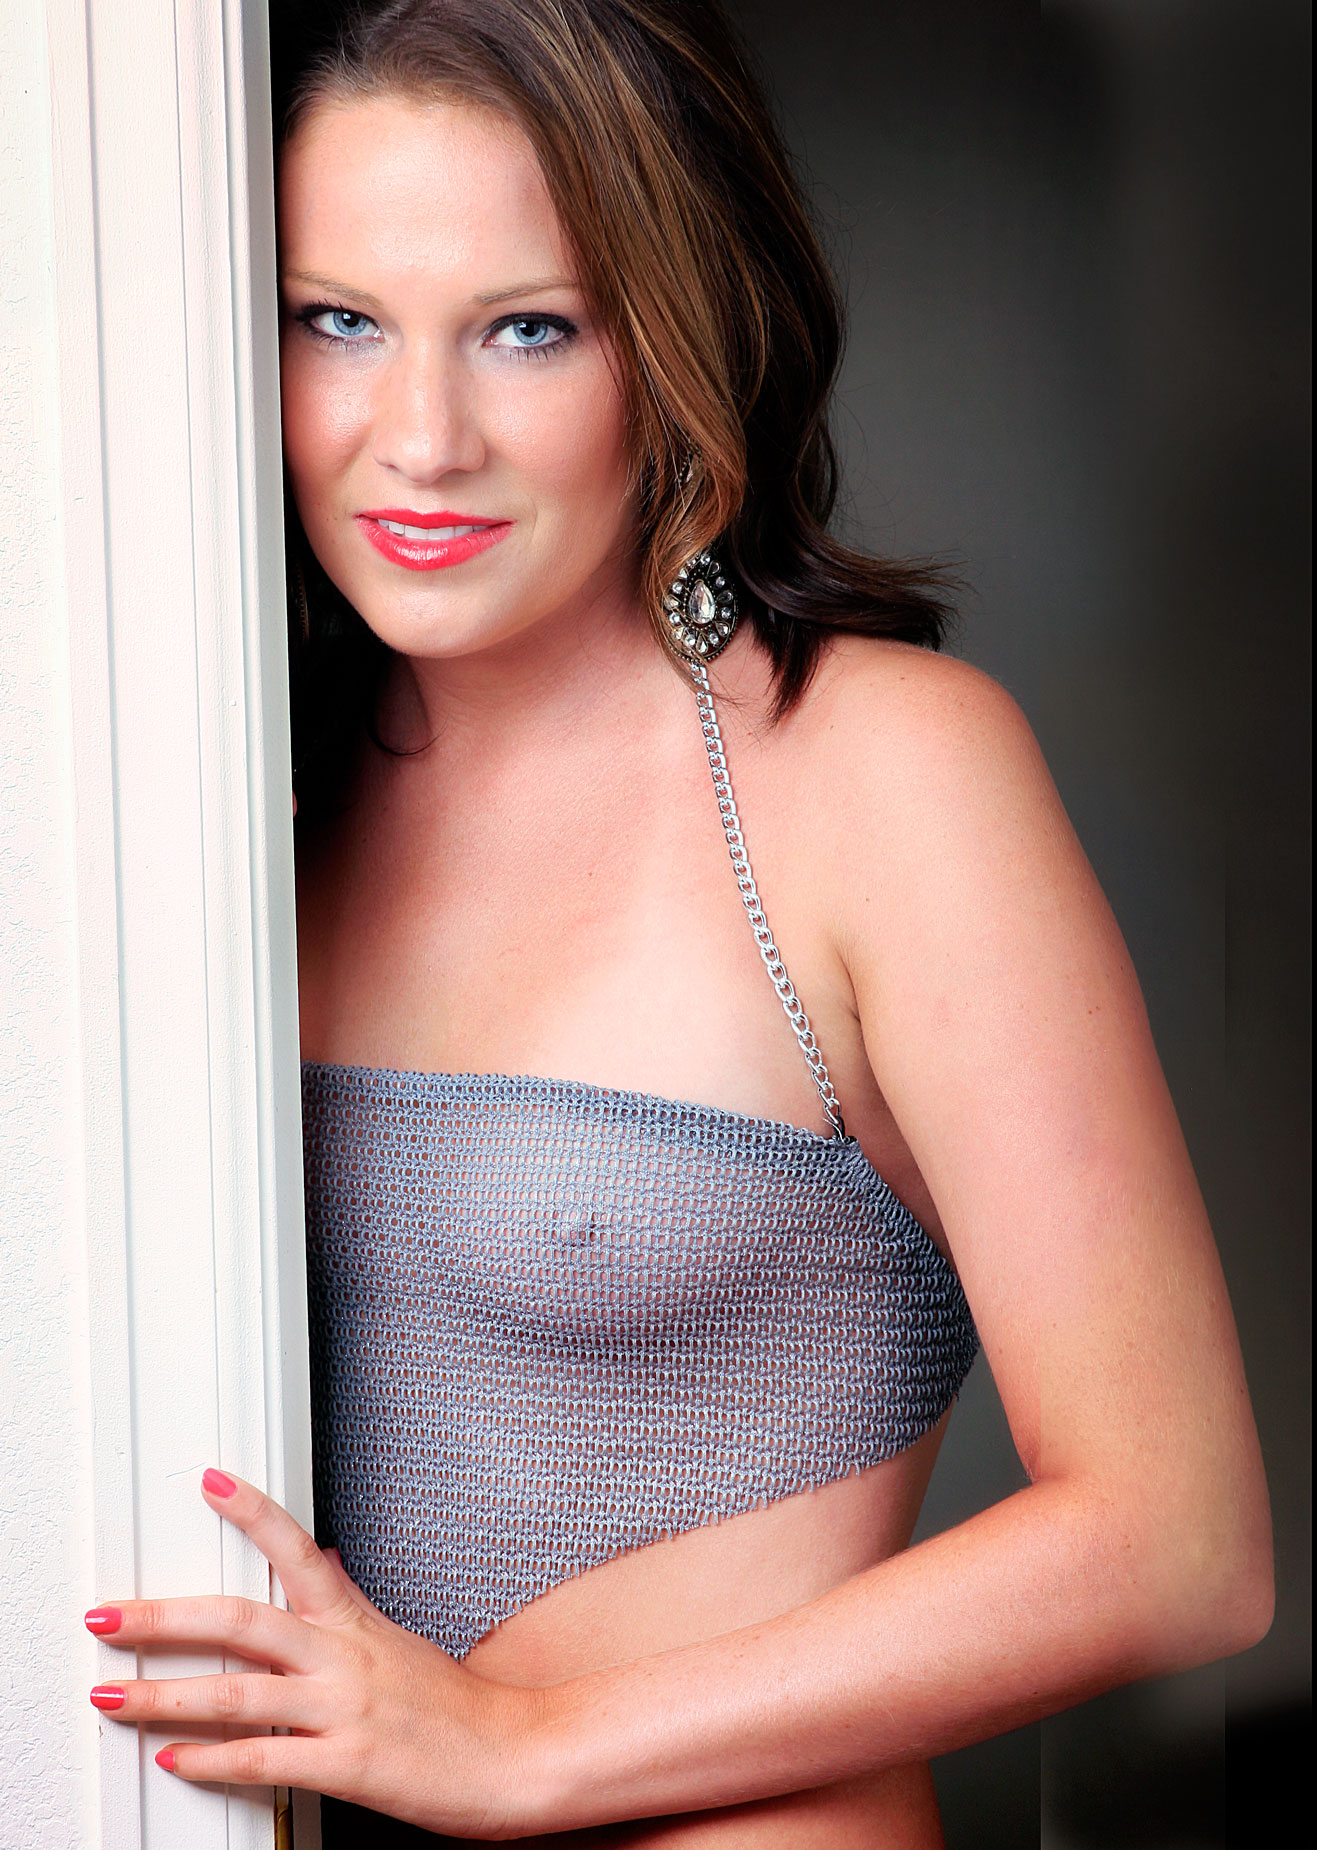 How I made this portrait: Today’s featured portrait of Colleen Brianne was made with the model posing in the doorway to my home studio and here’s how I made it: For certain kinds of portraits, you can often get by by with just one light–no strings required. In fact, a (different) famous local photographer once told me that he preferred using only one light source.
For this portrait I started with a Broncolor two-light Senso Kit 22 that includes a Senso A2 (1200 Joules) power pack, two Litos flash heads, speed ring, 28×28-inch softbox, 16.4-foot sync cable and a well-made case. For the setup above, I used a single Broncolor Litos head with the 28×28-inch Broncolor softbox placed at camera left and aimed directly at the subject. No reflector was used. See setup photo above right. If you have time, you can read what I have to say about using softboxes here.
The camera used was a Canon EOS ID Mark II N and EF 135mm f/2.8 SF lens with the soft focus setting at zero. Lighting was metered using a Gossen Star F and I typically shoot a few test shots to get one to find the best exposure and maybe best looking histogram. The final exposure was 1/60 sec at f/10 and ISO 100. The image file was retouched and then tweaked with the Pro Contrast and Glamour Glow filters from Color Efex to produce the result you see.
 If you enjoyed today’s post and would like to support this blog, you can join my Patreon where memberships start at just $1.25, with additional levels of support at $2.50 and $5 that includes special benefits including access to uncensored, posts.
My book Joe Farace’s Glamour Photography is full of tips, tools and techniques for glamour and boudoir photography. It includes information on all of the cameras and lenses used as well as the complete exposure data for each image. New copies are $45.08 with and used copies available from Amazon for for around fort -bucks, as I write this. The Kindle version is $19.99 for those preferring a digital format.