Today’s Post by Joe Farace
“A natural self-limitation in photography is to leave out the colour and present the world in black and white.” – Harold Davis
If you’re thinking about taking up infrared photography, here’s a few things to consider: First, it’s a lot of fun. Two, it’s not that difficult. And three, everything you know about conventional photography and light is wrong when capturing IR images.
 Part of the challenge of shooting infrared photography is that traditional exposure meters are not sensitive to infrared light (or even some LED lights but that’s a subject for another day.)
When shooting infrared, it can be tricky to calculate exact exposures but that doesn’t mean you shouldn’t try. Let’s start with the fact that your DSLR or mirrorless camera’s LCD screen will provide instant feedback as to what the finished image may look like. This is true even though your camera’s screen or EVF are not always a 100% accurate representation of what the final image will look like. Differences will vary from camera-to-camera and they are not predictable in the same direction as far as over or underexposure is concerned. I’ve found that images from my IR-converted Canon DSLRs look brighter at the standard screen brightness while, at the same time, producing slightly underexposed files. This can also be true when viewing images from cameras with different infrared conversions or when using IR filters on a camera’s lens.
A Few Infrared Tips
 OK, so you can’t trust your eyes and maybe not your camera either. That’s mostly because two subjects that appear equally bright under normal (visible) light might reflect infrared radiation at different rates and exhibit different levels of brightness in your final image. As I’ve discovered, much to my chagrin, the time of day can also affect the results. So what’s a poor hippo to do? (As it says on my favorite coffee mug.) Here’s a few thoughts on the subject…
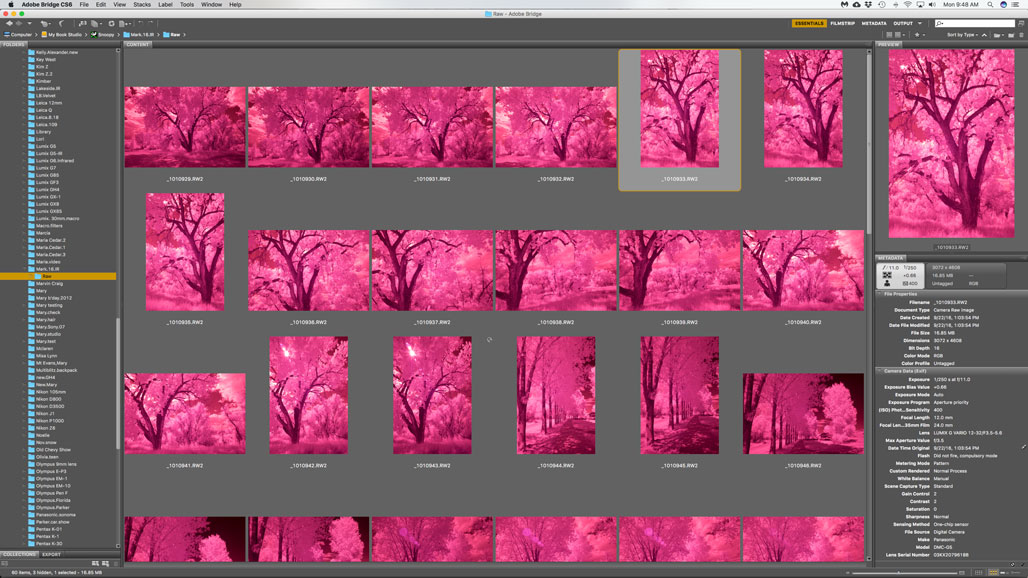
Shoot RAW. Eliminating all of the hoo-hah of how RAW capture gives you a higher quality image file to start with, I usually recommend you shoot in RAW+JPEG format with the camera set in monochrome mode. That way the JPEG file that’s visible on your camera’s LCD or EVF will give you a rough preview of what the RAW file might look like after processing. Cameras with twin card slots can assign RAW to one slot and JPEGs to the other so you can work with the RAW files on that card.
If wasting all that the storage space bothers you can always toss the JPEG files later or do like I do and save all of the RAW+JPEG files from an IR session onto a backup DVD that I keep in archival boxes in my workroom. There’s more to the whole RAW vs JPEG concept than that and some additional thoughts can be found in a post on my Car Photography blog. If you have time, you might want to check it out.
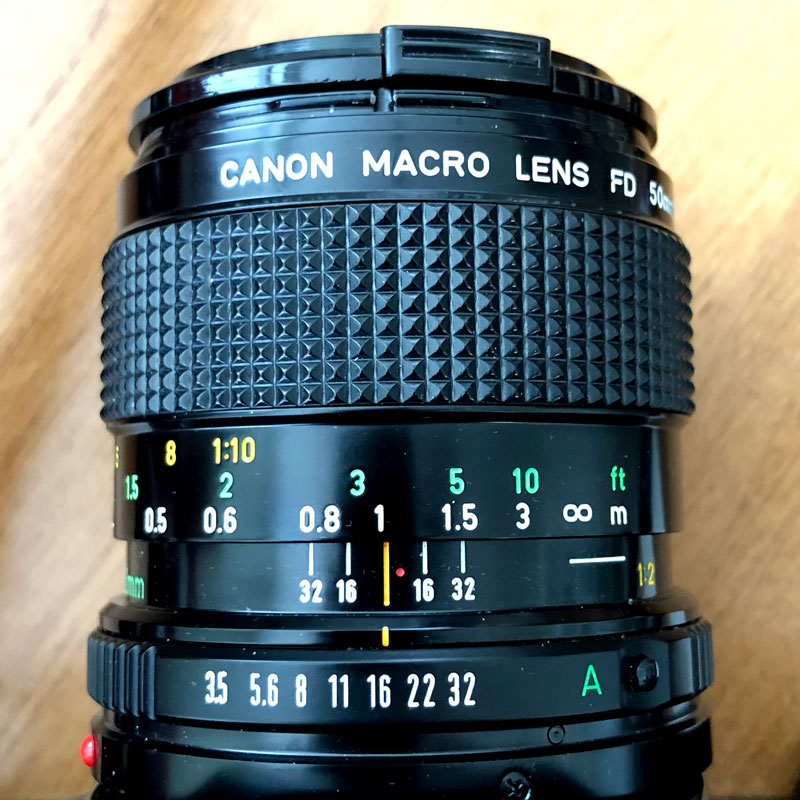
Shoot in Av mode. Because most lenses can’t focus infrared wavelengths on the same plane as they can with visible light, pick a fairly small aperture to minimize focusing problems, although, depending on your lens, this is not always a perfect solution. I also understand that diffraction can raise its ugly head at smaller apertures, so be careful out there and do some testing to find your lens’ sweet spot. The infrared focusing mark that used to be part of manual focus lenses in the film days have all but disappeared with the advent of AF. (That’s the red dot to the right of the orange focus line of my Canon FD 50mm f/3.5 macro lens at below left.) Many of the recent spate of new manual focus lenses, including some from Leica, lack a IR focusing mark. Hey lens makers, is this so hard to do, ?
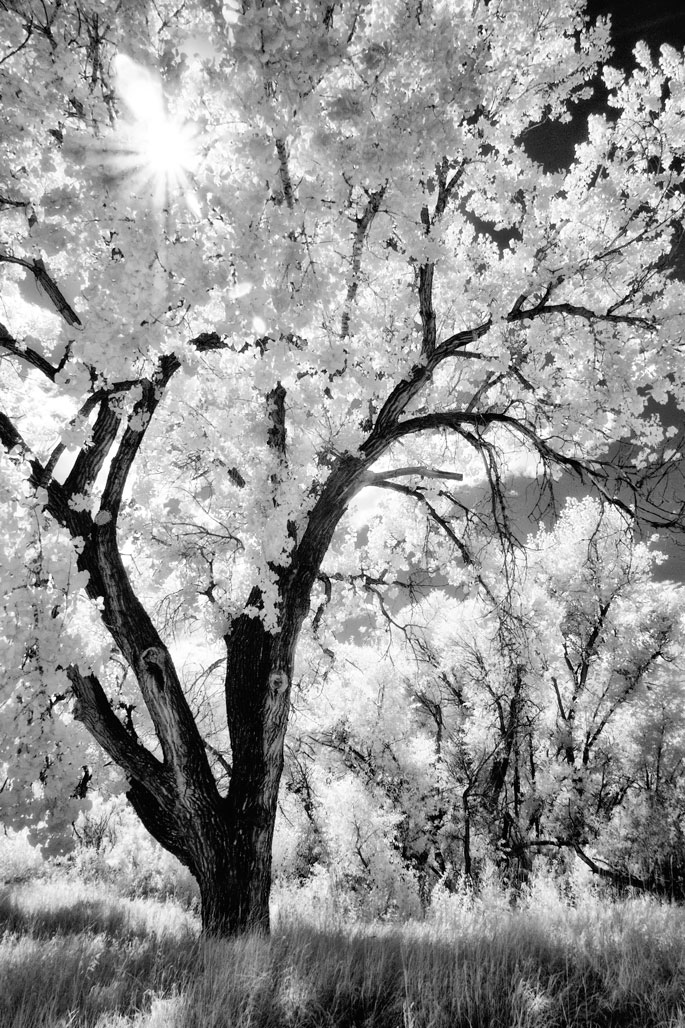
 How I made this photograph: The above image was captured at McCabe Meadows park near Parker, Colorado using a Panasonic Lumix G5 converted to IR capture by Life Pixel using their Standard IR filter (720nm) with a Lumix G Vario 12-32mm f/3.5-5.6 lens at 12mm. This lens scores a weak six (out of 10) on the Joe Farace Sunstar scale. The Av exposure was 1/320 sec at f/11 and ISO 400. The RAW file was opened in Adobe Camera RAW and then processed in Silver Efex.
Bracket: Most DSLRs and mirrorless cameras have an auto bracketing function that lets you make a series of shots at exposures over and under from what’s considered “normal.” If your camera doesn’t have a bracketing function you can always use its Exposure Compensation feature to adjust exposures up or down in one-half or one-third stops. (Even some film cameras have this feature.) I often use this option when shooting IR. If all else fails and you’re still not happy with the results shoot in Manual mode.
 I’ve found that Life Pixel does a great job with IR conversions and they’ve done most of the conversions on my Canon DSLRs and all of my Panasonic Lumix G-series cameras. This is not a paid or sponsored endorsement, just my experience.
Used copies of my book, The Complete Guide to Digital Infrared Photography are from Amazon for around $16.00 as I write this. Creative Digital Monochrome Effects has a chapter on IR photography and is available from Amazon for $16.16 with used copies starting around seven bucks