Today’s Post by Joe Farace
The easiest but not necessarily least expensive way to capture digital infrared images is by using an IR-converted camera.
You have lots of options for accomplishing this conversion: You can purchase a previously modified camera from eBay or trusted used camera sellers like KEH Camera, Roberts Camera or you can have one of your existing cameras converted for IR-capture. If you’ve been looking for something to do with that old camera that’s gathering dust and sitting on a shelf but is still capable of making great but maybe less megapixel images, here’s the perfect job for it.
 As easy as using an IR-converted camera is, you will face some choices when having your camera converted, starting with where to have it done. Many different companies offer infrared conversion services and I’ve had varying experiences using three different suppliers over the years. Getting a recommendation from a photographer whose work you admire is the best place to start. Keep in mind that not every company will convert every camera model, so check to see if they will work on your specific model.
Your eyes see a range of light from 400 to 700 nanometers aka nm, that’s a metric unit of length equal to one billionth of a meter. A typical digital camera sensor sees light from 350 to 1,000nm. Digital cameras usually have a low pass filter in front of the sensor that allows only low frequency light that’s visible the human eye to pass through to the sensor and to maintain color fidelity block UV and IR light. During an IR conversion that filter is removed allowing all kinds of light to strike the sensor. Then it’s replaced with a filter that only allows infrared light to pass through.
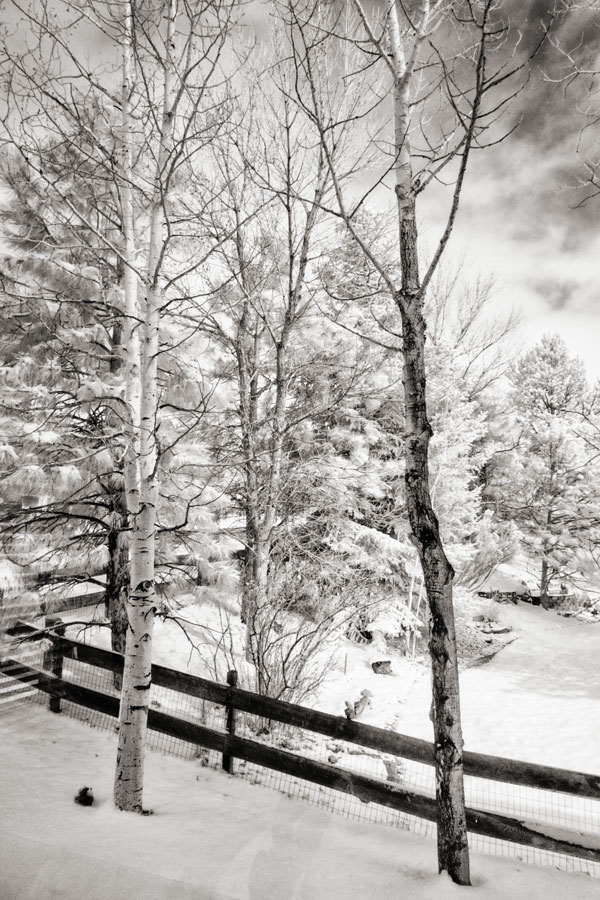
When shooting infrared images, most of the time I’ll shoot in RAW format, which requires some post processing to make a black & white IR shot like the above but I usually set the camera in Monochrome mode and shoot RAW+JPEG to get a preview of what my RAW file look like when processed later. Otherwise with RAW capture during the best time of the day—you’ll mostly see various shades of magenta
Most companies that do IR conversions offer a choice of infrared filters. LifePixel, for example, offers seven choices (plus Hyper Color) including their standard filter that’s equivalent to Hoya R72, Kodak Wratten 89b or 720nm filter. They also offer an Enhanced Color IR filter equivalent to 665nm, Super Color IR equivalent to 590nm, and a Deep BW IR equivalent to 830nm filters. LifePixel converted a Lumix G5 for me using the Standard IR filter and a G6 modified with the Enhanced Color IR filter that was used to make the image directly above. If the intended result is a monochrome image, the Standard conversion works great while the Enhanced Color IR filter is better if I’m going to produce a color-enhanced image. For eye popping color, the Hyper Color is hard to beat,
You can also have the conversion company replace the filter in front of your camera’s sensor with a piece of plain glass of the same size and optical characteristics, except filtration, as the original low pass filter. Not all companies offer this choice but some offer what’s called UV-Visible-IR conversions. Theoretically, this conversion lets you capture natural color or infrared depending on what filter you place in front of the lens.
LifePixel does a great job with IR conversions and have done most of my Canon DSLRs and all of my Panasonic Lumix G-series cameras. This is not a paid or sponsored endorsement, just my experience.
Used copies of my book, The Complete Guide to Digital Infrared Photography is currently available from Amazon starting $45.09, with used copies starting around 25 bucks as I write this. Creative Digital Monochrome Effects has a chapter on IR photography and new copies are available from Amazon for $23.30 with used copies starting at a little more than two bucks, which is a heckuva deal.