Today’s Post by Joe Farace
“Practice doesn’t make perfect. Practice reduces the imperfection.” ―
Just as pianists have to practice their scales every day, I think photographers should practice obtaining the best possible exposure with their shots on a regular basis. I also believe that obtaining correct exposure—however you determine it—is the first critical step in maximizing image quality and it’s seems even more so for digital capture than when shooting film. Speaking of film, let’s talk about that, at least for a bit.
What is Exposure latitude?
This is the ability to over or underexpose a captured image and with film is greater for color negative film than for other types of film. Transparency (slide) film, on the other hand, has the least amount of latitude, especially on the overexposure side, and will quickly blow out highlight detail with even the slightest overexposure. Digital camera sensors, on the other hand, seem to respond like a hybrid of those two different kinds of color films.
In digital capture, there seems to be little latitude on the overexposure side because any image data is literally wiped from the digital file but underexposure appears to have more latitude, almost as much as color negative film. If you have time, take a look at my post about rescuing underexposed images. The downside of underexposed digital mages is an increase in noise in the image, although using the previously mentioned technique as well as applying noise mitigation software, such as Define, can mitigate that, depending on the amount of noise and the size of the sensor that created the original image.

Because the LCD preview screen on most digital cameras can sometimes exaggerate an image’s brightness and contrast or, depending on camera model, even exposure it’s easy to get what you think is a well-exposed image but in reality is slightly underexposed.
How I do it
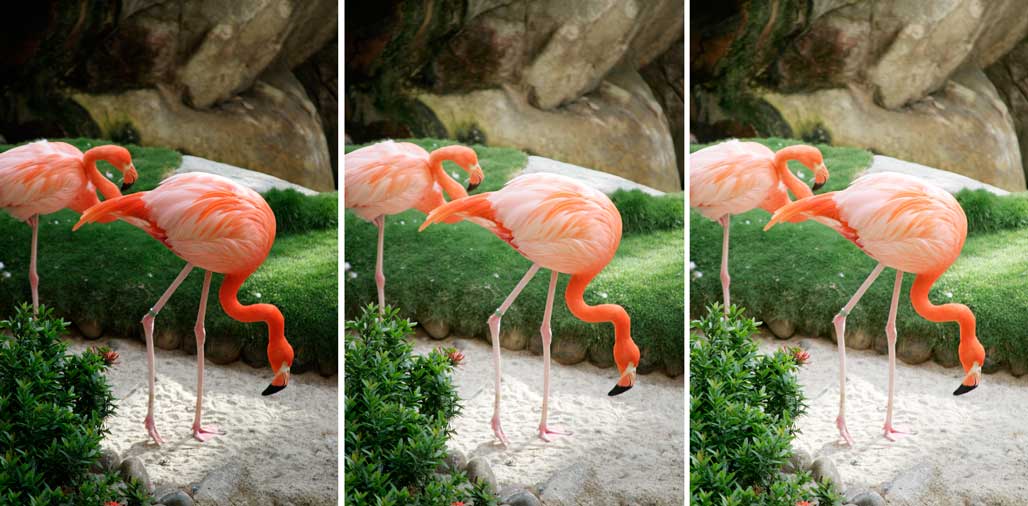
 In the best of all possible worlds, I start by making an exposure and after evaluating its histogram and adjust the camera’s exposure compensation control accordingly. But there are many, many situations when you just don’t have time to do this. When that happens, I do what photographers have done since the film days—bracket. I also shoot in RAW more often than I did in the past, because it give you even more wiggle room.
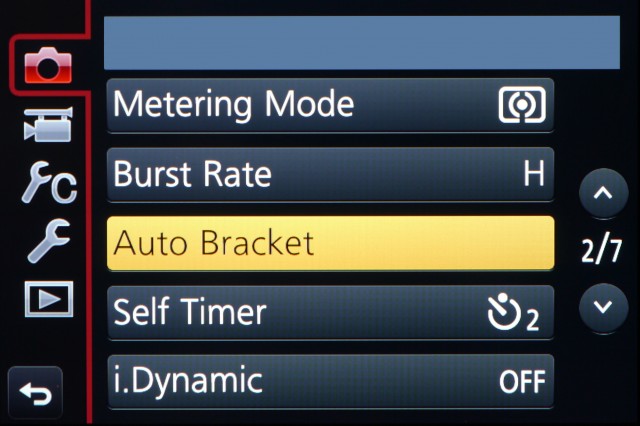
In tricky lighting situations, sometimes the best solution is to bracket by shooting a three or five shot series varying exposures from what would be considered underexposure to overexposure. Most cameras these days offer an automatic bracketing option as seen above in this menu of a Lumix mirrorless camera.
Tip for today: Only the image’s histogram reveals the truth. Practice bracketing and gradually you will learn how to evaluate the image on your LCD screen and make exposure adjustments without having to look at the histogram. And don’t forget, most cameras have a menu item that let you adjust screen brightness. Use your experience to adjust that setting to have it represent reality.

If you enjoyed today’s blog post and would like to buy Joe a cup of Earl Grey tea ($2.50), click here.
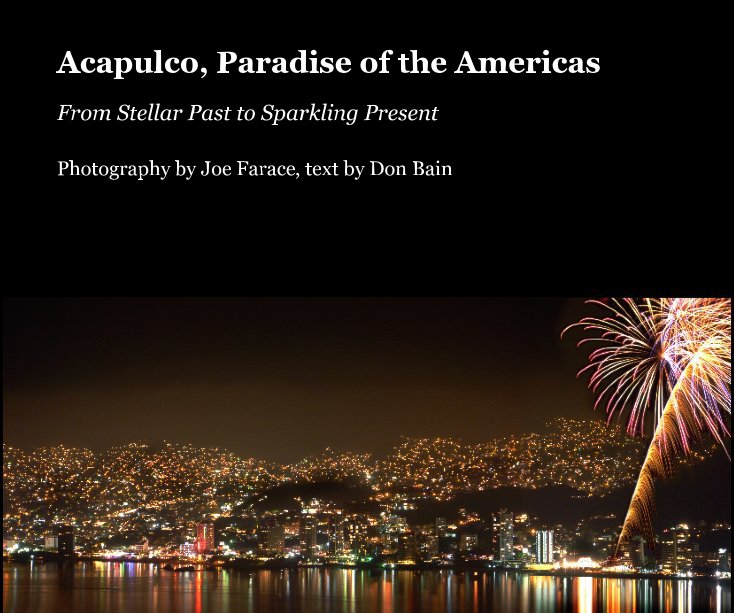
The top photograph (not the bracket) is from my self-published book, Acapulco, Paradise of the Americas, that was co-authored with Don Bain, and is available on Blurb.com.