This June 8, National Best Friends Day, it’s time to tell them how much we appreciate their company. As the Mayo Clinic reports: “Friends help you cope with traumas, such as divorce, serious illness, job loss, or the death of a loved one. Today’s image was made during a PhotoWalks with my best friend, Barry Staver.
Today’s Post by Joe Farace
“A real friend is one who walks in when the rest of the world walks out.” – Walter Winchell
 After I purchased a used Lumix GX1 from Roberts Camera and had it converted for infrared capture using Life Pixel’s Hyper Color filter*, I took the camera to the giant jacks and balls sculpture t Parker CO’s library to make some photos and immediately began to doubt my choices.
Shooting with Hyper Color
For starters, The glare on the GX1’s fixed screen was so bad I found it difficult to shoot any composition I tried. As far as color variations, LifePixel suggests using your in-camera white balance settings (“even Kelvin”) to capture a variety of tones in your images. Bouncing in an out of the White Balance menu proved to be a pain in the patootie.
It turned out that both problems were easily solved: First, I borrowed the DMW-LVF2 tilting viewfinder that was already attached to my (unmodified) black-body GX1. I slipped it onto the IR converted GX1’s hot shoe and was set to go. If you don’t own an LVF2, I’ve seen them available on eBay for around $200, which I think is too expensive, especially when my GX1 only cost $125. Maybe when “my ships comes in,” I’ll buy a second one or maybe not.
 Second, making it convenient to change white balance was easier. The GX1, like many mirrorless cameras, has Custom Settings on its Mode dial –C1 and C2–allowing each one to be customized. I found there were a few White Balance settings that produced dramatically different colors and set up the C1 and C2 modes accordingly. Switching white balance modes was now just a dial spin, no menu diving required.
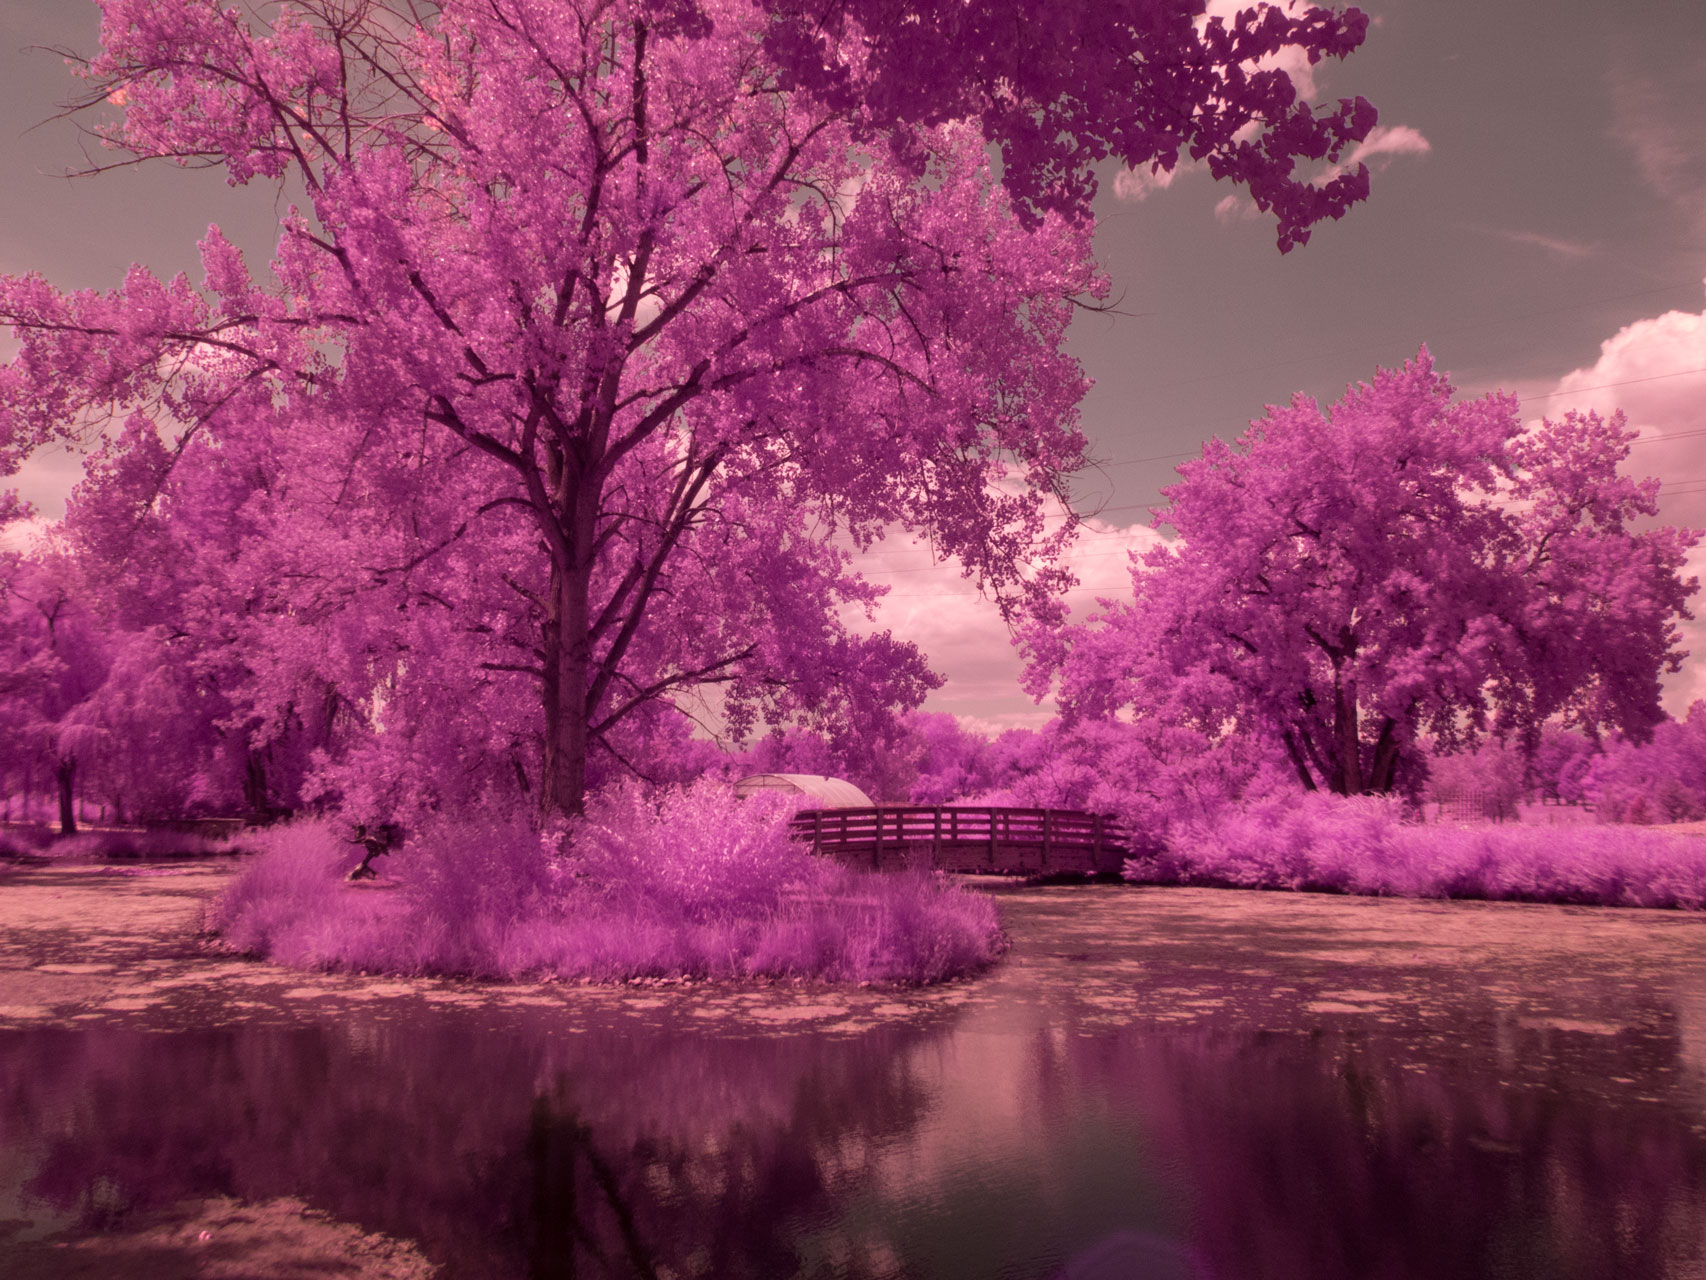
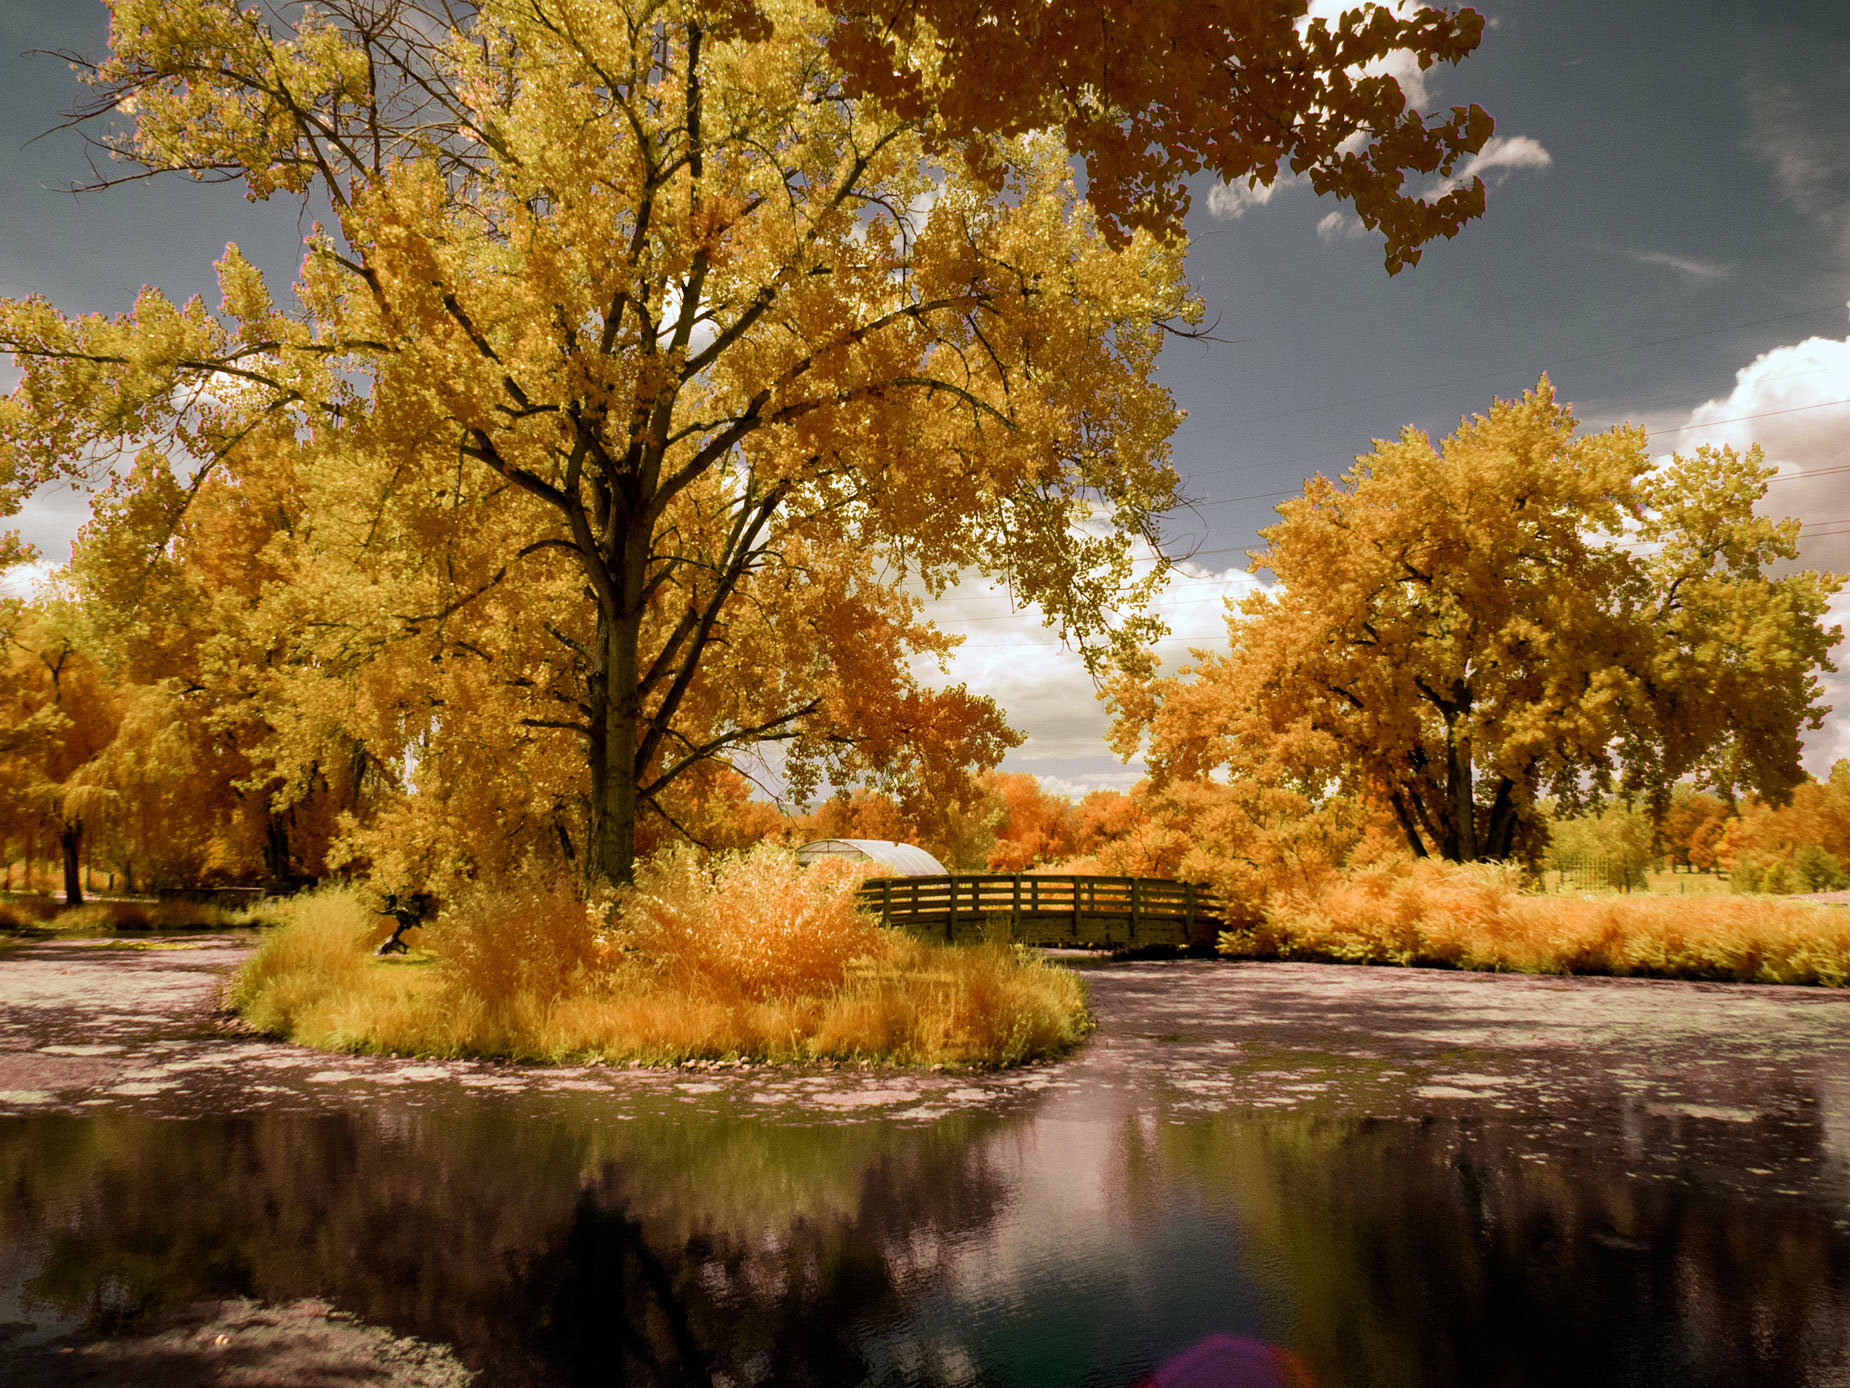
How I Made this shot: The unprocessed RAW file at left was made during a PhotoWalk in Denver’s Hudson Gardens last year with my friend Barry Staver. It was made using the Panasonic Lumix GX 1 that was converted by Life Pixel using their Hyper Color filter. The lens was a Lumix G Vario 12-32mm f/3.5-5.6 (at 12mm) with an exposure of 1/400 sec at f/16 and ISO 400, which produced a slightly underexposed image file.
The RAW file was processed using some of the techniques covered in my post, Is white balance important in infrared photography? before applying an optional Photoshop action (Hyper Color to Super Color) that Life Pixel used to offer with conversions, at least they did when I had my GX1 converted. For similar but different results, you could use the techniques I describe in my post How to Produce the Blue Sky Infrared Technique.
One of the most important lessons you can learn about shooting IR images is to forget everything you know about lighting, especially the best time of day to capture images. To give foliage that infrared glow you need to shoot at a time of day when there’s more sun on the scene rather than less. This puts your prime shooting times around mid-day! These are the worst times to make conventional color images but are the “golden hours” for infrared. If you need a rule of thumb, use one of Farace’s Laws: The best time of day to shoot infrared is when it’s the worst time of day to shoot normal images.
I feel like I’ve just begun to unlock this infrared conversion’s potential. Look for more explorations—including portraits—using the Hyper Color infrared filter as I get more experience with it.
 I’ve found that Life Pixel does a great job with IR conversions and they’ve done some of the conversions for my Canon DSLRs and all of my Panasonic Lumix G-series cameras. This is not a paid or sponsored endorsement, just my experience.
New copies of my book, The Complete Guide to Digital Infrared Photography are available from Amazon for $44.34, with used copies selling for around nine bucks, as I write this. Used copes of my book Creative Digital Monochrome Effects that has a chapter on IR photography are available from Amazon for around eight bucks, as I write this.