Today’s Post by Joe Farace
“When people look at my pictures I want them to feel the way they do when they want to read a line of a poem twice.” ―
 Photography is all about light but where infrared photography is concerned you’ll be capturing images using invisible light, which is why comparisons to traditional photography can be difficult to make. If you want to create a dramatic image, few things beat a beautiful sunrise that was photographed in color. The same scene when captured in infrared may be disappointing unless there’s some IR reflective subject matter to add interest to the photograph, which brings me to The Wood Effect.
The effect is named after infrared photography pioneer Robert Williams Wood (1868-1955) who was an American physicist and inventor who made pivotal contributions to the field of optics and was a pioneer in infrared and ultraviolet photography. Wood’s infrared photographs were made using experimental film that required long exposures; so most of his work focused on landscapes. In 1911, Wood made some IR images in Italy using plates that were provided to him by C. E. K. Mees from Wratten & Wainwright. (If Wratten & Wainwright. sounds familiar that’s where the Wratten system of filter numbering comes from. You can read all about that here.)
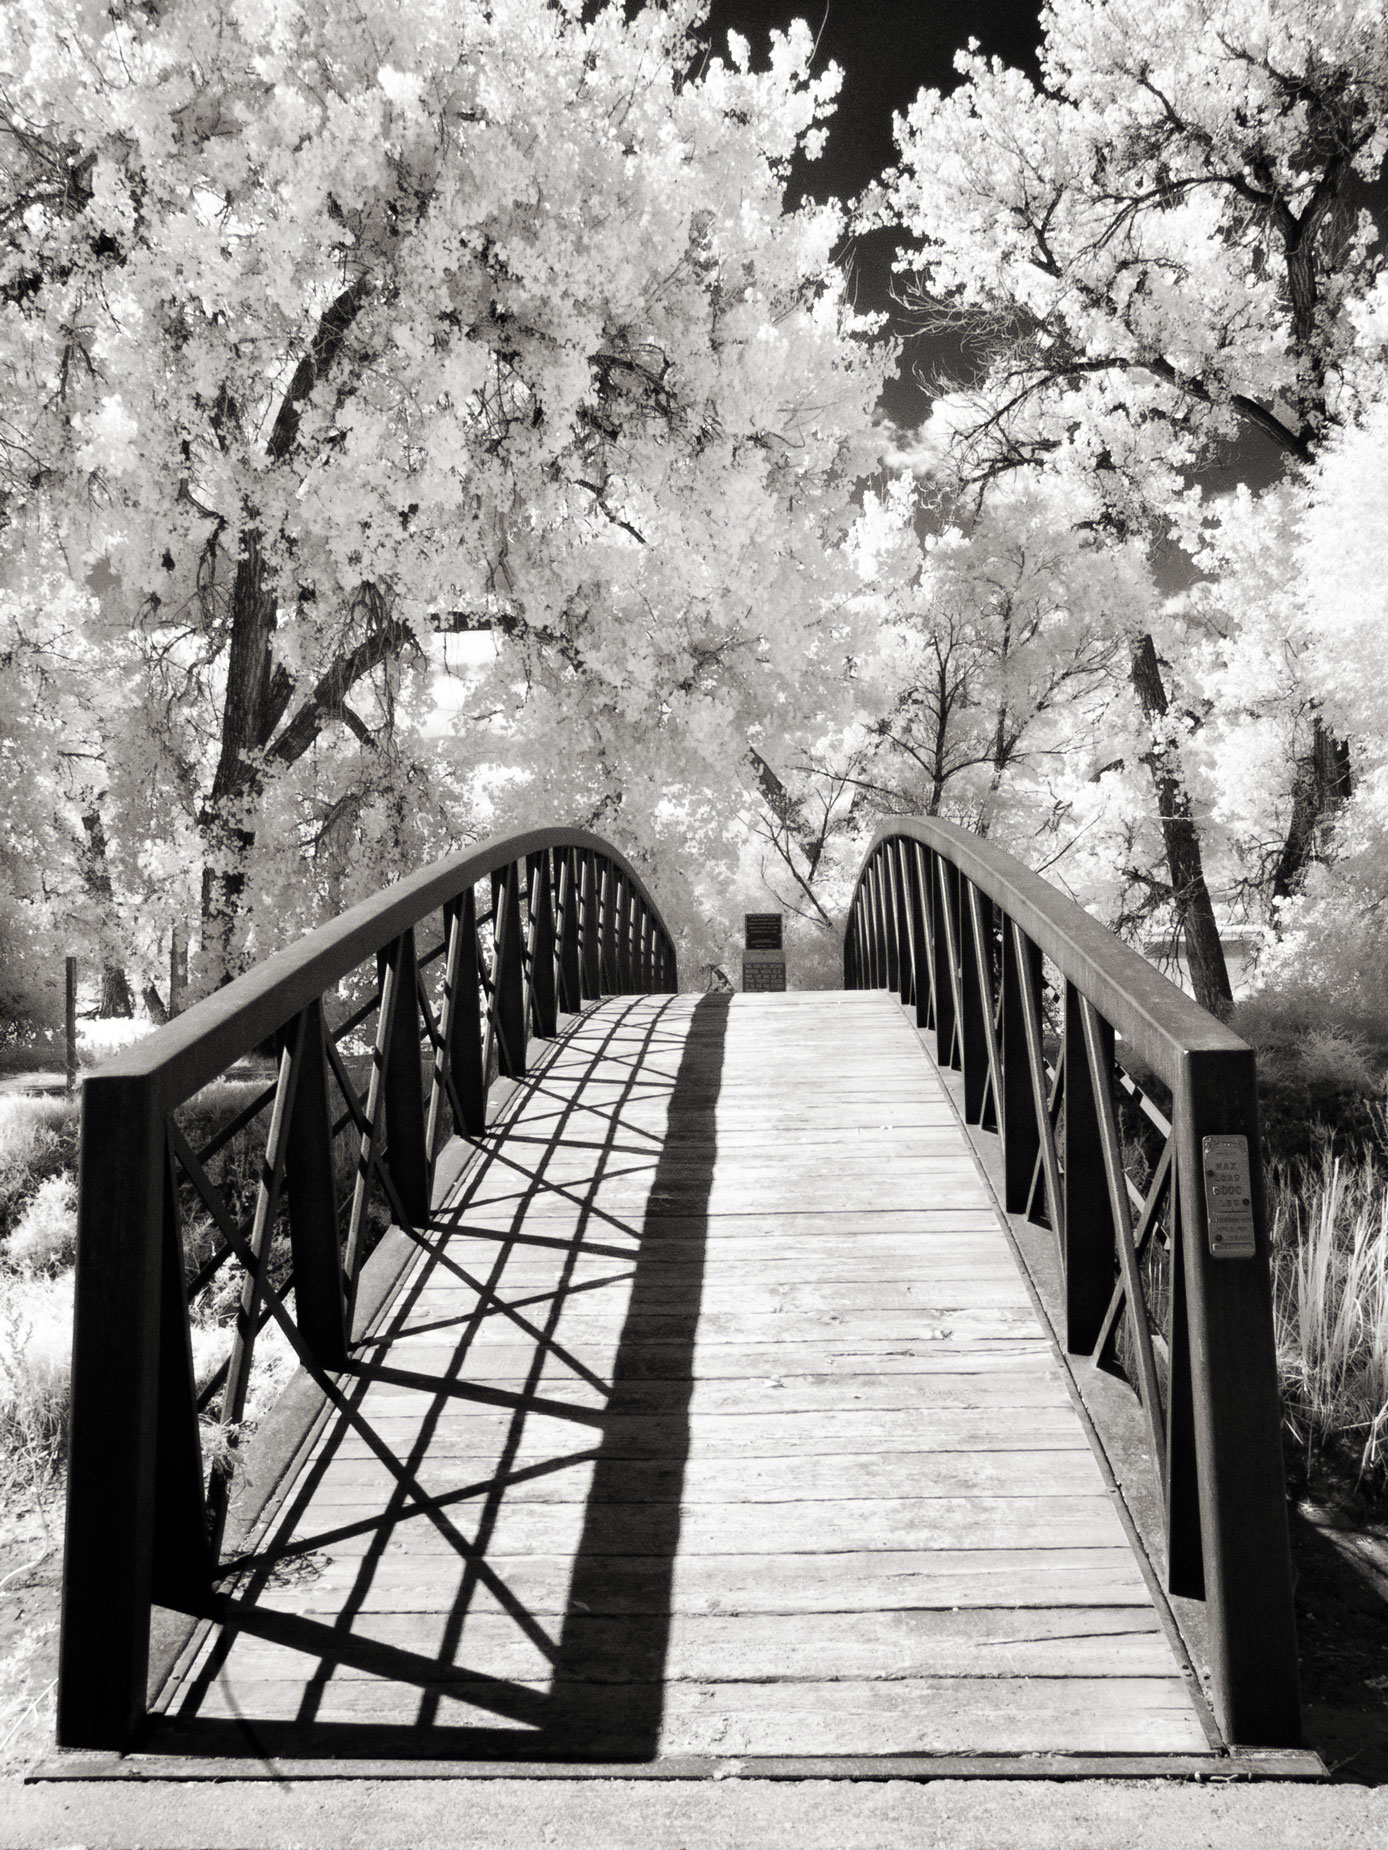
The Wood Effect is caused by infrared light at the approximately 600 nanometer (nm) wavelength that is not absorbed or reflected by the chlorophyll in tree leaves and passes through or comes out towards the viewer. This can be seen as the bright to white reproduction of the chlorophyll layer that’s found in deciduous plants. The effect is not after the material wood that, in fact, does not strongly reflect infrared. Deciduous trees, like those in the above image, respond the most to the Wood Effect, while evergreens like the Ponderosa Pines that abound where I live, less so. You can see that slight difference in infrared reflectivity in the bottom image of this post showing some of the deciduous and evergreen trees that grow here on Daisy Hill.
How I made this shot: I shot this image at Barr Lake near Brighton, Colorado, which was not far from my former home. Camera used was a IR-converted Olympus Pen E-P1 with a M.Zuiko Digital ED 9-18mm f/4.0-5.6 lens with a handheld exposure of 1/200 sec at f/13 and ISO 400. The finished image lightly cropped to fit my previsualized concept and Platinum toned using Pixel Genius’ PhotoKit.
Rule of thumb
Keep in mind: If the lighting in a scene looks great for standard photographs, then it’s probably not going to work all that well for infrared. One of the reasons is that the peak time for shooting the best infrared photographs is around noon but don’t take my word for it. You need to experiment for yourself because you’ll never know for sure what the results will be, which is part of the joy of shooting infrared. My advice is to experiment and discover what kind of subject matter (see below) and techniques work for you. You may be surprised at the variety of subject matter you can find for infrared photographs.
Subject Matter
I seem to have “a thing” for photographing small bridges in infrared. You can see one bridge that I photographed in McCabe Meadows here, and another bridge I photographed at Hudson Gardens here. But…there are no “official” subjects for digital IR photography; Please read my post ‘Best Subjects for Infrared Photography’ on my car photography blog for my take on this subject. Sure, summertime landscapes with leafy deciduous trees, lots of grass, and puffy clouds make a great infrared picture but don’t be confined to basic landscapes. Some of the shooters who are profiled in my book, “The Complete Guide to Digital Infrared Photography,” (see below) like to photograph people in IR. The truth is that any subject is fair game if you want to produce IR images.
