Today’s Post by Joe Farace
“There’s something strange and powerful about black and white imagery.”– Stefan Kanfer
I’m always surprised when hearing that many new shooters don’t know about the creative potential of infrared photography. Once upon a time I was photographing a model who was also an avid photographer and I mentioned photographing another model using infrared techniques and she asked, “what’s infrared?” Well, that’s part of the topic of today’s post.
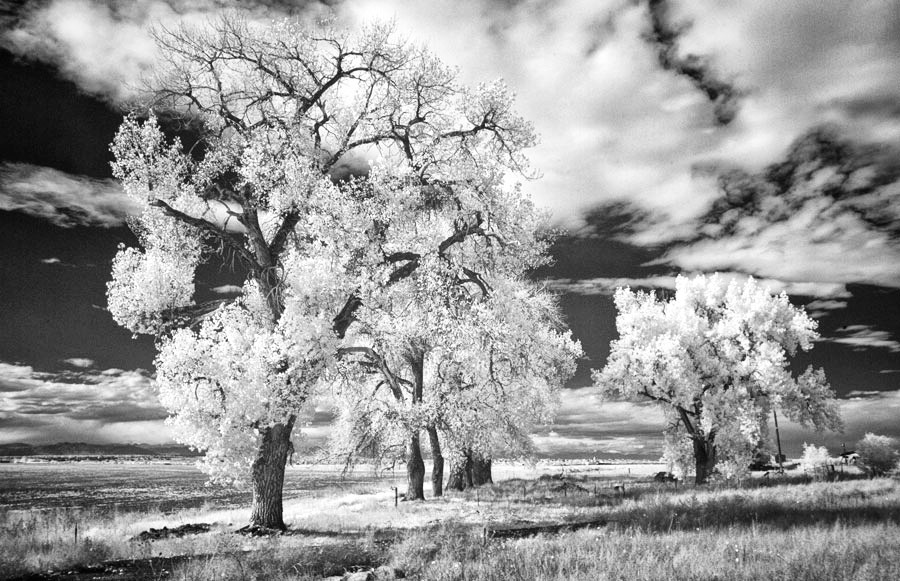
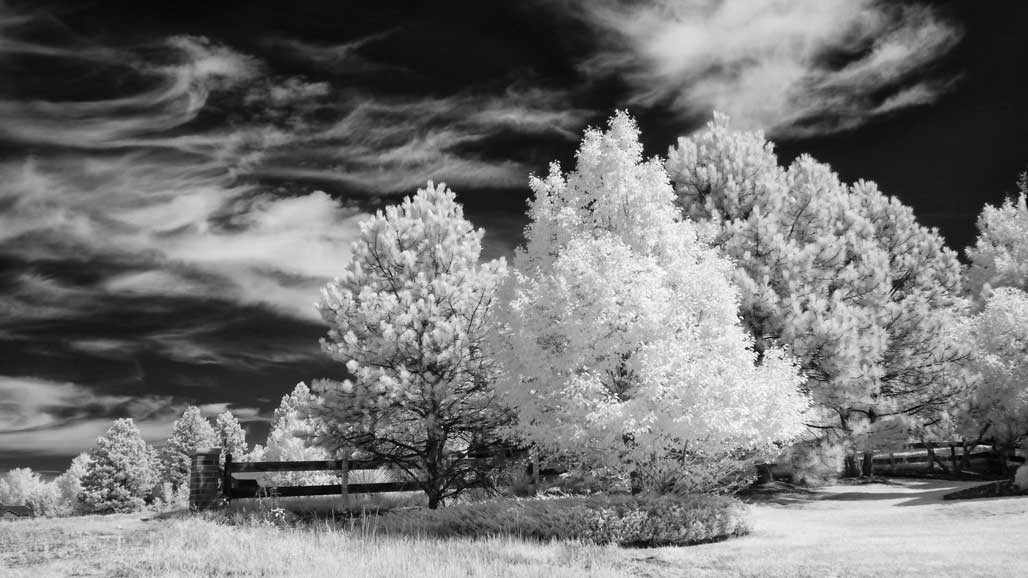
 My wife, Mary, says that shooting in infrared transforms mundane subject matter into something more “interesting and exotic.” I believe that it can add drama to landscape photography while letting you shoot during the middle of the day because the best time of day for infrared photography is the worst time for traditional photography.
Let’s Get Started
Getting started begins with a question: Is your camera infrared sensitive? Because if it is, you can use a not-too-expensive on-lens infrared filters. One way to check is to take the TV Remote test: Press a button on the remote, point it at your DSLR or mirrorless camera and take a picture or look at it in real time on the cameras LCD screen. If you can see a light from the remote you’re almost ready to make infrared images. Caveat: A few readers of my infrared book have told me this test isn’t infallible but it’s always worked for me.
Depending on their physical thread size, infrared filters are typically the least expensive solution for capturing IR images. I even did a video about IR filters and you can watch it by clicking this link. When The Hoya R72 filter is typically the least expensive way to try IR photography. If you can find them, a 52mm Hoya R72 Infrared filter, for example, costs around $45. The Cokin A007 filter, one of my favorites, is no longer available but can be found by poking around the Internet or eBay,. More powerful infrared filters such as a 52mm Singh-Ray 690 I-Ray cost around $160 but the difference in the images it produces are dramatic and noticeable.
All of these filters are so dark that they will require shutter speeds of one or more seconds. You’ll also need a sturdy tripod and may have to focus with the filter off the lens, then put it back on to make the final exposure. Some mirrorless cameras that I’ve tried will focus through the filter; yeah it surprised me too, Then there is the question of the wind…

Another option is having your camera converted for IR-only operation which costs a lot more than a filter and you won’t be able to use the camera for any other kind of photography. I also did a video on this subject and you can see it by clicking on this link. Depending on the specific camera brand and model, Life Pixel, the company that has converted all my mirrorless cameras, charges $175 and up to convert cameras for infrared capture.
But, and this is the important bit, once your camera is converted you can shoot hand held using the same kind of exposure settings—no long exposures, which can be a problem in windy days—you would use for daylight as any of your other (non-converted) cameras. Other than kicking up the ISO setting a bit higher than normal, I find that there’s no real difference between shooting an IR-converted camera than a normal DSLR or mirrorless camera. Why do I shoot at higher ISO settings? The higher settings lets me shoot at f/16 to minimize focusing problems. You can read more about that topic here.
If I put two IR photographs next to one another with one was made with a filter and the other with a converted camera, you probably would not be able to tell the difference—if they were made on a not-windy day. The only difference is asking yourself which method suits your budget and how you prefer to shoot.
