
I’m taking a break from the typical infrared landscape images and occasional car photographs I post on #monochromemonday to feature a portrait. This is something I may continue in the future, if only on an occasional basis. If you like these kinds of posts, expect to se more; if you don’t, expect to see less. If you have any opinions on the subject, please let me know.
Today’s Post by Joe Farace
“A portrait is not made in the camera but on either side of it.” — Edward Weston
 I first became involved in digital infrared photography after seeing the kind of images a students at one of my Miami workshops was making. Shortly after the workshop I picked up a Hoya R72 infrared filter and the rest, as they say is history. Making portraits with this technique was not a recommended use and yet, one of the earliest non-landscape applications of IR photography was in wedding photography. You can see some beautiful examples of this from one of its creative practitioners in my book, The Complete Guide to Infrared Photography.
Portraiture in Infrared
My initial hesitancy to make infrared portraits was, along with some of my IR-shooting friends, I had been told by “experts” that we should not photograph people using infrared techniques. This still appears to be a widely held opinion. A number of infrared images featuring my former muse, Tia Stoneman, that I created for an article on infrared photography, were turned down by the magazine’s editor targeting professional photographers, because she said the subject looked like a vampire. Maybe she wasn’t a fan of the Twilight movies?
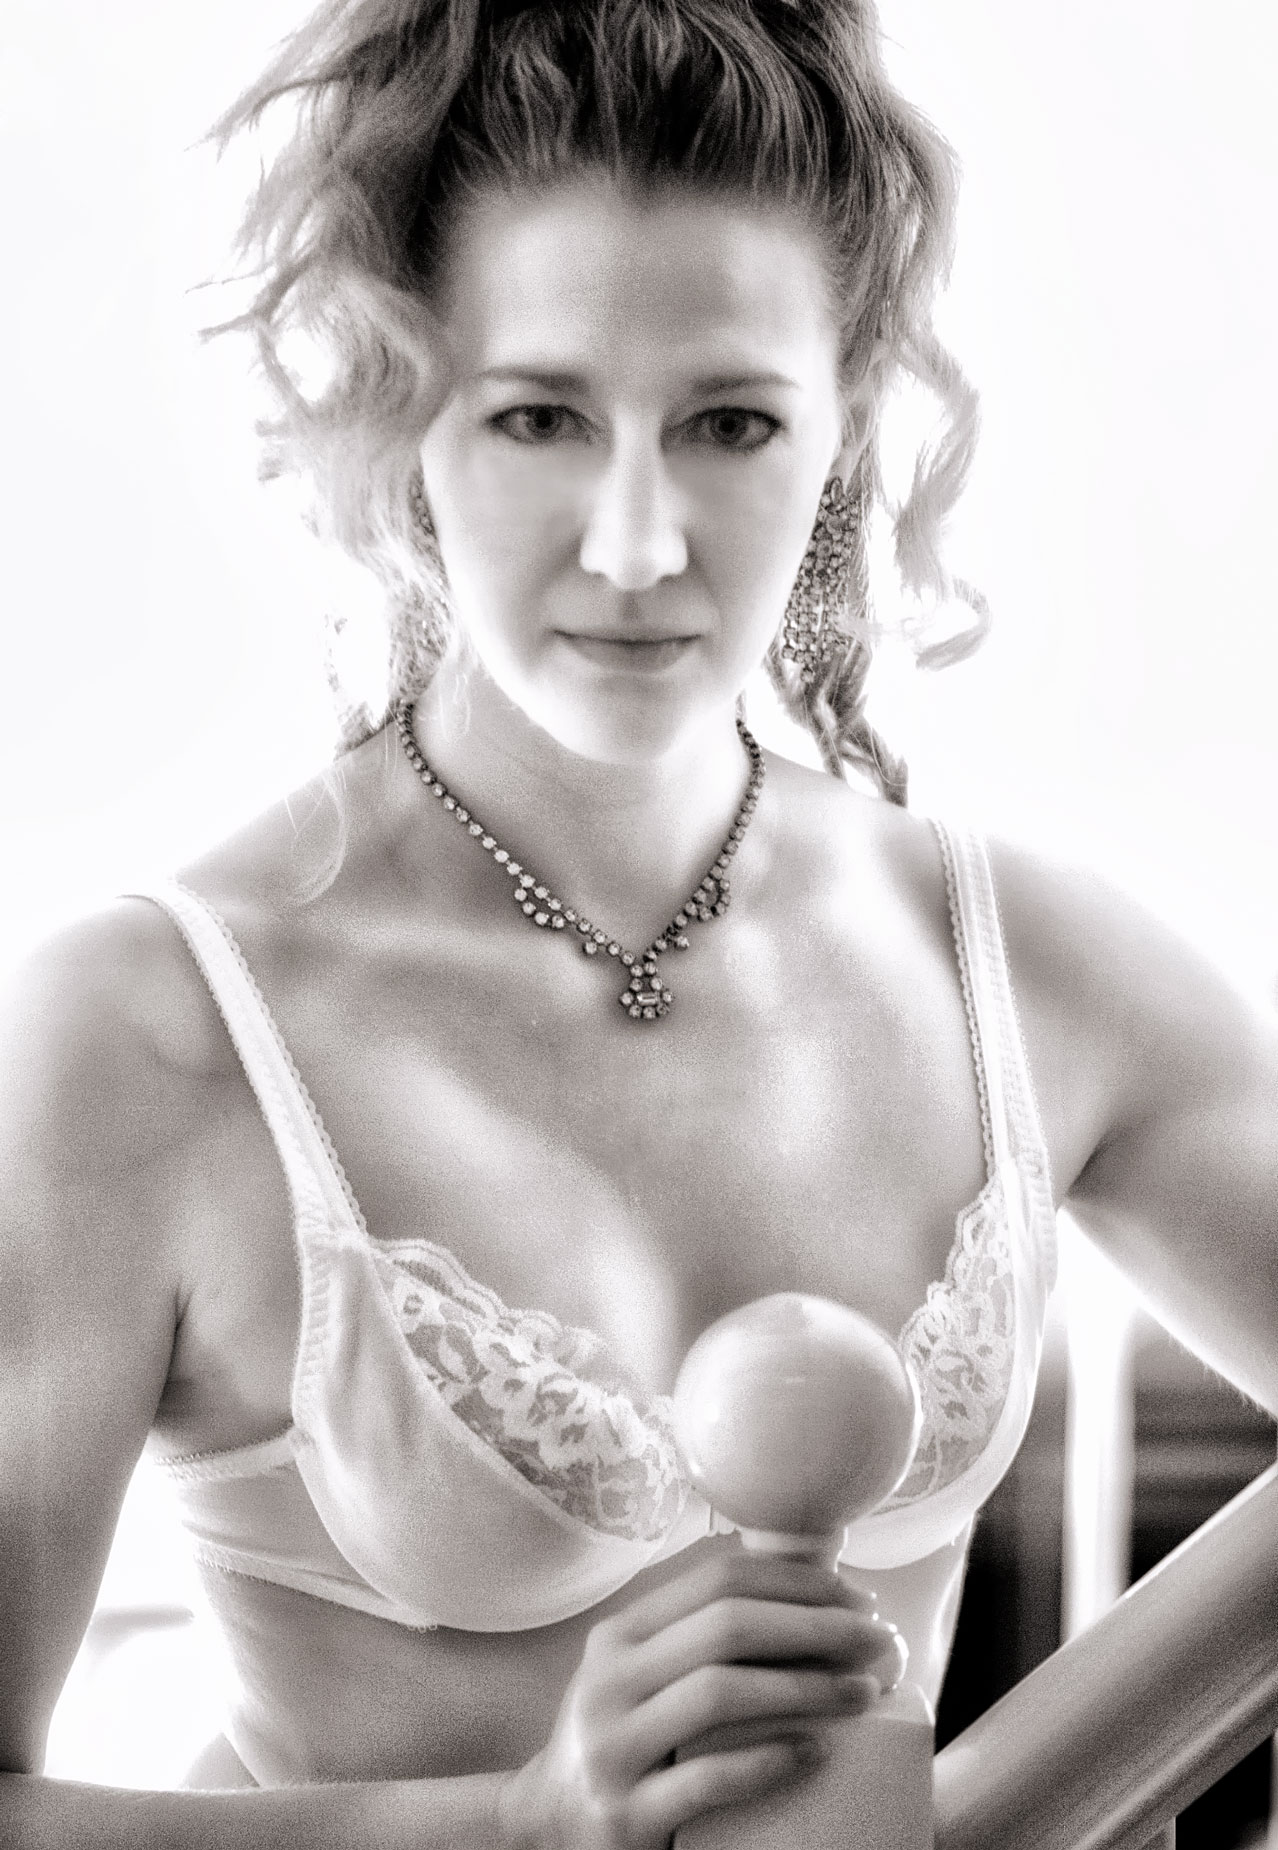 How I made the image at left: For this infrared portrait of Tia Stoneman, light was coming from a South-facing window in a door located between the living and dining rooms of my former home. This should give you some idea of the size of the house;, which is something people often ask me about portraits I made there. The camera used was a Canon EOS D60 that had a standard IR conversion (720nm) from a company no longer in business. The lens was an EF 28-105mm f/3.5-4.5 II USM lens (at 48mm) that I’m sorry that I sold. The Av mode exposure was 1/10 sec at f/16 and ISO 400 with a plus one and one-half stop exposure compensation.
How I processed the file: There is a process that’s used by some automobile mechanics when they’re trying to diagnosis a problem whose solution is not obvious. It is called throwing the “parts cannon” at the problem. Sometimes this method solves the issue and sometime it doesn’t. I’m about to share one of my (similar) secrets that I’ve used when processing infrared portraits. Here goes:
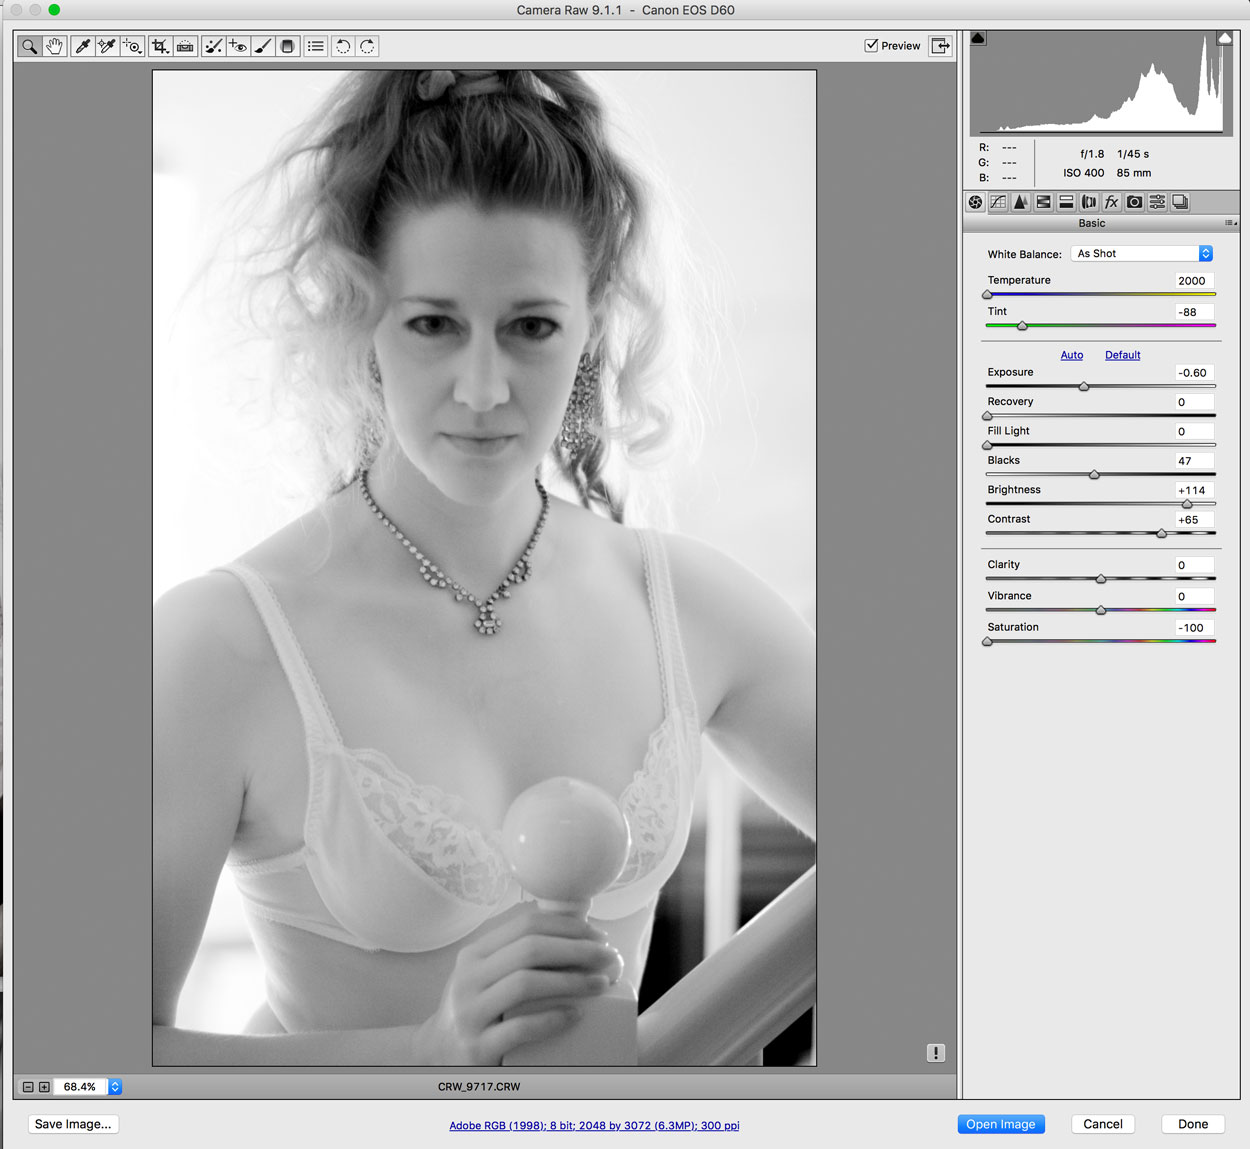
For this particular image, I started the process by opening the Canon RAW file in Adobe Camera RAW and you can see what that file looked like SOOC in the upper right. After playing around with the sliders, I converted the image into monochrome using Silver Efex. Then I did a slight amount of cropping, before applying Define to control the noise, which was followed by some burning and dodging using PhotoKit 2 to even out the tones of her face and body. Next, I will explain how I used the “plug-in cannon” and like the mechanic’s version, sometimes this approach works and sometimes it doesn’t.
I opened the image file in Color Efex and one-by-one I applied each and every filter in the plug-in in alphabetical order from B/W Conversion to White Neutralizer to, you know, see what happens. Here are the main filters I ended up using: Tonal Contrast, which is slowly becoming one of my favorite filters, Color Stylizer and Glamour Glow. There may have been others and I built up a stack of layers in the process. But, this is the most important part of the process; I had fun doing it.
 I’ve found that Life Pixel does a great job with IR conversions and they’ve done some of the conversions for my Canon DSLRs and all of my Panasonic Lumix G-series cameras. This is not a paid or sponsored endorsement, just my experience.
New copies of my book, The Complete Guide to Digital Infrared Photography are available from Amazon for $43.66, with used copies selling for around twelve bucks, as I write this. Used copes of my book Creative Digital Monochrome Effects that has a chapter on IR photography are selling for around $7.00, as I write this.