Today’s Post by Joe Farace
Now the world has gone to bed, Darkness won’t engulf my head, I can see by infrared,—Douglas Adams
In photography your capture options include color, monochrome as well as the kind of images that can only be captured by invisible light.
 The color of every light’s wavelength is measured in nanometers (one billionth of a millimeter) and light with wavelengths from 700 and 900nm is considered infrared. Surprisingly, this band of infrared light is a thousand times wider than that of visible light, yet it’s totally invisible to our eyes.
Being able to capture images using infrared light can transform what would normally appear to be mundane subject matter into dramatic photographs. Scenes you might walk by and never think of shooting, take on a completely different and usually better appearance when seen via infrared light. It’s never been simpler to do this by using filters or digital cameras converted specifically for IR capture.
If you decide to get serious about digital infrared photography you should think about having a camera converted to IR-only operation. With many older or refurb DSLRs and mirrorless cameras coming onto the market at affordable prices, there’s opportunities to pick up an extra body that accepts all of the lenses in your camera system already uses this new (to you) camera can be dedicated to infrared photography without breaking the ole piggy bank.
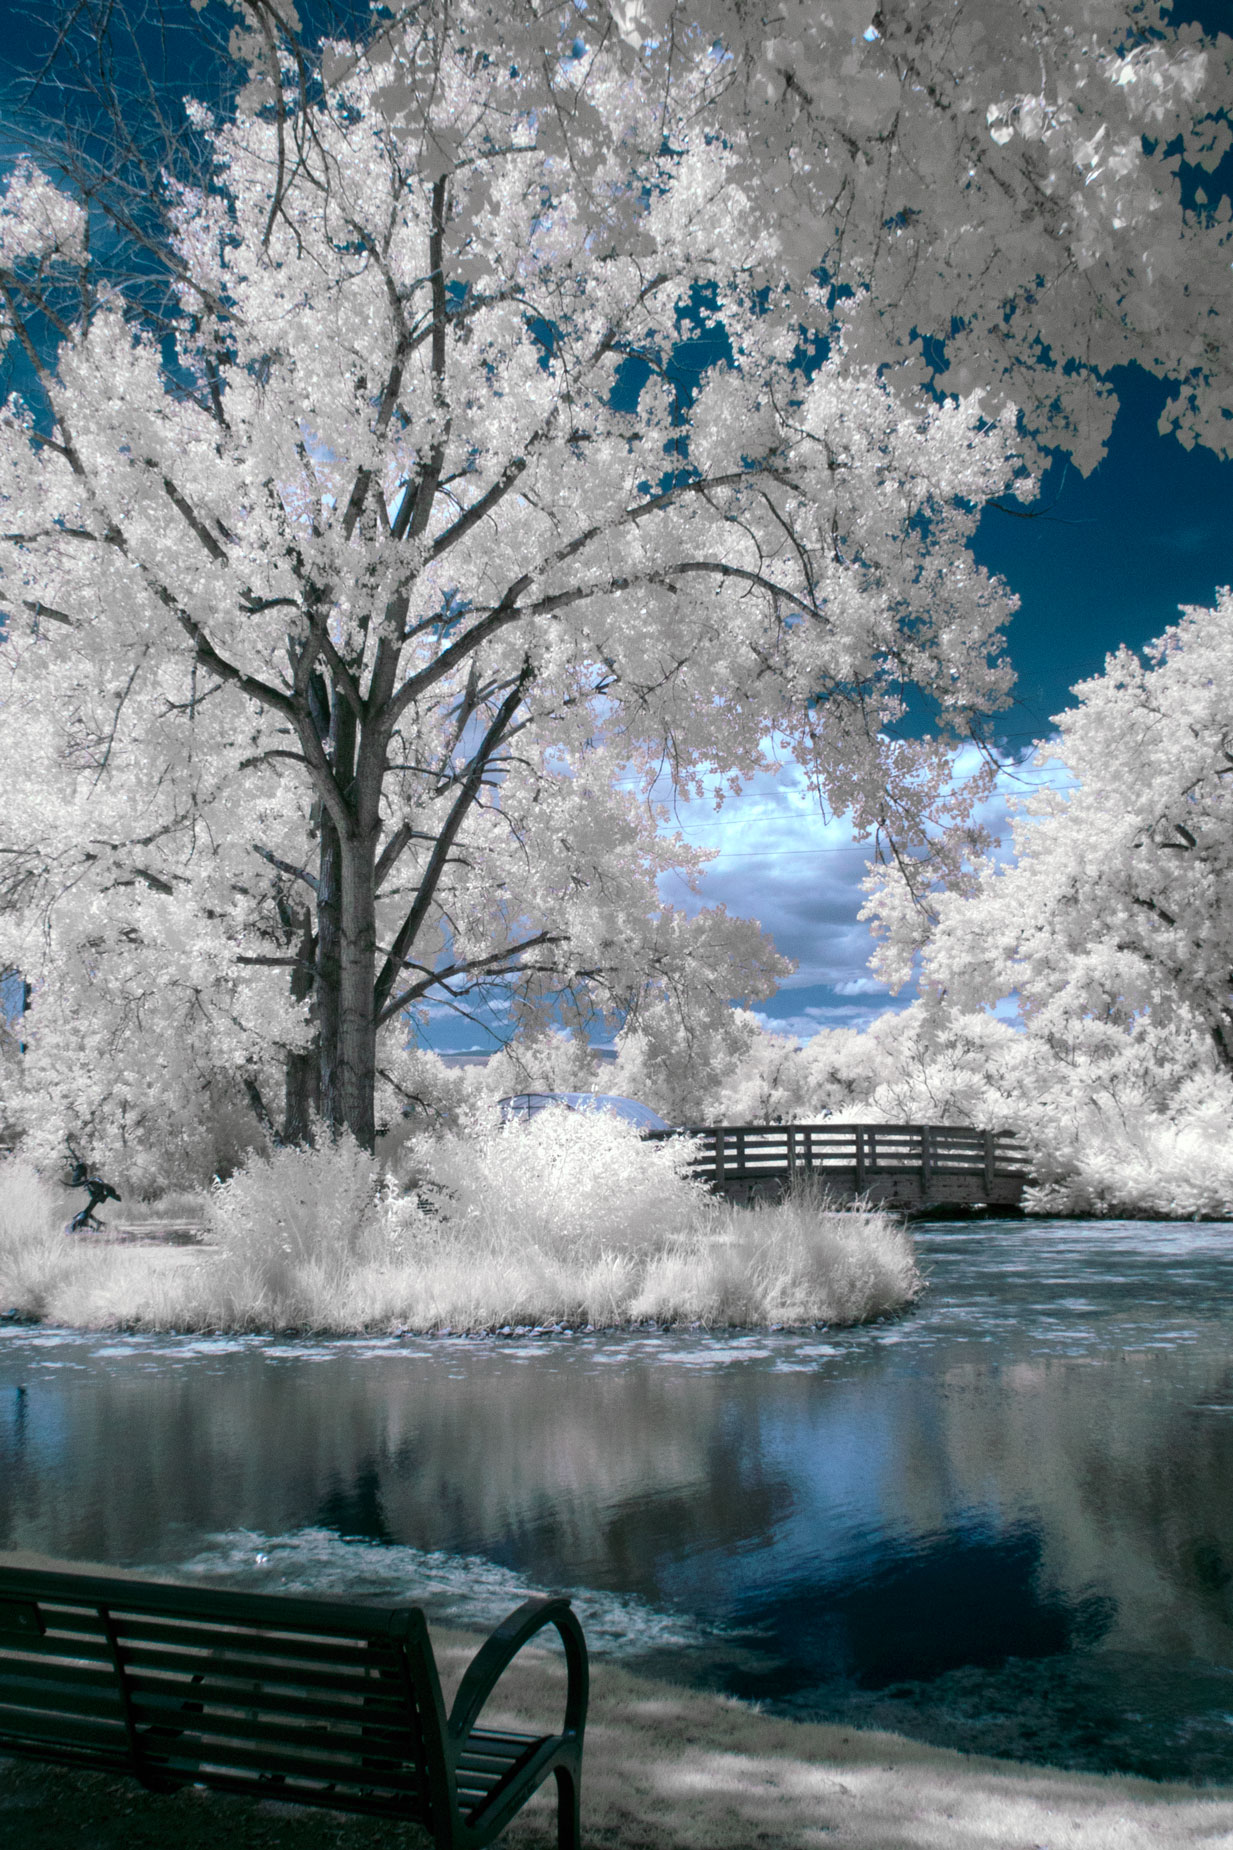
How I Made this shot: The above image was made during my recent PhotoWalk in Hudson Gardens with my pal Barry Staver. It was made using a Panasonic Lumix G6 that had been converted by Life Pixel with their Enhanced Infrared (665nm) filter. Lens was the Olympus M.17mm F2.8 lens (34mm equivalent) and an exposure of 1/250 sec at f/16 and ISO 400. The RAW file was processed using some of the techniques that are covered in my post, How important is white balance in infrared photography? before applying an optional Photoshop action (IR Channel Swap w/ white foliage) that Life Pixel offers with conversions. You can also use the techniques that I describe in my post How to Produce the Blue Sky Infrared Technique.
One of the most important lessons you can learn about shooting IR images is to forget everything you know about lighting, especially the best time of day to capture images. To give foliage that infrared glow you need to shoot at a time of day when there’s more sun on the scene rather than less. This puts your prime shooting times around mid-day! These are the worst times to make conventional images but are the “golden hours” for infrared. If you need a rule of thumb, use one of Farace’s Laws: The best time of day to shoot infrared is when it’s the worst time of day to shoot normal images.
Life Pixel does a great job with IR conversions and they have done most of the conversions for my Canon DSLRs and all of my Panasonic Lumix G-series cameras. This is not a paid or sponsored endorsement, just my experience.
My book, The Complete Guide to Digital Infrared Photography is available from Amazon with new copies available for $27.79 and used copies starting around seven bucks, as I write this. Creative Digital Monochrome Effects has a chapter on IR photography and is available from Amazon with new copies for $13.04 and used copies selling for around $2, less than the price of a Starbucks latte.
