Today’s Post by Joe Farace
“Black and white photography is truly quite a ‘departure from reality,’ and the transition from one aspect of visual magic to another was not as complete as many imagine.” —Ansel Adams
Whenever I’m asked to do a presentation about infrared photography to photographic organizations, I usually kick it off by reading a question a Shutterbug reader once asked: “Why do you do infrared photography, when regular photography is already so hard?” I don’t think regular photography is that hard. Modern cameras make it possible to make acceptable looking images right out of the box. What may be difficult for some is that their own photography may not yet—the key word—reached their expectations but as once said in the Hitchhiker’s Guide to the Galaxy…
“We’ll be saying a big hello to all intelligent lifeforms everywhere and to everyone else out there, the secret is to bang the rocks together…”
Why Shoot Infrared?
 The short answer, for me anyway, is because it’s fun but here’s the most important part…
Infrared photography can be a bit more techy than making traditional visible light photographs but the payoff is that it produces the kind of images you can’t capture any other way. Sure, you’ll need some specialized gear whether it’s a (relatively) expensive filter that every time I look at the prices on line seem to get more expensive. OR you can spend the extra cash to get a camera converted for infrared capture by companies such as Life Pixel.
My advice about IR camera conversions is this: Consider converting one of your older DSLRs or mirrorless cameras that’s just sitting around collecting dust, rather than doing it to a maybe expensive bread and butter daily shooter. If you don’t have an older camera, you can pick up a used, inexpensive camera like the Panasonic Lumix GX1 I bought from Roberts Camera in order to get Life Pixel’s Hyper Color infrared conversion done to it.
Check out my valentine to the Lumix GX1 in last week’s #wheelswednesday post. And if you want to get more takes on infrared camera conversions, take a look at my YouTube video on the subject. If you like what you see, consider subscribing to my YouTube channel—it’s free.
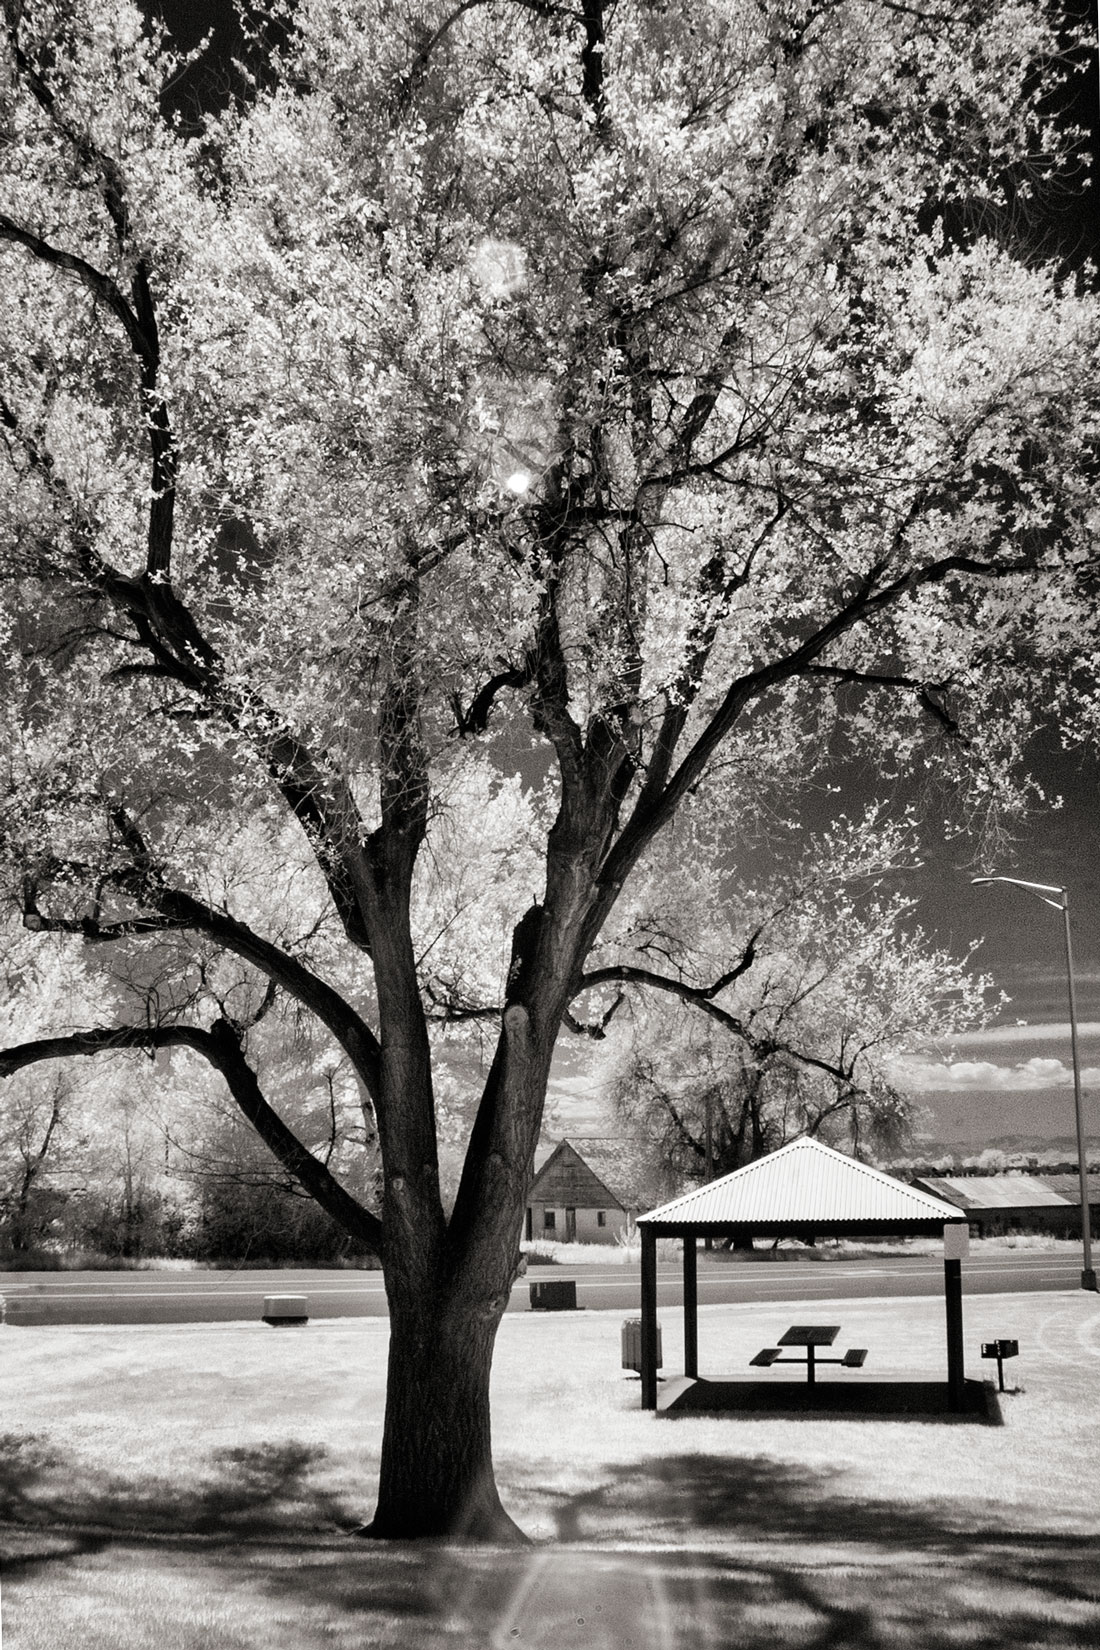
How I made this shot: This photograph was made literally three blocks from my former home’s front door. As I’ve mentioned here ad nauseam, when I lived in a semi-rural town north of Denver, I used to take a daily three-mile walk and would typically take a camera with me. This is something I’m trying to get back to, which is the reason for my recent PhotoWalks. Sometimes that camera would be an infrared-converted one, like the Canon EOS D30—not 30D—that I used for the featured image.
That camera was an older model “just sitting around” and was converted by a company, no longer in business, with their standard (and only) conversion that used a 720nm filter. The lens used for this photo, was Canon’s EF 22-55mm f4-5.6 USM that I originally bought for my Canon EOS IX Advanced Photo System SLR. Remember them? Exposure was 1/125 sec at f/22 and ISO 800. The RAW file was converted to monochrome using Silver Efex and toned with the Platinum filter that’s part of PhotoKit 2.
 I’ve found that Life Pixel does a great job with IR conversions and they’ve done most of the conversions for my Canon DSLRs and all of my Panasonic Lumix G-series cameras. This is not a paid or sponsored endorsement, just my experience.
Used copies of my book, The Complete Guide to Digital Infrared Photography are currently available new from Amazon for $33.66 or used copies for less than four bucks, as I write this. Creative Digital Monochrome Effects has a chapter on IR photography and new copies are available from Amazon for $16.16 with used copies starting at less than three bucks, which is a heckuva deal.