Today’s Post by Joe Farace
 As I’ve mentioned here before, there are really no “official” subjects for digital infrared photography. If you have time, please read Best Subjects for Infrared Photography on my car photography blog for some of my thoughts on that subject.
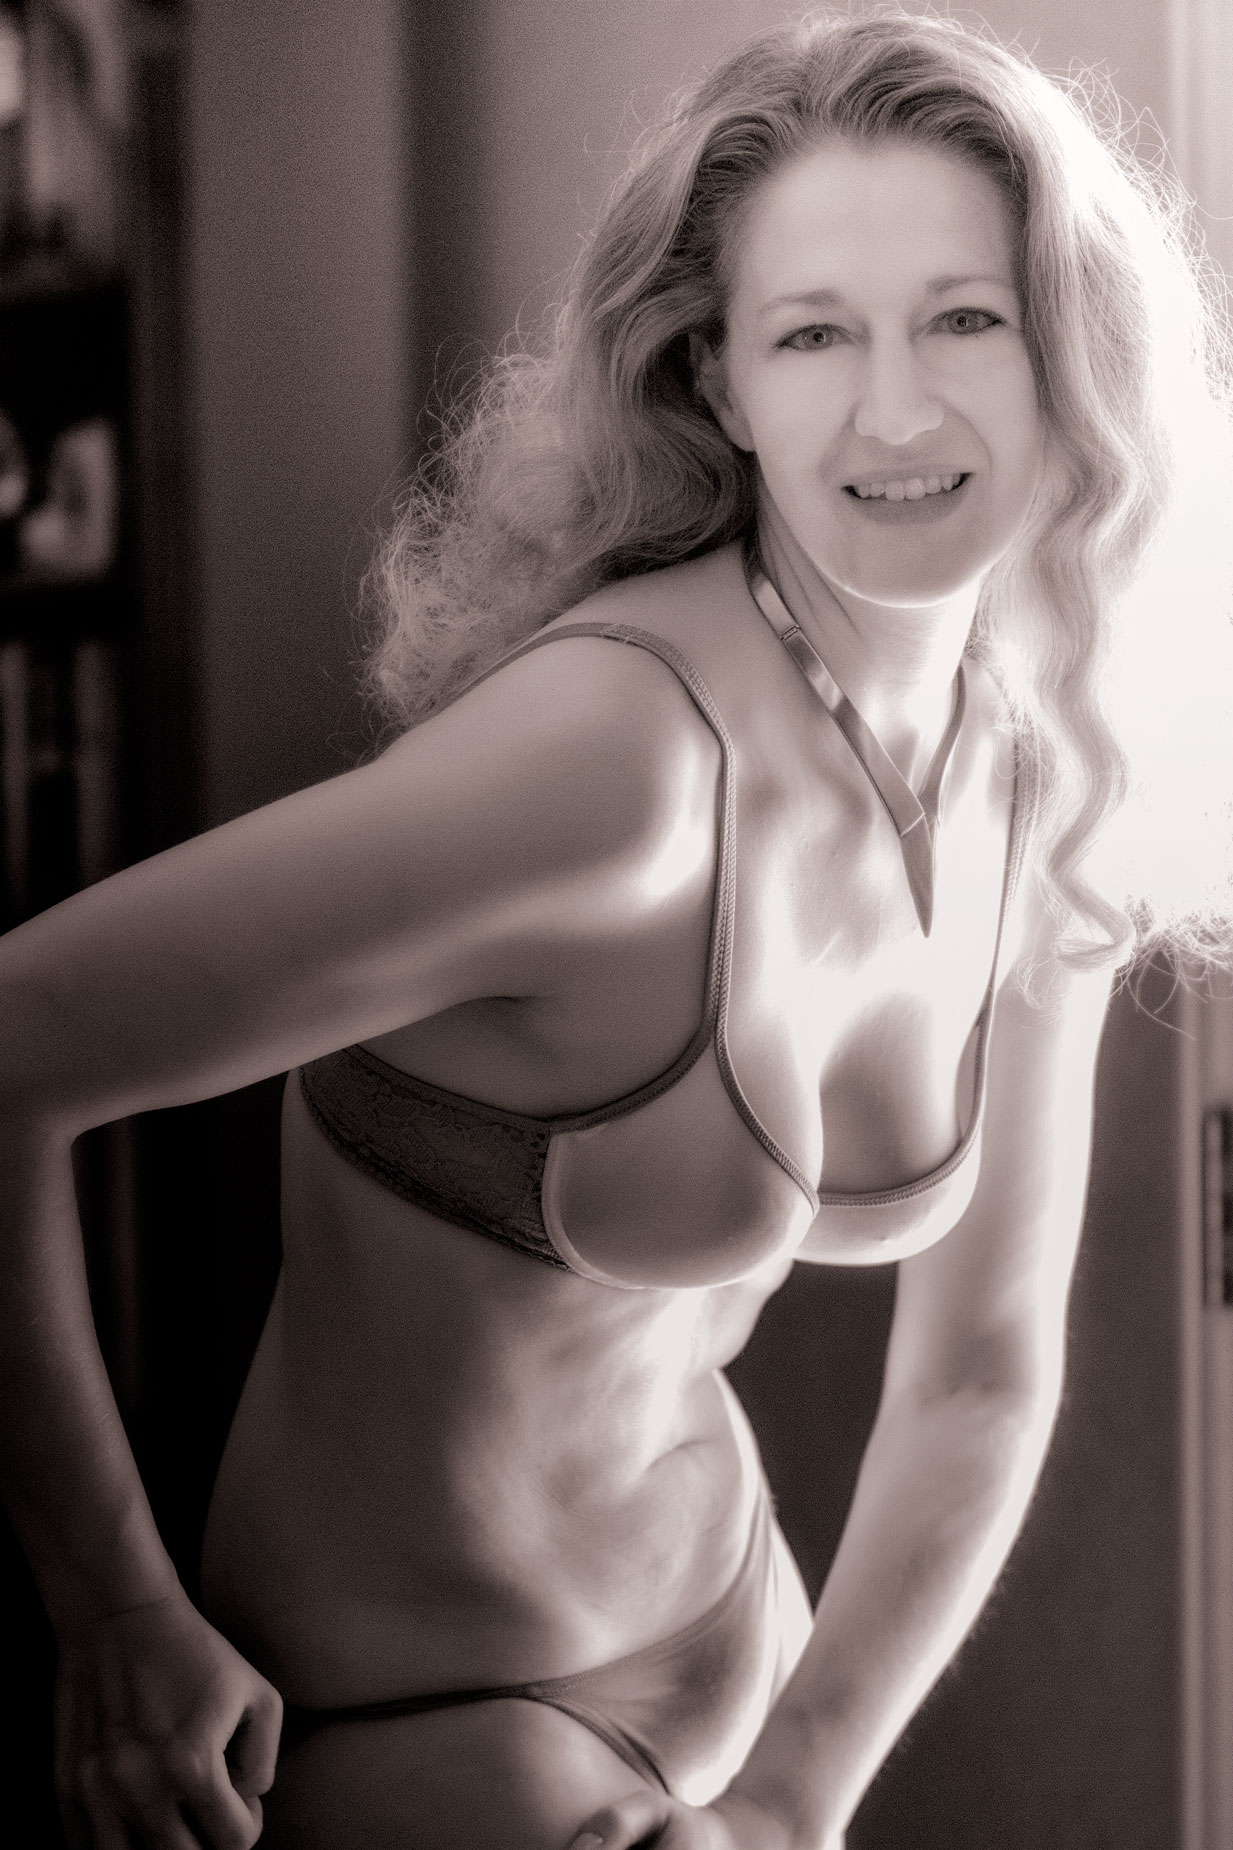
Some of the photographers that are profiled in my book, The Complete Guide to Digital Infrared Photography, like to photograph people using IR techniques. Today’s featured image is an infrared portrait of my former muse*, Tia Stoneman, who for whatever reason is the one model I’ve photographed the most in infrared.
A muse is defined as a “woman, or a force personified as a woman, who is the source of inspiration for a creative artist.”
For many years Tia inspired me and you’ve seen her photographs on this blog and in my books but she has retired from modeling to concentrate on raising her children.
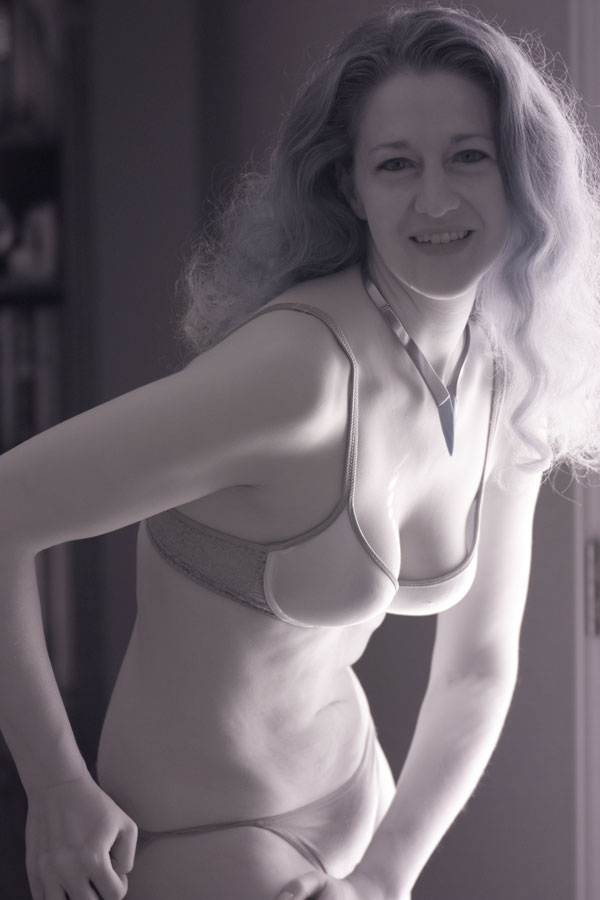
 The image at right is how some infrared images often look coming straight out of the camera as a RAW file, in this case Canon CRW format. But not all IR images look the same way when viewed straight out of the camera.
Depending on the time of day, the lighting or in this case, a lack of light, IR image files can sometimes appear blue or have a slight magenta cast like this one did.
When shooting infrared (and even “normal” captures, I typically shoot in RAW+JPEG format. For IR, I set the camera set in Monochrome mode to preview what a photograph might looks like as a traditional black and white infrared image. That way the camera’s LCD screen gives me an approximate view of what the image will look like inmonochrome. I then use the RAW file for final processing and any retouching, in the case of a portrait like the above photograph.
How I made this shot: I photographed Tia Stoneman in my former home, with her standing near its back door using only light from a window in the door. The camera used was a Canon 50D that was converted for infrared capture by LifePixel. The lens used was my favorite, the EF 85mm f/1.8 which is my go-to lens for available light photography. Exposure was 1/80 sec at f.2.5 and ISO 400. After burning and dodging the image using PhotoKit2 i applied Define to reduce any noise. Then I used a Photoshop actions (Action1) that Life Pixel sometimes offers with their conversions, which softened and added a sepia tone. Then I applied a layer of the Contrast Color Range filter from Color Efex to produce the final look you see here
*I am looking for a new muse. You can see and read about my previous muse, Erin Valakari here No experience is necessary, only an interest in posing and having fun. If you’re interested, click CONTACT and let’s talk.
 I’ve found that Life Pixel does a great job with IR conversions and they’ve done most of the conversions for some of my Canon DSLRs and all of my Panasonic Lumix G-series cameras. This is not a paid or sponsored endorsement, just my experience.
My book, The Complete Guide to Digital Infrared Photography is available from Amazon with new copies available for $10 and used copies selling for around three bucks as I write this. Creative Digital Monochrome Effects has a chapter on IR photography and is available from Amazon new for $5.95 with used copies starting at $4.00.