If you haven’t seen my Monday post—PhotoWalk: Hudson Gardens Revisited in Infrared—you can click the link and get some information about Hudson Gardens itself as well as how I made black and white IR images during the PhotoWalk.
Today’s Post by Joe Farace
Life is a painting, and you are the artist. You have on your palette all the colors in the spectrum – the same ones available to Michelangelo and daVinci. —Paul J. Meyer
Recently my pal Barry Staver and I took an infrared PhotoWalk around Denver’s Hudson Gardens. For the second half of the walk I shot black and white images which you can see featured in the above mentioned post. For the first part of the walk, I shot with a Panasonic Lumix GX1 that had been converted to infrared using Life Pixel’s Hyper Color filter. Why didn’t jI ust shoot with two cameras–neither one is all that big—instead of using one, then switching to the other? That’s answered can be found in the text* at the bottom of this post.
About Hyper Color
 Here’s what Life Pixel says about this filter: Compared to the rest of their other IR filters that Life Pixel offers, Hyper Color, captures the largest portion of visible light along with the infrared. When compared to their 590nm,Super Color IR filter (see next paragraph,) but while it theoretically allows a little more visible light to pass along with the IR. the SOOC results are much different. This blends of visible light with IR gives an advantage when shooting infrared portraits because the subjects will have a more realistic look when compared to other infrared filters. Because the Hyper Color filter is just as sensitive to infrared as any other IR filter, anything in nature that reflects infrared especially will continue to do so.
The one thing that photographers always ask my about any images I shoot with the Hyper Color filter is, “what’s the nanometer rating of the filter,” Well, here’s the deal, the Hyper color filter doesn’t seem to have any rated nanometer (nm) rating, other than the vague claims made by Life Pixel
What’s a nanometer? The visible light you see as red, orange, yellow, green, blue, indigo, and violet represent different wavelengths of light. Every color’s wavelength is measured in nanometers or one billionth of a millimeter or microns that are a millionth of a meter. Light with wavelengths ranging from 700 and 900nm are referred to as infrared light. This band of infrared light is a thousand times wider than that of visible light and is completely invisible to our eyes.
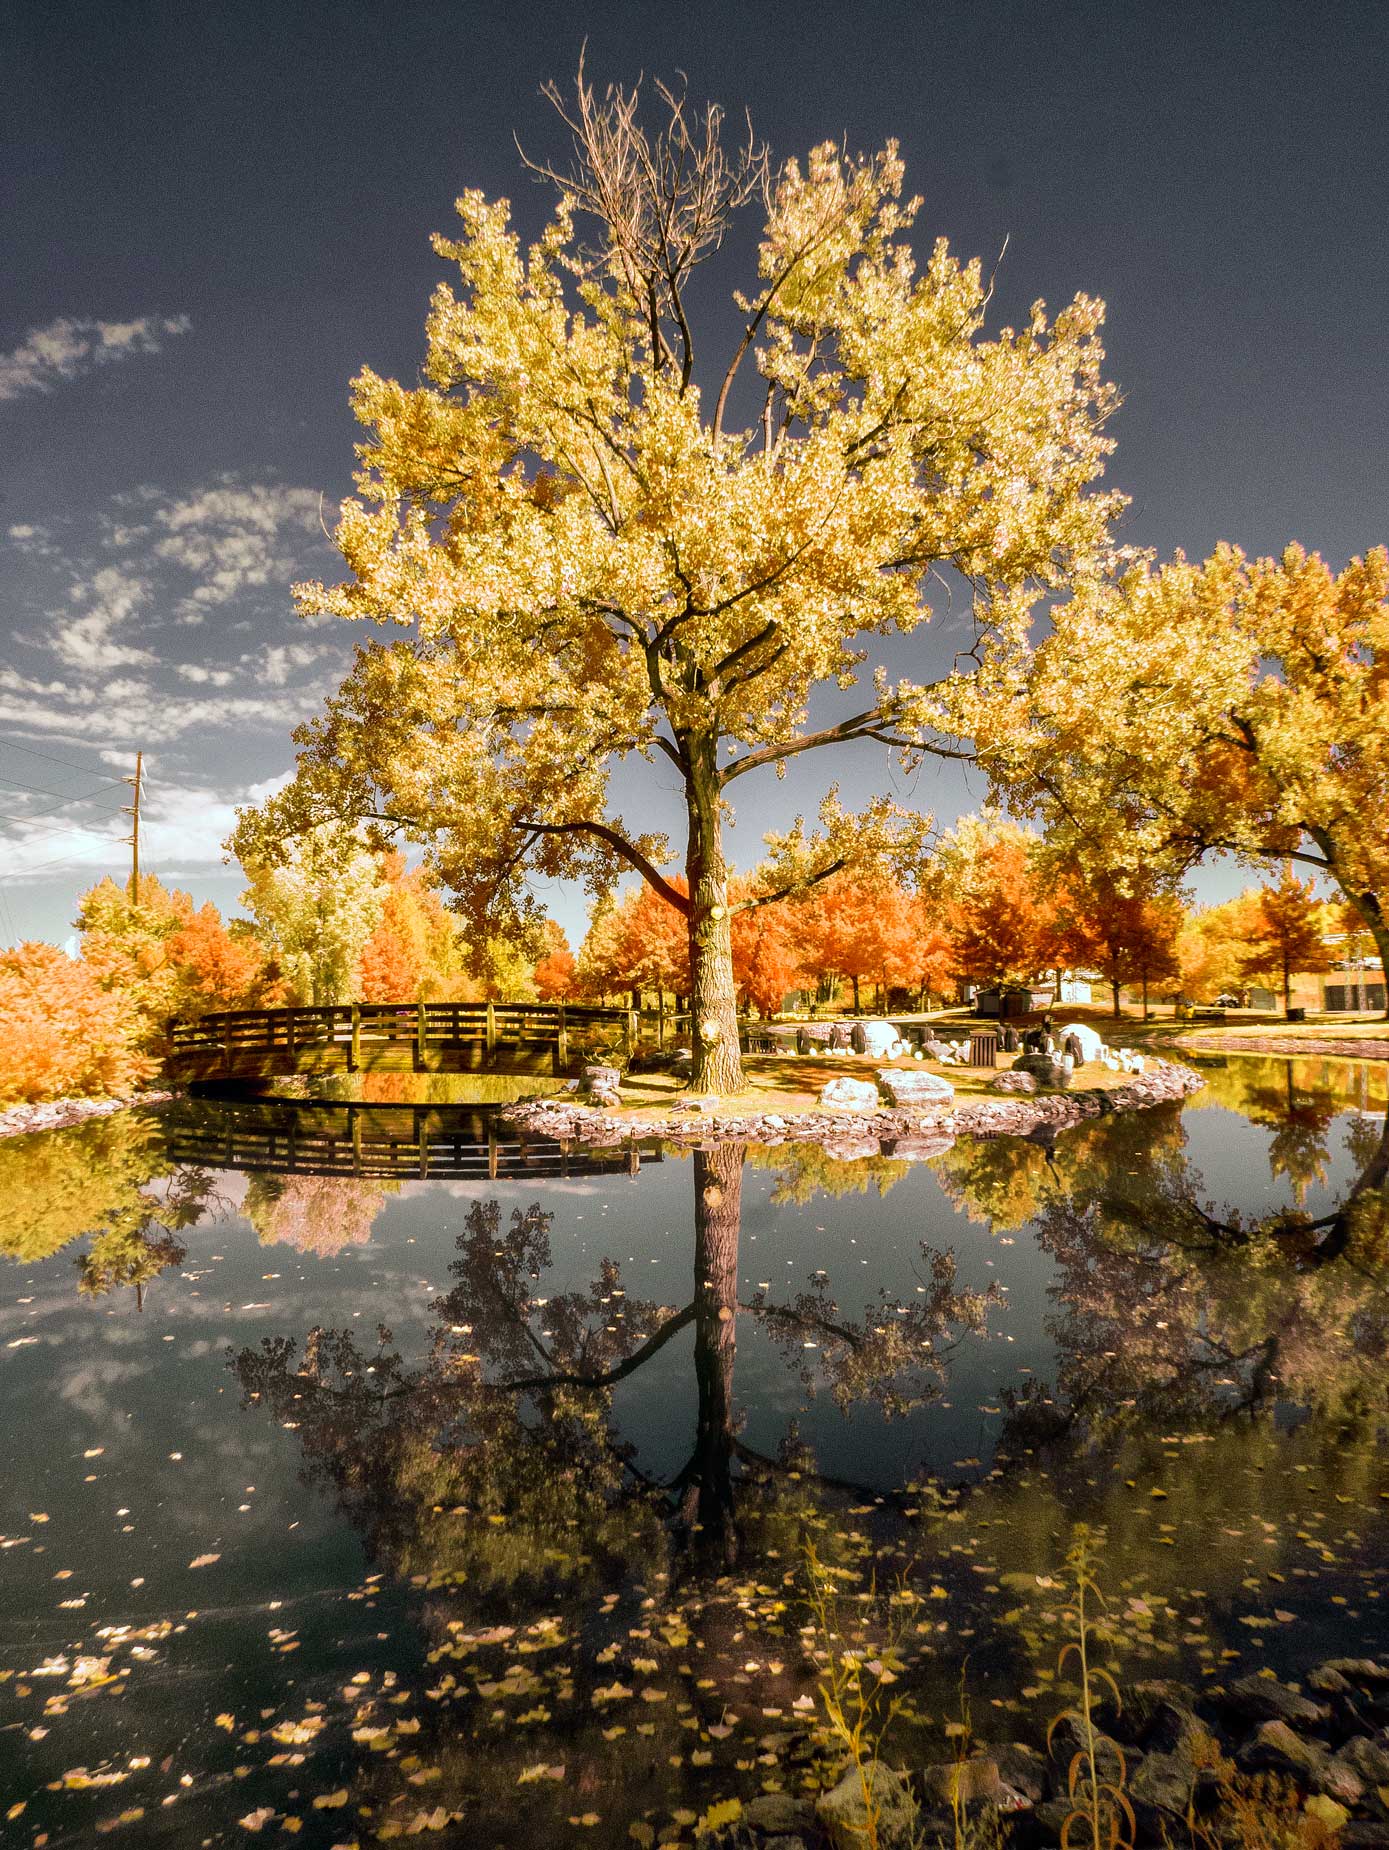
How I Made this Photograph: This image of Hudson Lake and Justin’s Bridge was made with a Panasonic Lumix GX1 and Lumix G Vario 12-32mm f/3.5-5.6 kit lens at 12mm. (You can read more about what this experience did to make me do a deep dive into this lens’s sharpness in this post.) The RAW file was processed by using the dodging tools in PhotoKit to lighten the water in the bottom half of the frame to balance the image. Next I ran the Hyper Color to Super Color action that’s part of a set of Photoshop Actions that Life Pixel included with camera conversions at one time. Finally, I used Vivenza to punch up the colors just a little bit.
Behind the Gobbledegook
So what does all the gobbledygook In all of the above mean? It simply provides some background to those photographers who want to know “what’s behind the curtain.” You don’t need to know any of this stuff to have fun with infrared photography. You can just send your camera (and lens) to Life Pixel or your favorite infrared conversion service and play with Photoshop Actions, Photoshop or even Lightroom (not my favorite) or whatever your favorite image manipulation service may be and see what kind of results you can achieve, The motto of this blog has always been “Have fin with Photography and that’s something that infrared imaging has always provided for me. It’s a way to have fun!

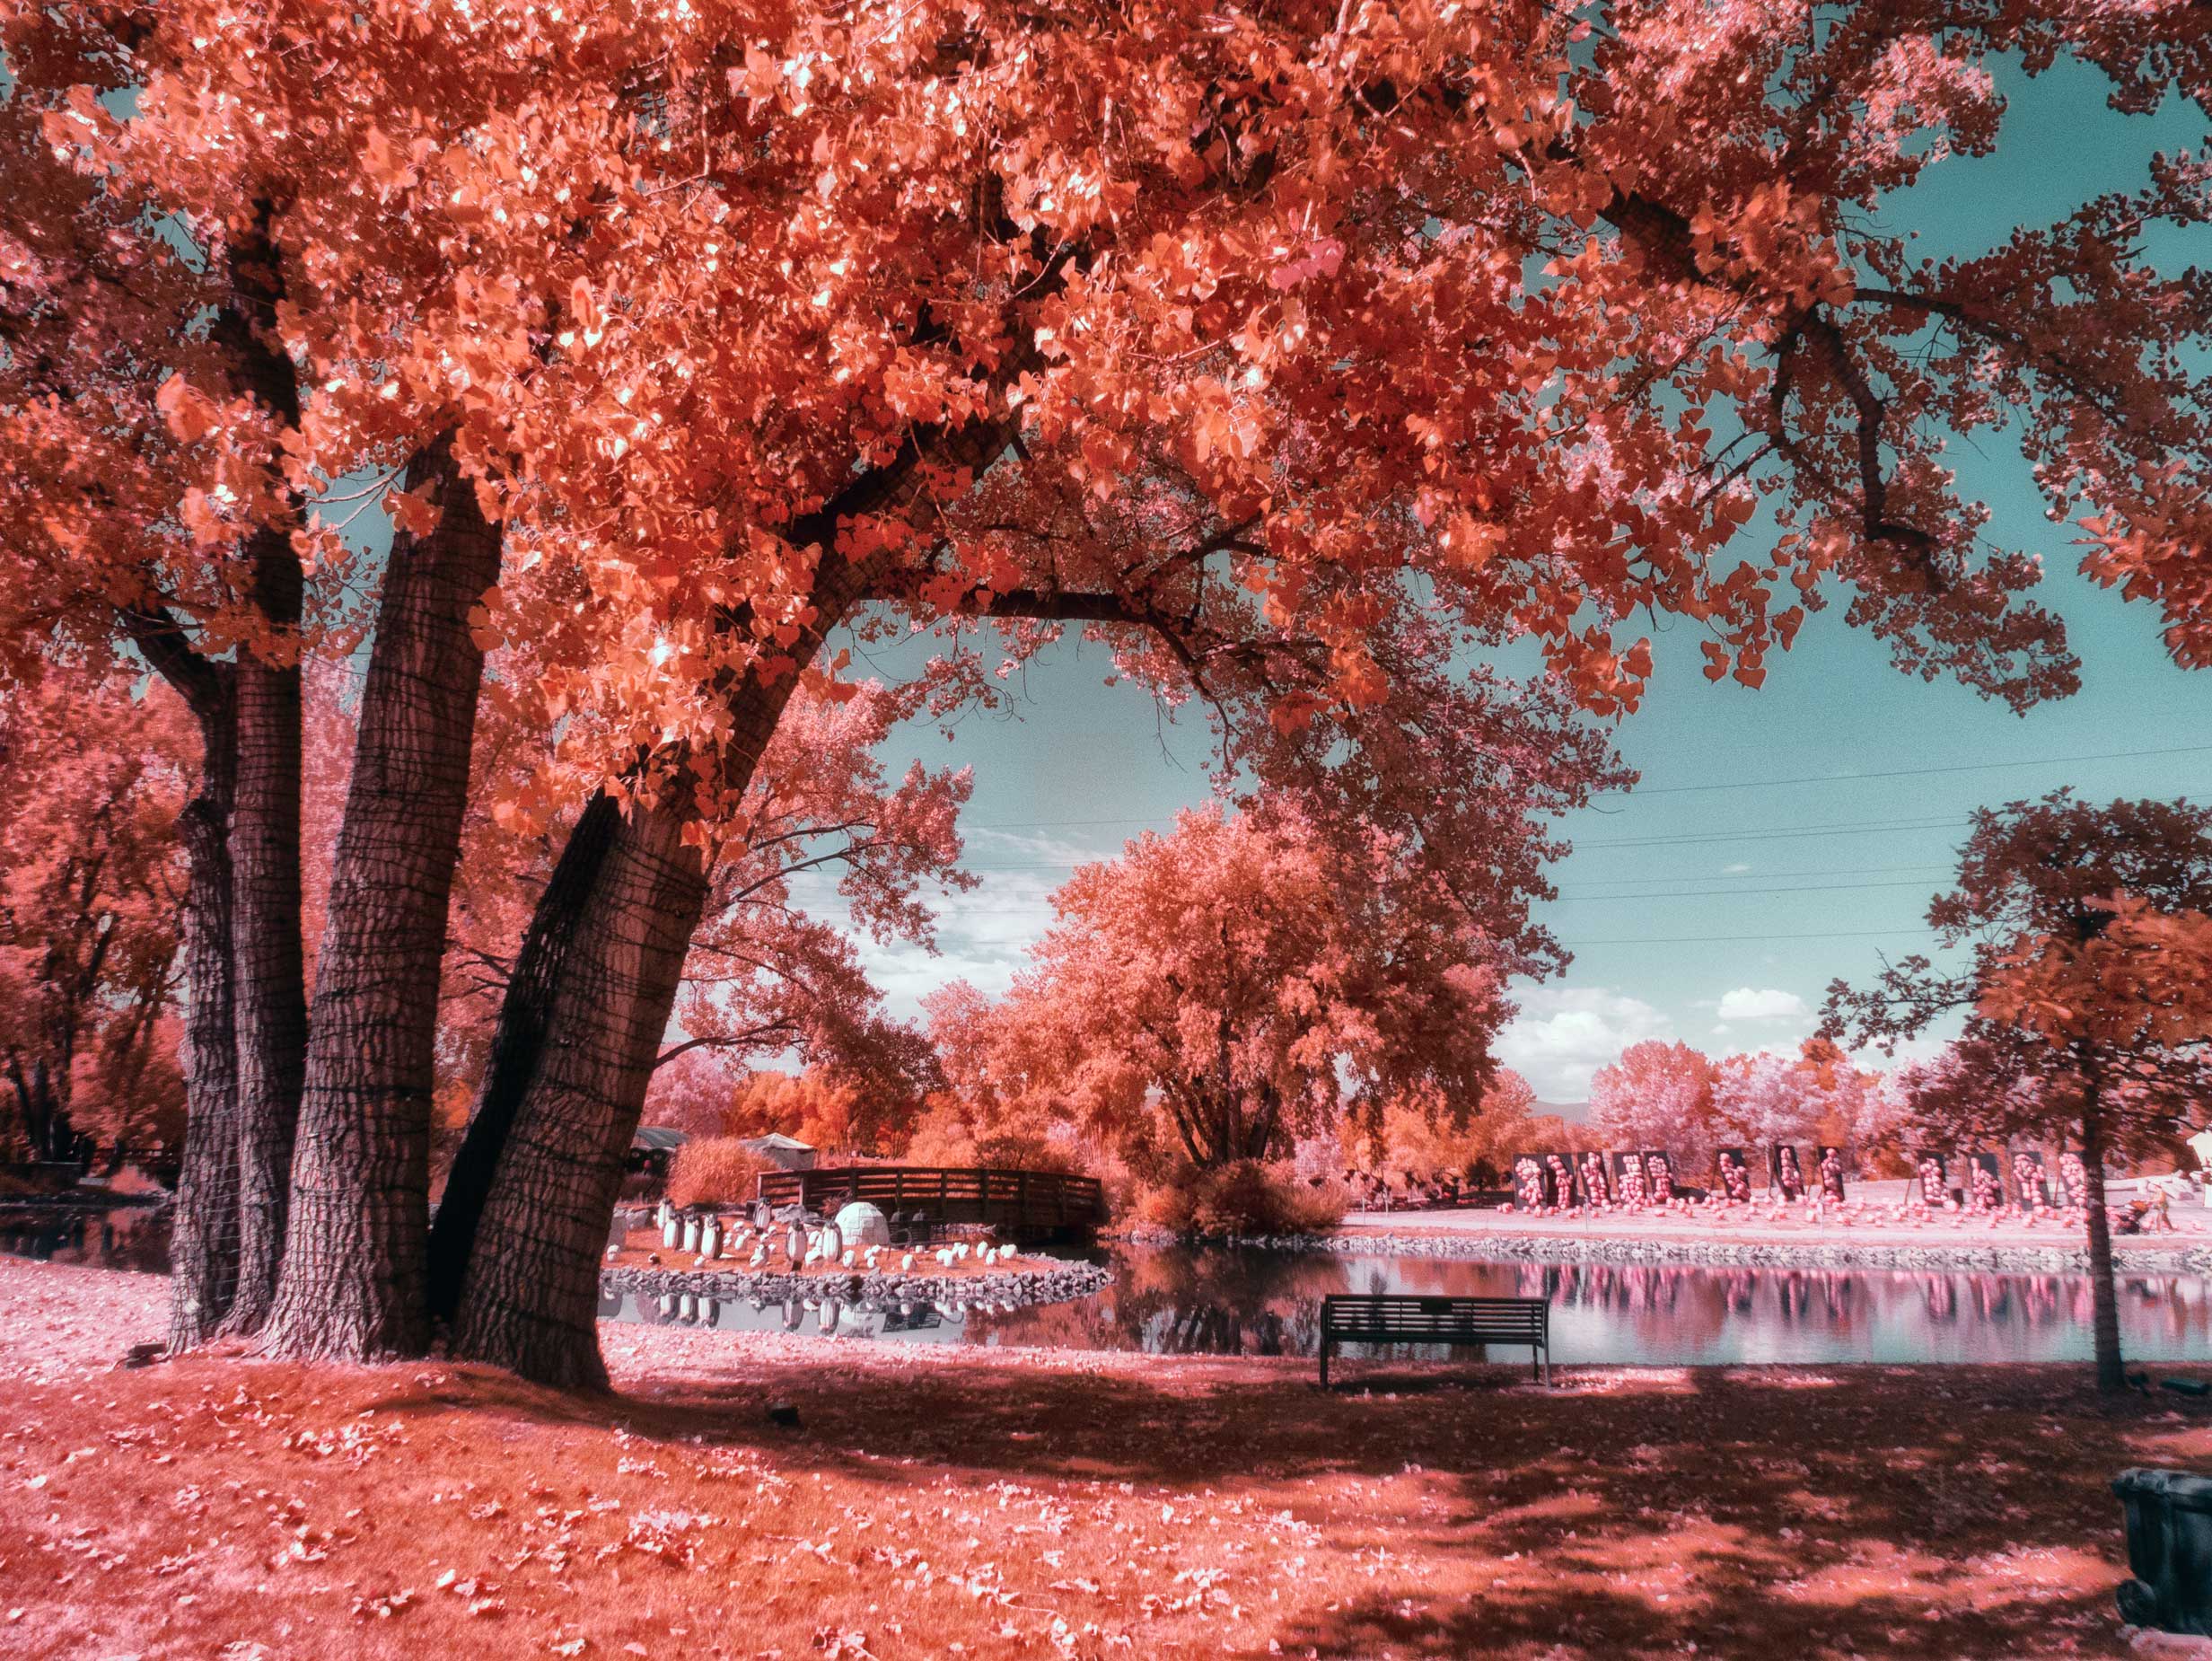
How I Made this Photograph: This image was made with a 16-megapixel Panasonic Lumix GX1 and Lumix G Vario 12-32mm f/3.5-5.6 kit lens at 12mm. To tell the truth, I really wanted to convert this particular RAW file to monochrome but this post is about color so after opening in Adobe Camera RAW I applied the Hyper Color to Aerochrome action that’s part of a set of Photoshop Actions that Life Pixel included with camera conversions at one time. Next, I used Vivenza to tone down the colors just a little bit before applying the Glamour Glow filter to add a little IR magic to the image.
Why did I not just shoot with two cameras?
*It’s simple: In the past every time I worked with two cameras they spend most of their time hanging around my neck and banging into one another and I like to keep my camera’s looking nice. The other thing that happens is that–and this is all my own fault—I tend to make stupid mistakes that I end up regretting. For instance: This happened and then this happened. So when I feel compelled to use two cameras to shoot two complete different infrared looks, such as during this PhotoWalk, I keep one camera in a Lowepro fanny pack that’s slung over my shoulder and shoot with the second camera. In the long run, I find it makes me happier, keeps my cameras looking nice and saves me repair money.
 I’ve found that Life Pixel does a great job with IR conversions and they’ve done most of the conversions for my Canon DSLRs and all of my Panasonic Lumix G-series cameras. This is not a paid or sponsored endorsement, just my experience.
Used copies of my book, The Complete Guide to Digital Infrared Photography are currently available new from Amazon for $33.66 or used copies for less than four bucks, as I write this. Creative Digital Monochrome Effects has a chapter on IR photography and new copies are available from Amazon for $16.16 with used copies starting at less than three bucks, which is a heckuva deal.