
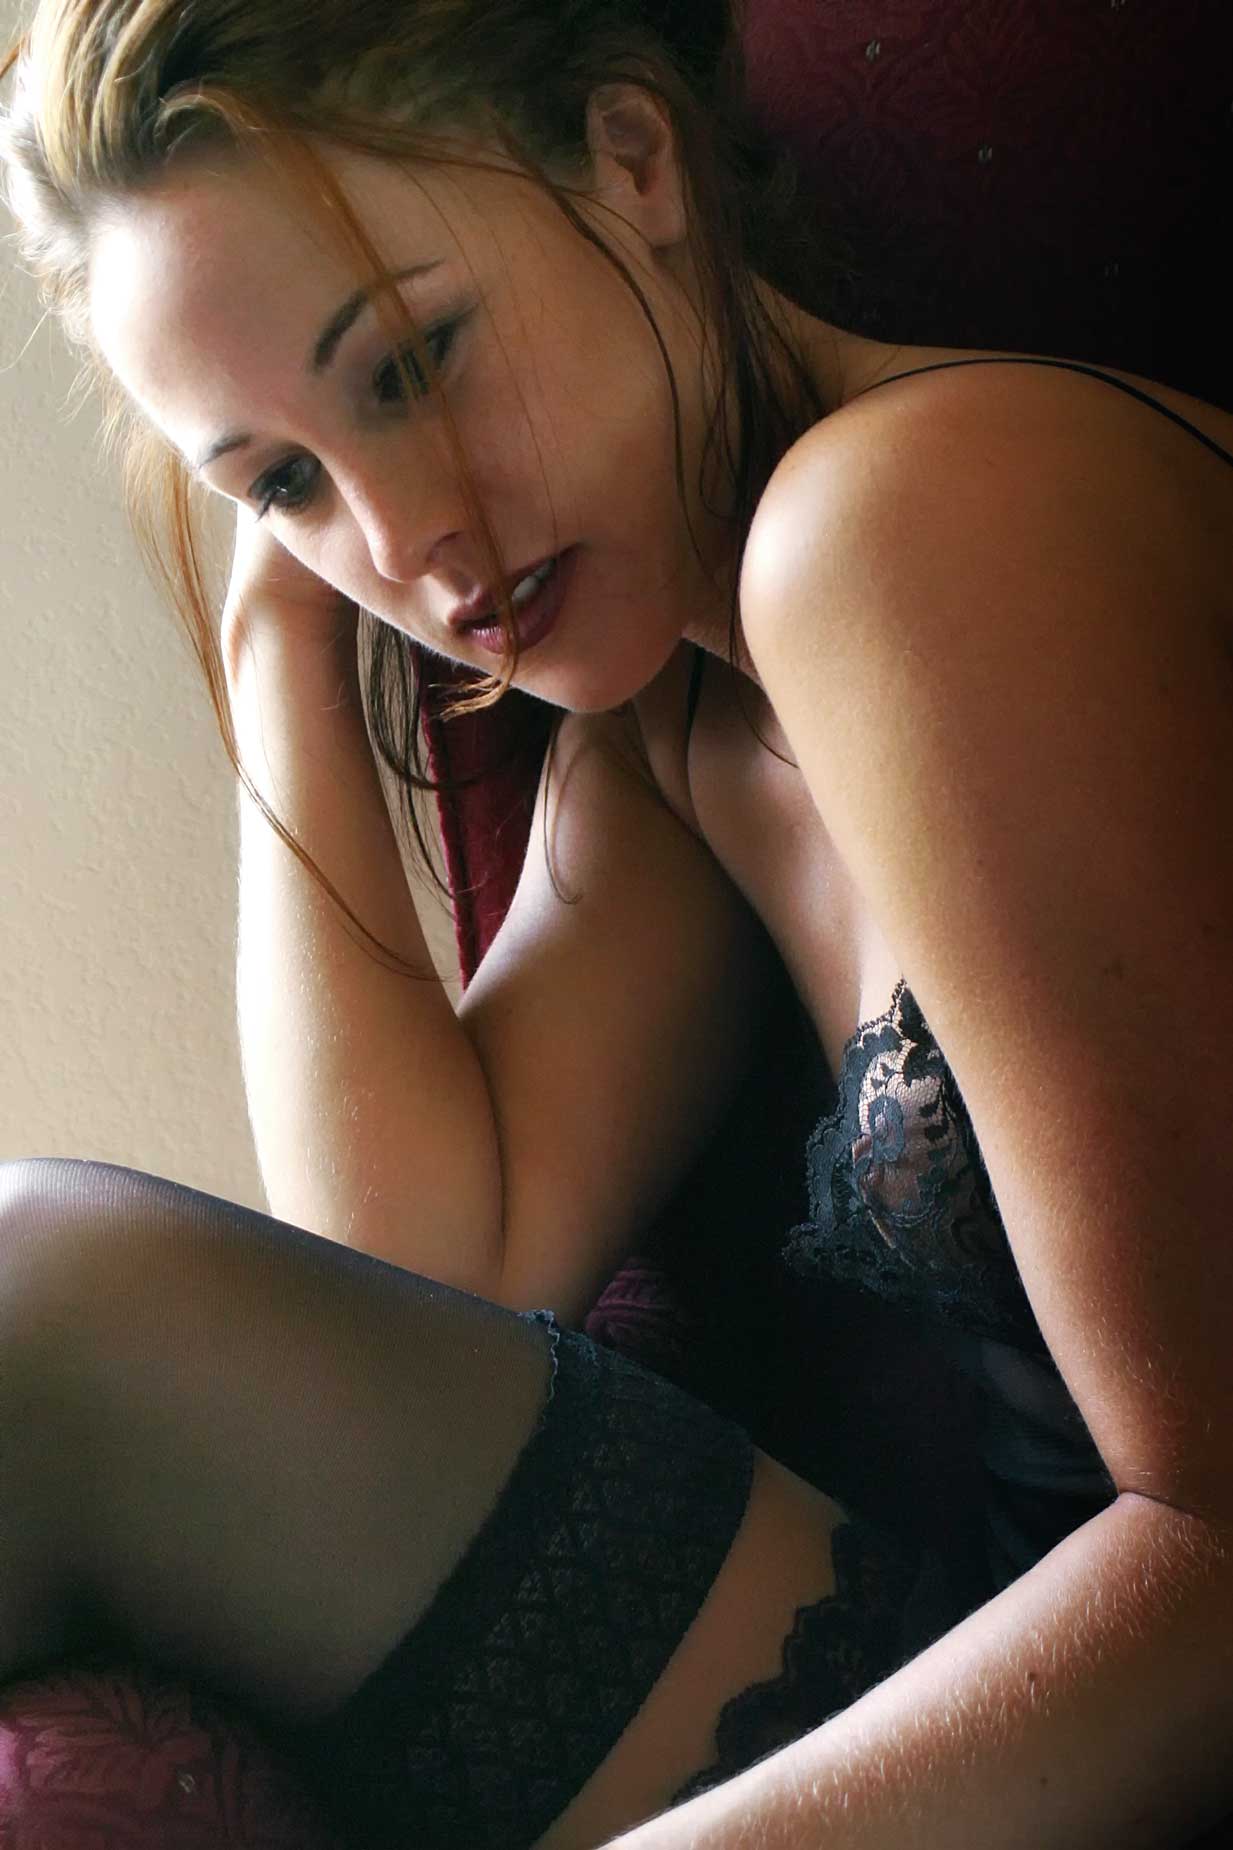
My Sunday Series on Available Light Portraiture continues today with a portrait of Megan that was made in the home office of my former home using window light from a South-facing window.
Today’s Post by Joe Farace
 Today’s post has some of my thoughts on photographing models that may help get you get started with glamour photography. It’s really a CliffsNotes version of some of my approaches to photographing models and is not an comprehensive look at all of my techniques.
The four books I wrote about photographing women contain more than 200,000 words on this subject. If you’re interested, click on the Books section for links to purchase them from Amazon. Some of the prices are higher, some are lower because Amazon keeps changing prices and some may only be available as used.
Poses Can Make All The Difference
I’ve found there are two types of models. Some are Inner Directed while others are Outer Directed. You can read my thoughts on these two different kinds of portrait subjects in this post. What I didn’t realize when writing that original post is there are also variations on these two types. Megan, who’s featured today, for example, is an inner directed model but one who uses a thoughtful approach to posing where she slowly moves from pose to pose allowing me to tweak details in each pose, if I want to, much as I would with an outer-directed model but at a much slower pace.
How do I learn any of this stuff about a model? It’s simple, After signing the model release and while we’re selecting wardrobe. I’ll ask how she prefers to work: Would she like me to tell her what to do or would she prefer to “do her own thing.” Then we discus how we’ll work together in the studio to accomplish our joint goals. Agreeing on how you’ll work together, ahead of time, makes the session go smother and produces better photographs and happier models who will want to work with you again. During the session, I’ll also watch her and how she moves, often showing me potential poses while just being herself.
 Sometime a pose works; sometime it doesn’t. All models are different and what looks perfect for one subject won’t always work with another model. Camera angle and lens focal length can also have an effect on how a pose looks along with camera placement. Ansel Adams once said that the difference between a good picture and a bad one was “knowing where to stand.” The main takeaway from all this is that any failed pose is more often the fault of the photographer, not the subject.
During a typical two-hour photo session, The model have five to six wardrobe changes and I usually shoot 200-250 images, depending on how well the session goes. I capture the portraits as RAW+JPEG files and use the RAW files to make the final images for publication or display on-line. At the end of the session, I give the model all of the JPEG files we made during the session as explained in my updated post What’s My Approach to Portrait Proofing and TFP?
Some thoughts about available light portraiture: You don’t need a studio or even lots of room to produce effective portraits because, in addition to window light, we all have access to the outdoors. Working outdoors can be fun but introduces a bunch of variables that you can’t control starting with the weather, looky-loos and sometimes bugs. After just a few shots of a model at Barr Lake, she had had enough of ants crawling on her and wanted to leave. Believe me it’s hard to photograph anybody when they’re jumping up and down while being assaulted by creepy-crawlies.
How I made this portrait
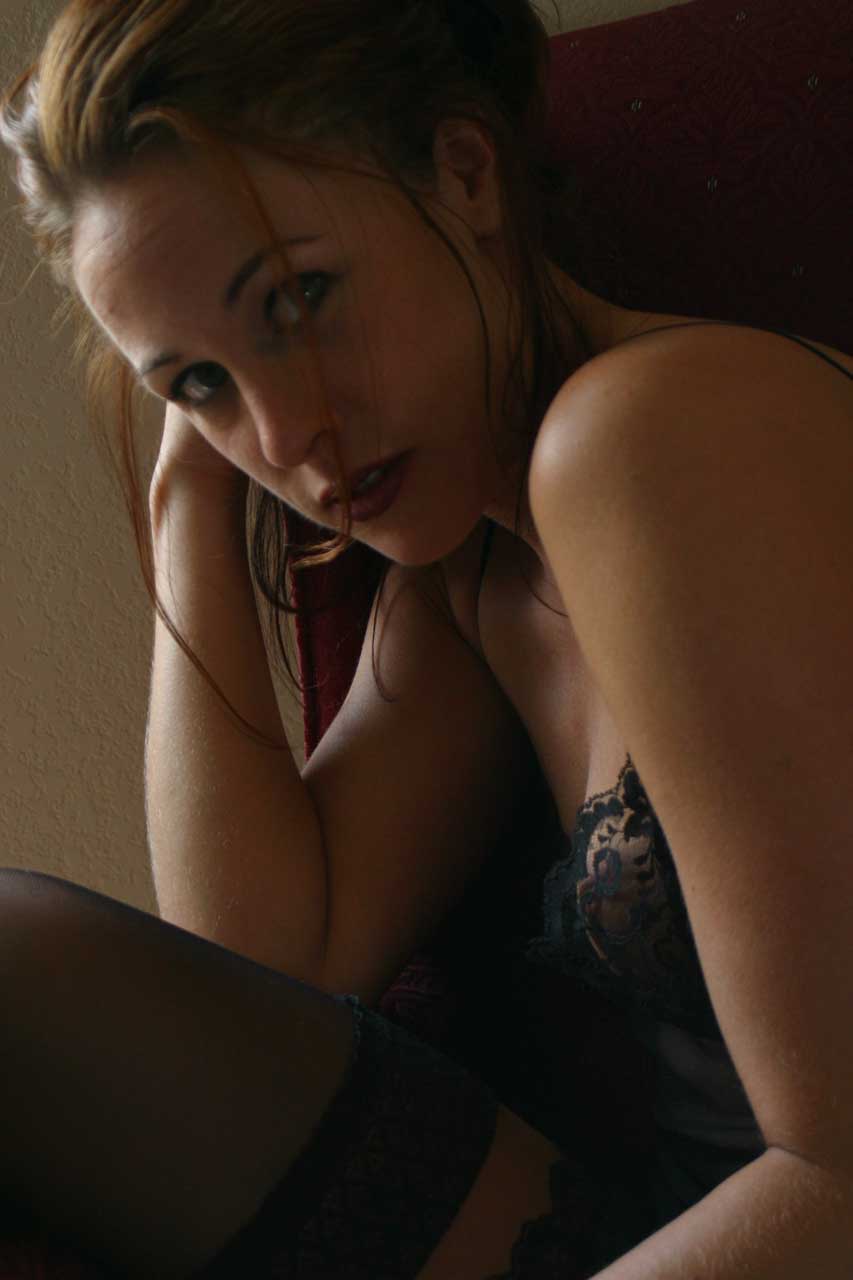
I photographed Megan in the home office of my former home. The captured JPEG file was underexposed and you can see the SOOC file in the upper right. It was somewhat rescued using techniques I explain here. At the time, I didn’t embrace RAW capture. The camera used was a six-megapixel Canon EOS D60 with EF 22-55mm f/4-5.6 USM EF lens at 55mm with an exposure of 1/60 sec at f/5.6 and ISO 400 with a minus one and one-third stop exposure compensation, which wasn’t that great of an idea. After applying Dfine, the file was still somewhat noisy and I decided to just live with it. Then I used the Pro Contrast filter and Glamour Glow filters from Color efex to produce the finished image at above left.
 If you enjoyed today’s post and would like to support this blog, you can help by joining my Patreon, where memberships start at just $1.25 a month, with additional levels of support at $2.50 and $5 that include special benefits. If you do, I would like to thank you for your support.
You can learn all of my tips, tools and techniques on shooting available light glamour photography in my book surprisingly titled Available Light Glamour Photography. Used copies of the book are available from Amazon for $24.16, as I write this. Kindle copes are $28.36 if you prefer a digital format.