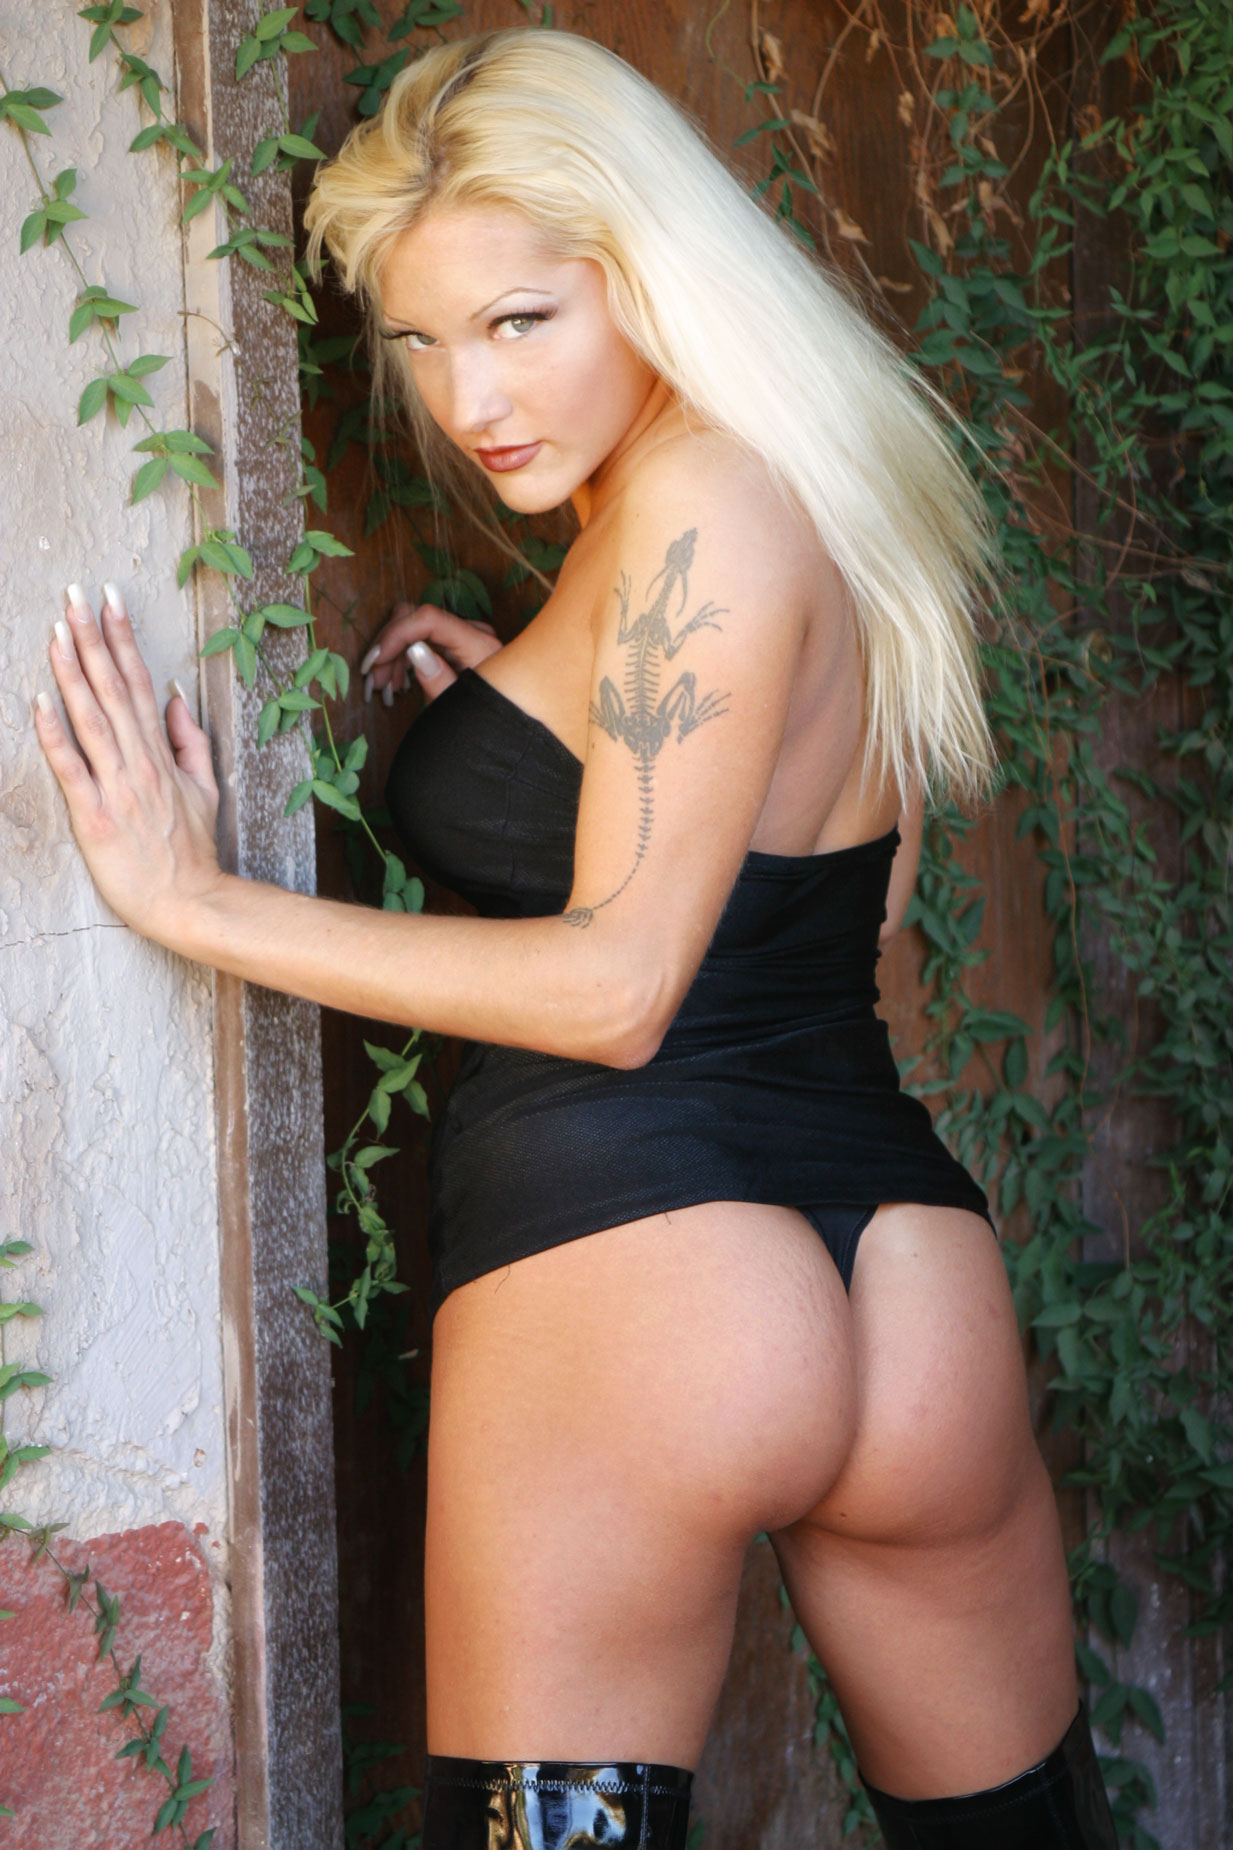
My Sunday series on outdoor portraiture continues today with a photograph of the delightfully retro Michelle Monroe, a model who had long been my dream to photograph and who was also the cause of my first “Stupid Photographer’s Tricks!” I only photographed her once during a group model shoot in Phoenix. Arizona and today’s image is from that shoot.
Today’s Post by Joe Farace
A dreamer is one who can only find his way by moonlight, and his punishment is that he sees the dawn before the rest of the world. ― Oscar Wilde
 All modern DSLRs and mirrorless cameras have some kind of built-in light meters and some even have a spot metering function, nevertheless most of the time I use a hand-held meter when shooting outdoor portraits.
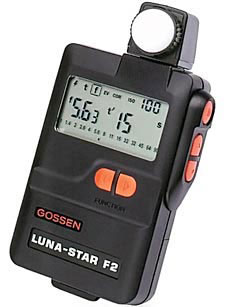
My current (and only) hand-held light meter is the venerable Gossen Luna Star F2. Yes, it’s old but it’s also small, lightweight and takes reflected or incident readings. The meter also measures flash and I use it to make corded or non-corded flash readings in my studio.
- Incident light meters measure the amount of light that’s falling on a subject, which is what I like to use when making outdoor portraits
- Reflected-light meters measure the light that’s reflected by the scene or the subject being photographed.
Tip: If you don’t own a hand held meter but have a smartphone, you might consider using an app that lets you to use your phone as a light meter.
 Here’s My Approach
While working with portrait subjects, especially outdoors, I like to measure the light on both sides of a their face to determine the lighting ratio. My final exposure is typically an average of the two exposures. Sometime I will bracket and other times use the camera’s exposure compensation feature.
There are all kinds of rules of thumb that tell you what the ideal lighting ratio for portraits should be and 3:1 is often tossed around as one standard but some might consider that to be too “flat.” Renaissance painters used a technique called chiaroscuro that featured ratios that would make most portrait photographer’s hair stand on end but they created art that has transcended the centuries. Keep in mind that the “right” lighting ratio for your portraits will vary depending on the shape of the subject’s face and the overall look you want to produce for the final image.
How I made this portrait: This photograph of Michelle Monroe was shot using a Canon EOS D60 with one of my favorite lenses, the EF 28-105mm f/3.5-4.5 II USM lens (at 63mm.) It’s been discontinued by the manufacturer but you can pick up new and used copies of the lens from many sources, including KEH Camera and Amazon.
A Canon 420EX speedlite was used as fill producing an exposure of 1/50 sec at f/4.0 and ISO 200 with an exposure compensation of plus one-third stop. The image was originally captured as a JPEG file, before I embraced RAW+JPEG capture. (Do I wish I shot it in RAW? Yes.) The photograph was lightly retouched and then processed in Vivenza with the Glamour Glow filter added from Color Efex.
I have featured Michelle in a Password Protected post that gives some background on that particular Stupid Photographer’s Tricks post. My Patreon subscribers can see other and uncensored images from that same session with her. Information on how you can access all new and previous Password Protected posts can be found in this post.

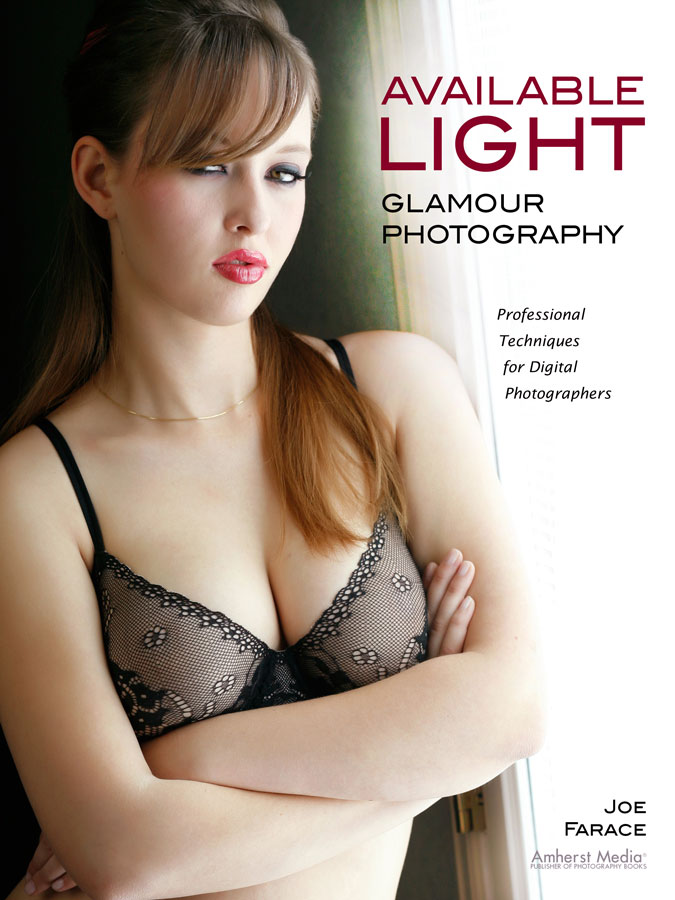
There is one G-rated image of Michelle in my book Available Light Glamour Photography. New books were available from Amazon but it’s currently listed as “temporarily out of stock” but you can buy used copies starting around twenty-four bucks as I write this. Kindle copies are $27.12 for those preferring a digital format.