
My Sunday series about available light portraiture continues today with an image of Tasha, who I photographed in my former home and later at a group model shoot in Arizona. You might have seen her in my post about finding glamour models; it’s an interesting story.
Today’s Post by Joe Farace
“To me the face, the eyes, the expression of the mouth, is the thing that reflects character. It is the only part of the body that permits us to see the inner person!” — Philippe Halsman
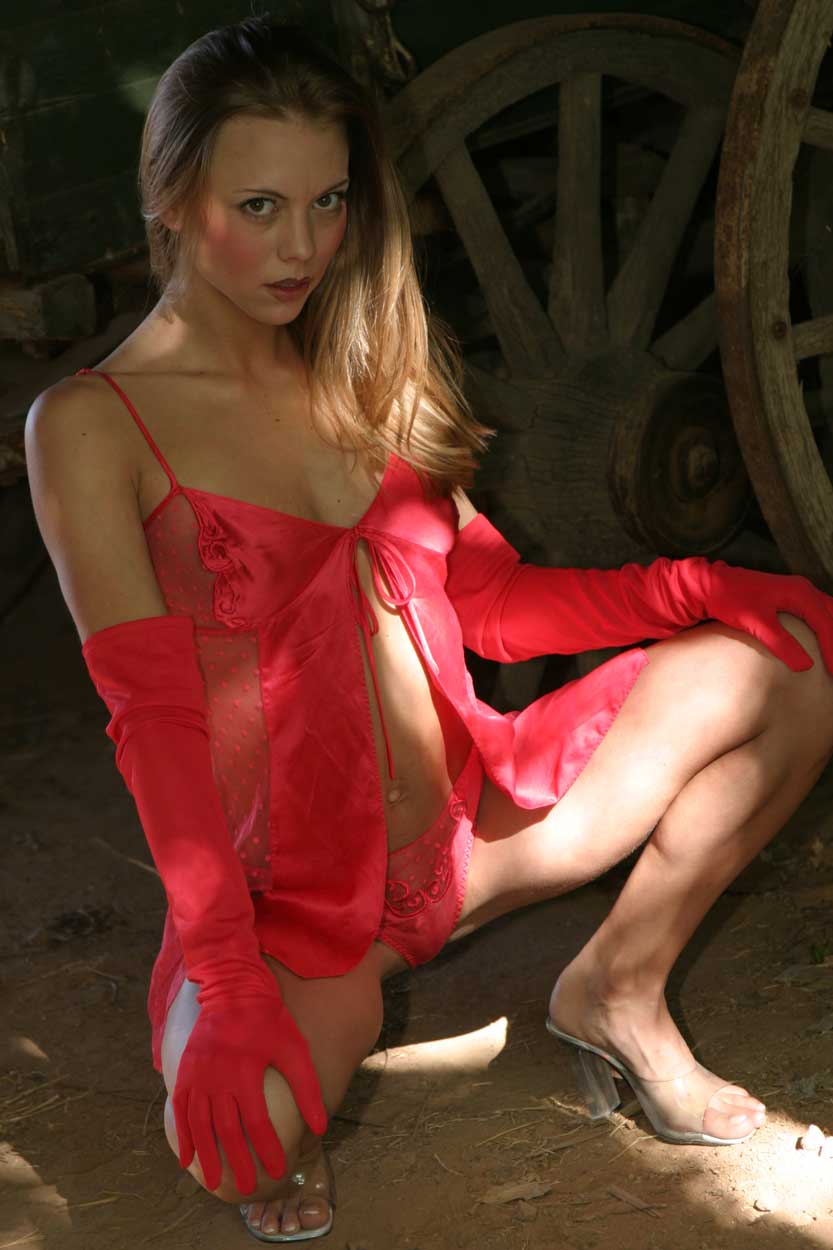 In studio photography, Lighting Ratio is a mathematical comparison of the intensity between the main and fill lights. How the number of stops differ between these two lighting elements is one way that a photographer can control contrast and the mood of a portrait.
While an image’s lighting ratio applies mostly to studio photography, I think the same could be said for portraits, like today’s featured images, made on location. In this case, the Lighting Ratio describes the main light as an on-camera speedlight with the fill light being the natural light inside the barn where I photographed Tasha. Sadly, the image was underexposed, which brings us to today’s topic. but first…
Back to the Basics
In-camera meters measure light that’s reflected by the scene being photographed. Hand-held meters, like my Gossen Star F2, have the option of using incident metering to measure the amount of light that’s falling on the subject. A spot meter measures reflected light within a narrowly focused area in a scene. Most modern digital cameras and some film cameras, like the Olympus OM-4, have built in spot meters. Back in my original film days, when I was fascinated by The Zone System, I owned a Pentax V spot meter.
If you take a light meter reading off a subject and it reads 1/500 sec at f/11 and would like to use a slower shutter speed and choose 1/125 sec, you will have to adjust the aperture (make it smaller) so the same amount of light falls on the sensor (or film,) all the while changing the image’s depth-of-field. By selecting either Aperture or Shutter priority automatic exposure modes, your camera will calculate the equivalent exposure for you, eliminating any guesswork. But as I’ve mentioned before, when the lighting situation is challenging you might have to shoot in manual mode.
 As an alternative: You might want to use the Brightness Range method of exposure. This technique suggests taking two different reflective readings from the scene you’re about to photograph. The first reading would be off one of the highlight areas where you want to hold detail. A second reading is made from a shadow area, again where you want detail held. To ca;culate a final exposure, your camera setting would be based on an average of the two readings, although to be absolutely sure you might want to bracket that exposure. An aside: I’ve always wanted to own a Minolta Spotmeter F hand held spot meter that will do all that math for you. You can press the meter’s memory button to save up to two readings and then calculate the average of the two.
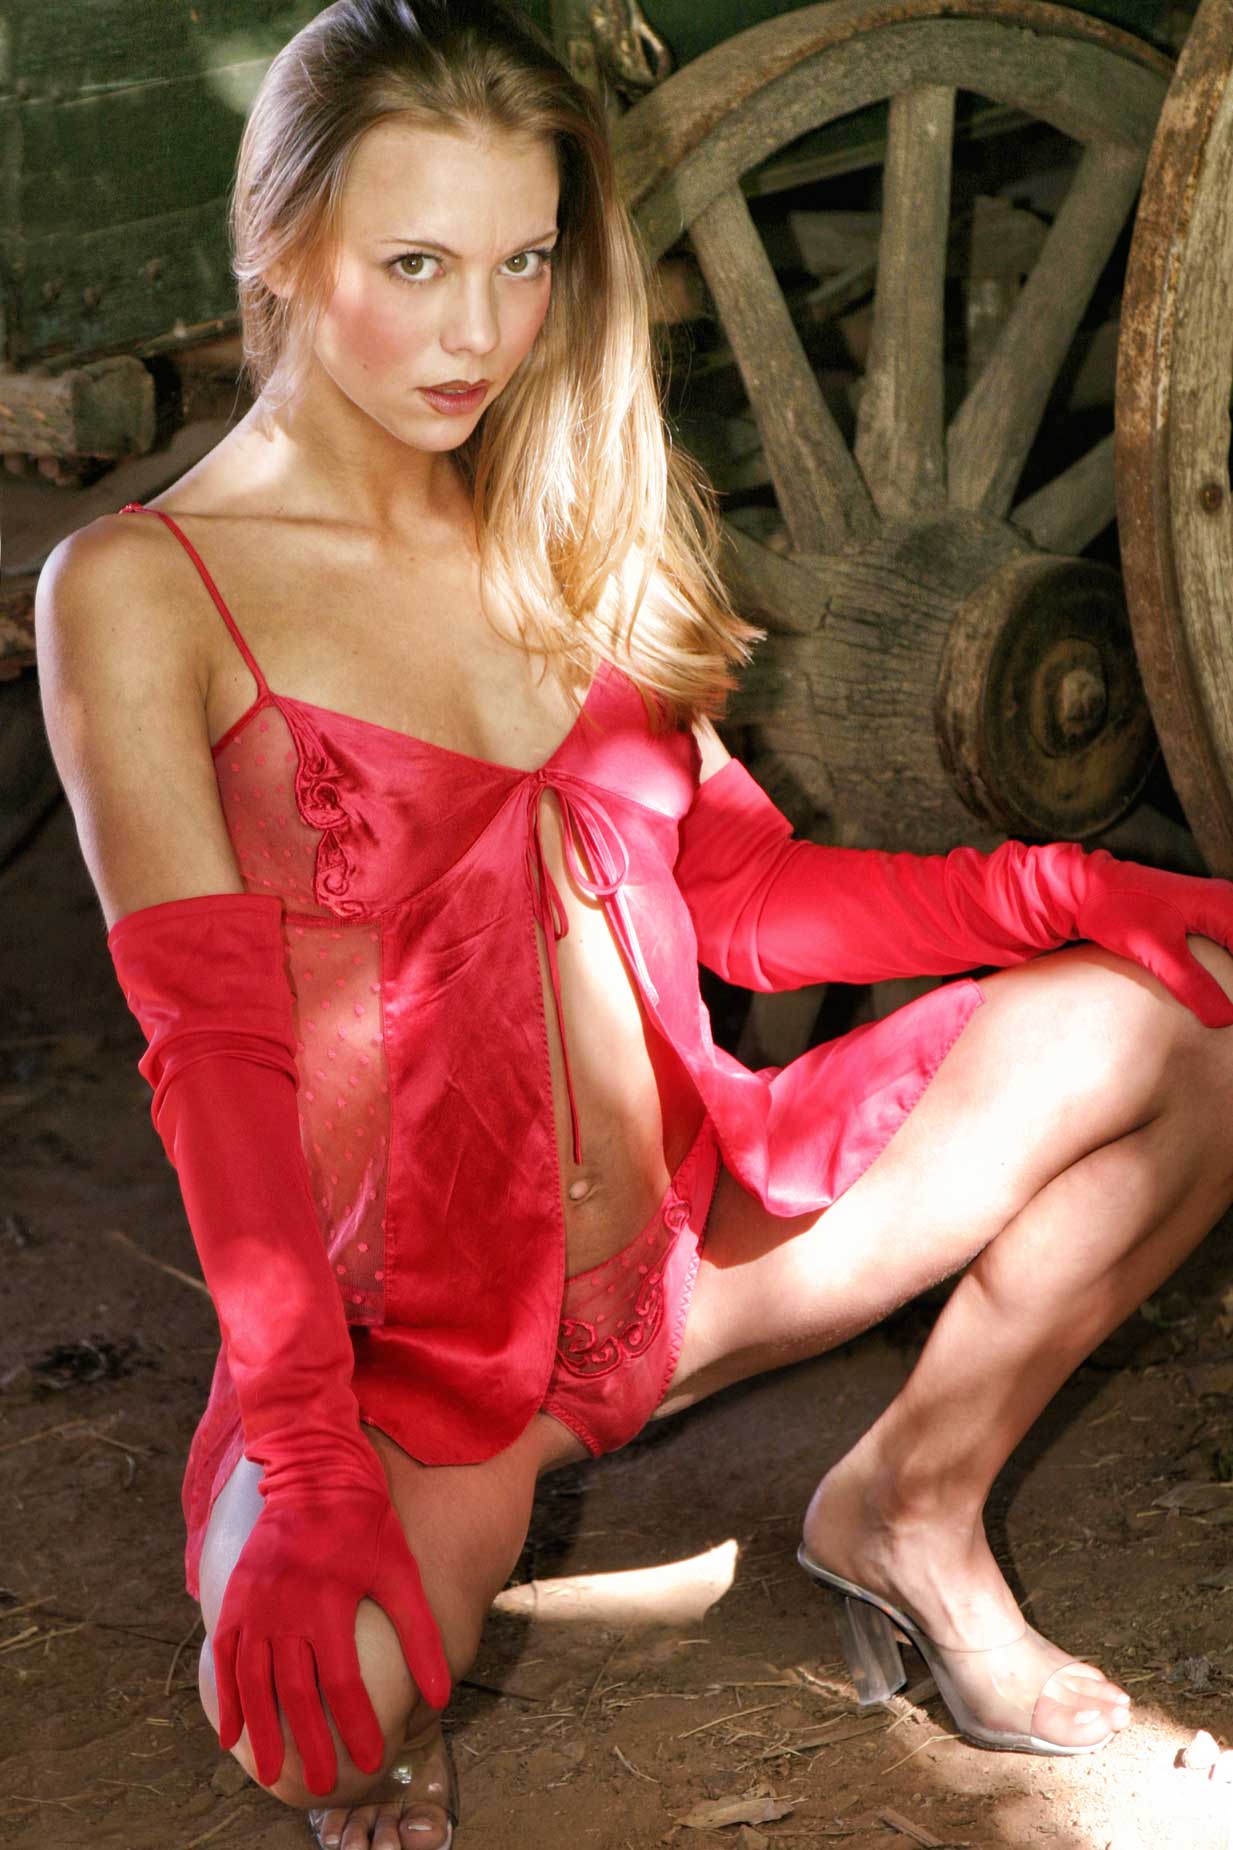
How I made this portrait: This mostly available light portrait of Tasha was made just inside the entrance to a barn with the barn doors open allowing splotchy light to come in. You can see the original uncropped JPEG file above right. The camera used was a Canon EOS 10D with an EF 28-105mm f/3.5-4.5 II USM lens at 78mm with an exposure of 1/60 sec at f/4.5 and ISO 200. A Canon 550EX speedlite was used to brighten the dim light inside the barn but it seem to have added very little,
To produce the finished portrait, the original JPEG file was slightly cropped rotating it clockwise by four degrees, Next I used a technique, explained here, showing how to deal with the underexposure by applying dodging layers from PhotoKit 2, followed by a separate overall dodging layer as explained in the linked post. Since this technique can reduce contrast, I punched the image file up by using the Tonal Contrast filter from Color Efex before layering on the Glamour Glow Glow filter (at 50%) that’s also part of Color Efex to produce the final result.
 If you enjoyed today’s post and would like to support this blog, you can join my Patreon where memberships start at just $1.25, with additional levels of support at $2.50 and $5 that includes special benefits.
My book Joe Farace’s Glamour Photography is full of tips, tools and techniques for glamour and boudoir photography and includes information on all of the cameras and lenses used as well as the complete exposure data for each image. New copies are available from Amazon for $45.08, with used copies around the same price, as I write this. The Kindle version is $19.99 for those preferring a digital format.