Today’s Post by Joe Farace
I didn’t always shoot in RAW but wished I had.—Joe Farace
 First, let me start by telling you a story that explains where I was coming from as far as image capture is concerned. Several years ago, I was hired by Modified magazine to photograph a Nissan Skyline for a feature story. The Art Director instructed me to, “just shoot JPEG’s for most of the photos but for any you think would make a good double-page spread, shoot them in RAW.” I did what he asked submitting mostly JPEG files but a bunch of RAW files for the double truck spreads. The photo he ultimately chose to be spread across two pages was one originally shot as a JPEG. So based on that real world experience I ignored what all the cool kids and pundits said to “shoot RAW” and continued shooting everything as JPEG.
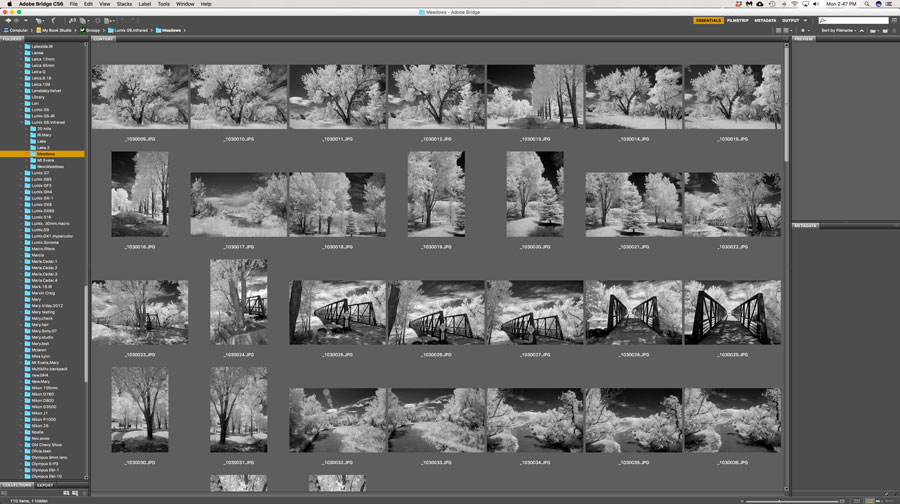
How and when did my conversion to RAW capture happen? It started with Lumix mirrorless cameras that I had converted for infrared capture by Life Pixel— a G6, G6 and GX1. All of them are what might politely be termed as megapixel-challenged. In order to squeeze the maximum image quality from any of them, I decided to shoot all of my infrared images as RAW+JPEG. Since the G5 and G6 are essentially monochrome cameras, I set them in Monochrome mode so that when I capture an image it’s saved as two files: a color RAW file and a black and white JPEG. The JPEG files shows me a real-time monochrome image in the EVF and on the preview screen but also give me a preview of what my RAW file will look like after conversion to monochrome in postproduction image when viewing the images in Adobe Bridge.
 Then, for some reason—I really don’t remember why— I started doing the same thing with my portrait and glamour images. That process produced a set of JPEG images that I gave to the models along with RAW files that would be retouched and processed to produce the final image. Color RAW files have so many more tones than a black and white JPEG, so they are easier to retouch, even if I planned to later convert the image to monochrome. While I now shoot everything in RAW not all of my camera’s RAW files will open in my copy of Adobe Camera RAW that’s part of Photoshop CS6, I often have to convert a camera’s RAW file into the DNG format using Adobe’s free Digital Negative Converter software. But it’s a workaround that I have to use to deal because of my “old” computers and software. (Look for a Q&A on Wednesday that may answer any question about why I’m using such “old stuff.”)
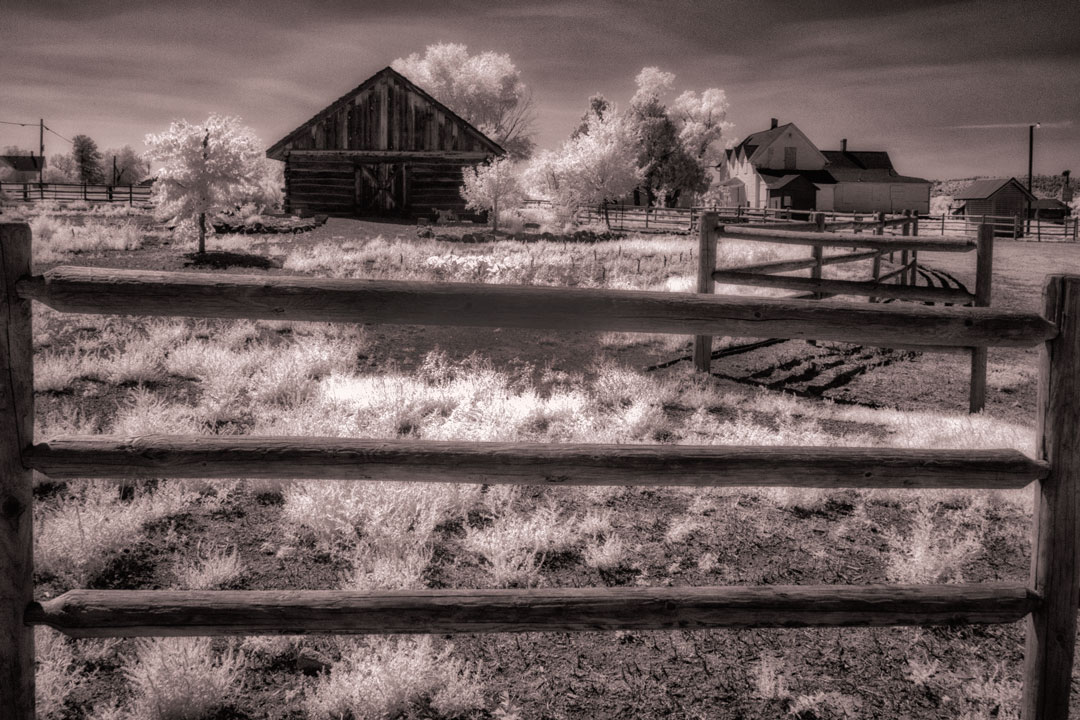
How I Made this Photograph: I was in a weird mode when I made this image and an even weirder frame of mind when I processed it. I’m not sure what that says or says about me but I was binge listening to The Carpenters while processing it. I photographed this scene at the Hidden Mesa Open Space with a Panasonic Lumix G5 that was converted for infrared by Life Pixel using their Standard IR (720nm) filter. Lens was the Leica M-Mount Voigtlander Super Wide-Heliar 15mm f/4.5 Aspherical III that I borrowed from a friend. It was mounted on the camera using a Fotodiox M to Micro Four-thirds adapter that seems to have gone up in price (a lot) since I bought mine. Exposure was 1/250 sec at f/16 and ISO 400. The RAW file was converted to this soft sepia-toned look using one of Life Pixel’s proprietary Photoshop Actions and slightly tweaked using Color Efex Pro in keeping with my mood.
 Life Pixel does a great job with IR conversions and they have done most of the conversions for my Canon DSLRs and all of my Panasonic Lumix G-series cameras. This is not a paid or sponsored endorsement, just my experience.
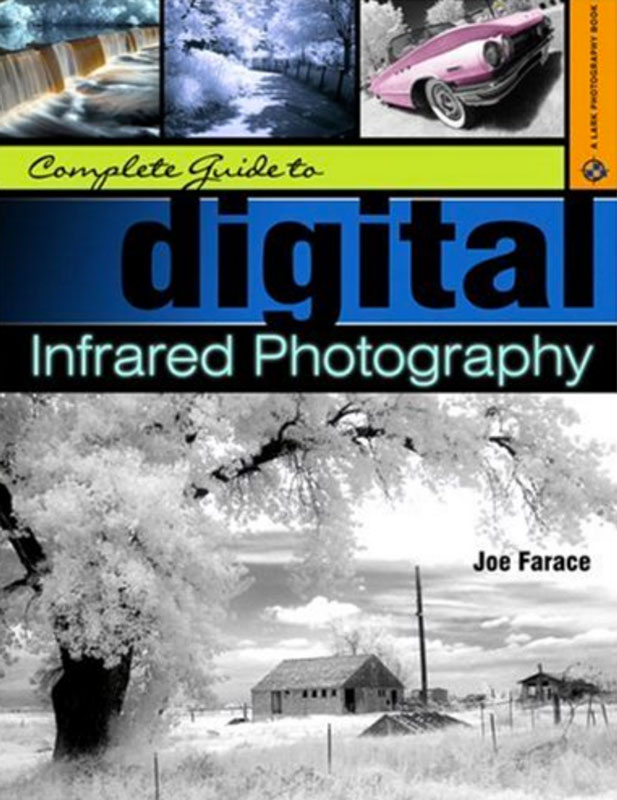
My book, The Complete Guide to Digital Infrared Photography is available from Amazon for with new copies selling for $45.09 with used copies starting around seven bucks, as I write this. Creative Digital Monochrome Effects has a chapter on IR photography and is available from Amazon with new copies at $22.69 with used copies starting at a little more than two bucks, as I write this. There’s no Kindle version available for either book, sorry.