For 2025 I’ve retired my #thursdaythoughts theme. While I search for a new theme for Thursdays during 2025, it’s going to be (and may end up as) Anything Can Happen Day, which may have just been what Thursdays were on the Mickey Mouse Club where I stole the idea!
Today’s Post by Joe Farace
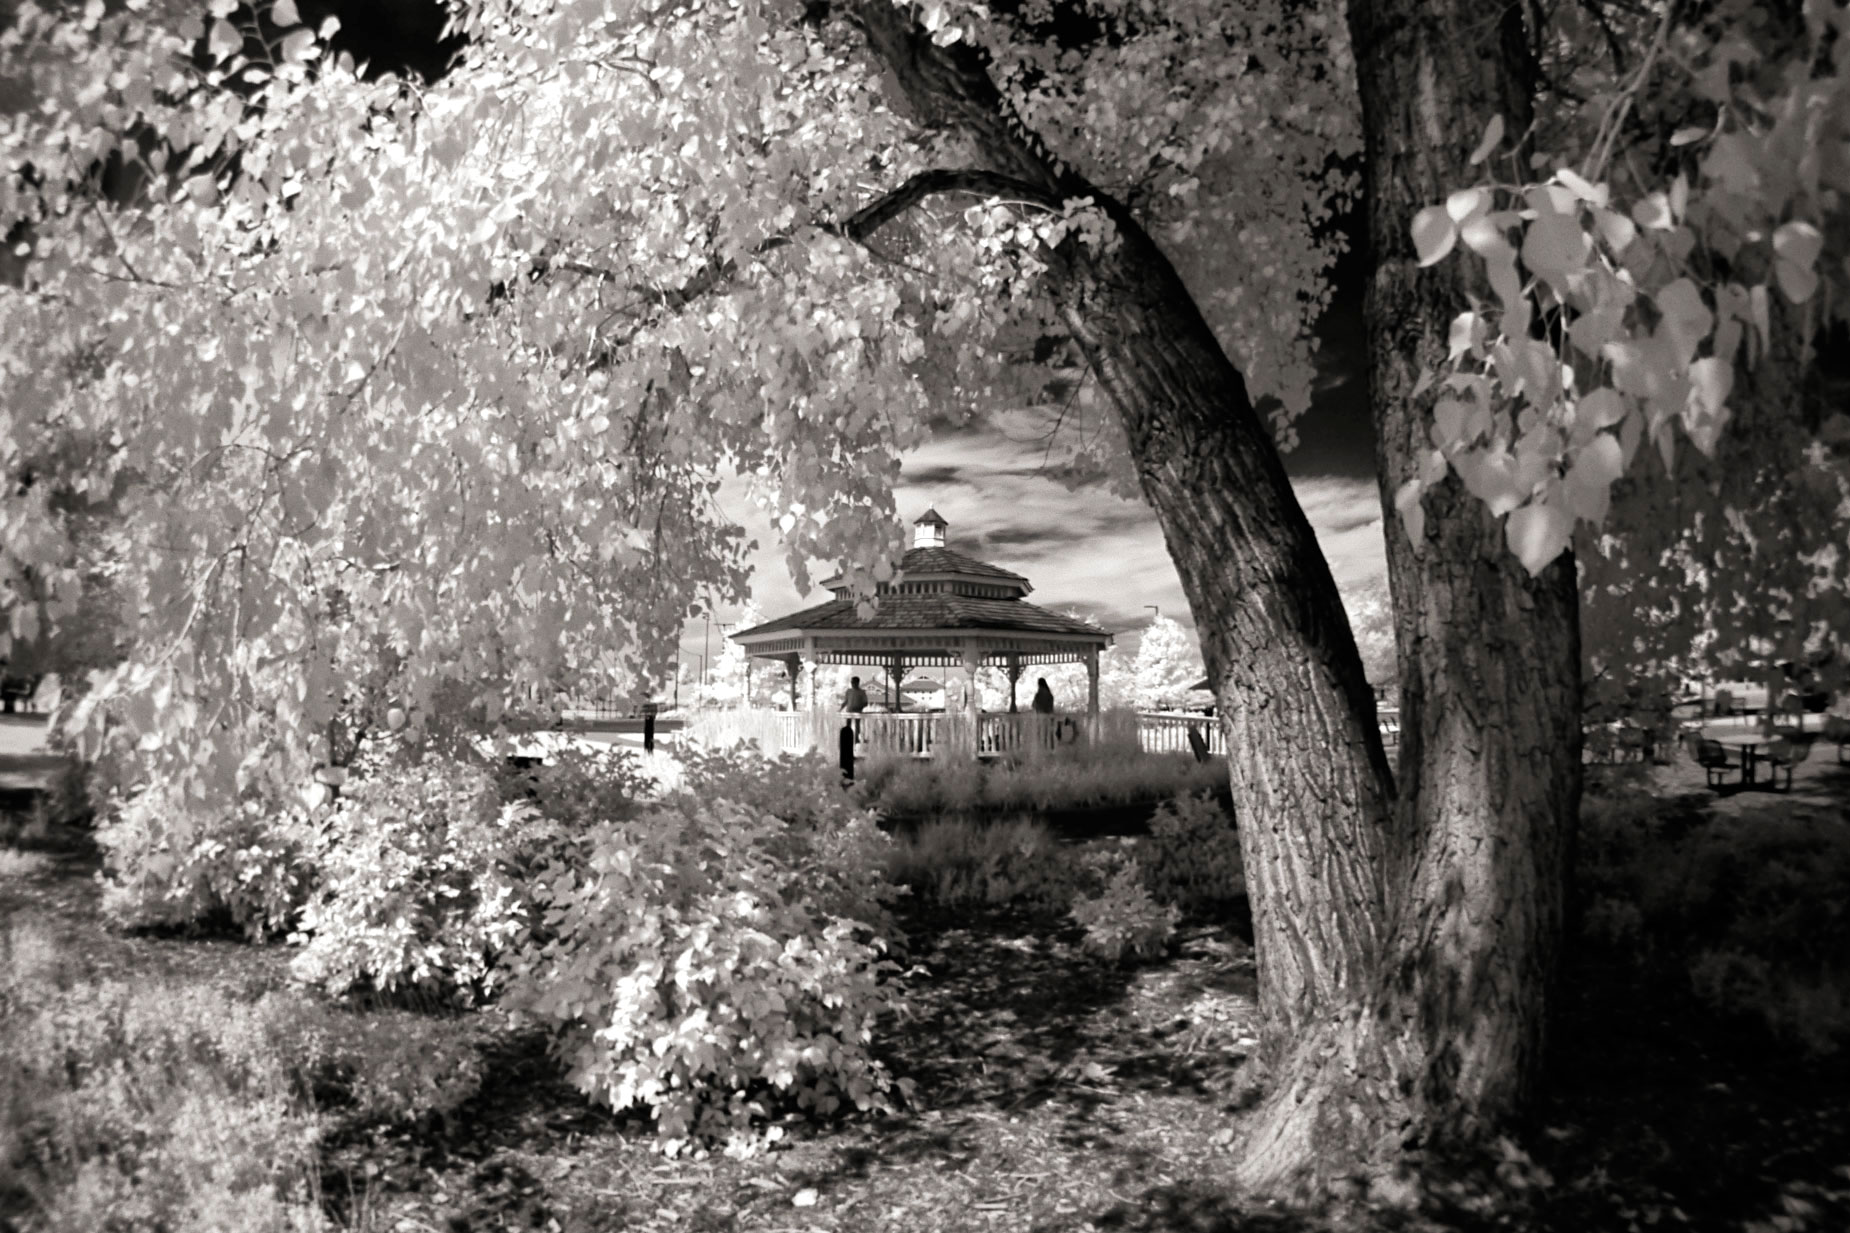
When shooting infrared, the near white reproduction of green chlorophyll in some vegetation produces black-and-white photographs rendered as if they were glowing, moonlit or immersed in extraterrestrial light.—Joe Farace
Photographs that were made with Infrared color film like Kodak’s fabled Ektachrome Infrared, often called Aerochrome, have a fairy-tale look rendering infrared-reflecting plants in orange to purple-red tones. When compared to black and white IR photography—film or digital— the results can sometimes be difficult to predict, making them ideal for experimentation and open to the kind of surprises photographers in their first phase of development always experience. In short, it’s an easy way to kick-start your creativity.

How I Made this Photograph:
One problem with determining exposure for infrared photography is that while two different subjects that appear equally bright under normal (visible) light, might reflect infrared radiation at different rates producing different brightness. That’s mostly because exposure meters that are built into cameras (and most hand held ones) are not sensitive to infrared light. This means that it can be difficult to calculate exact exposures but that doesn’t mean you shouldn’t try, especially with your camera’s LCD providing instant feedback.
That’s why when getting started in IR photography I think it’s a good idea to bracket shots using a series of three to five different exposures. Most cameras these days have an auto-bracketing feature or you can use Exposure Compensation to adjust exposures at one-half or one-third stops in any of the various automatic exposure modes. This is something I often do when shooting infrared after first checking how the image looks on the screen or even better, EVF. If all else fails—and you’ll know it right away with digital IR— switch to manual mode.
Alternatively, here’s one exposure method I sometimes use: With the camera in Program mode, I look through the viewfinder to see the suggested exposure. Then I switch back to Manual mode and transfer that shutter speed and aperture combination to the camera. Now I’m free to change shutter speed or aperture to bracket exposures manually. For some expanded tips on this subject, please check out my post Digital Infrared Exposure Tips when you have the time.
 I’ve found that Life Pixel does a great job with IR conversions and they’ve done most of the conversions for my Canon DSLRs and all my Panasonic Lumix G-series cameras. This is not a paid or sponsored endorsement, just my experience.
New copies of my book, The Complete Guide to Digital Infrared Photography are currently available from Amazon for $39.95. Used copies start around ten bucks, as I write this. Creative Digital Monochrome Effects has a chapter on IR photography and new copies are available from Amazon for $16.16 with used copies starting at seven bucks.