Today’s Post by Joe Farace
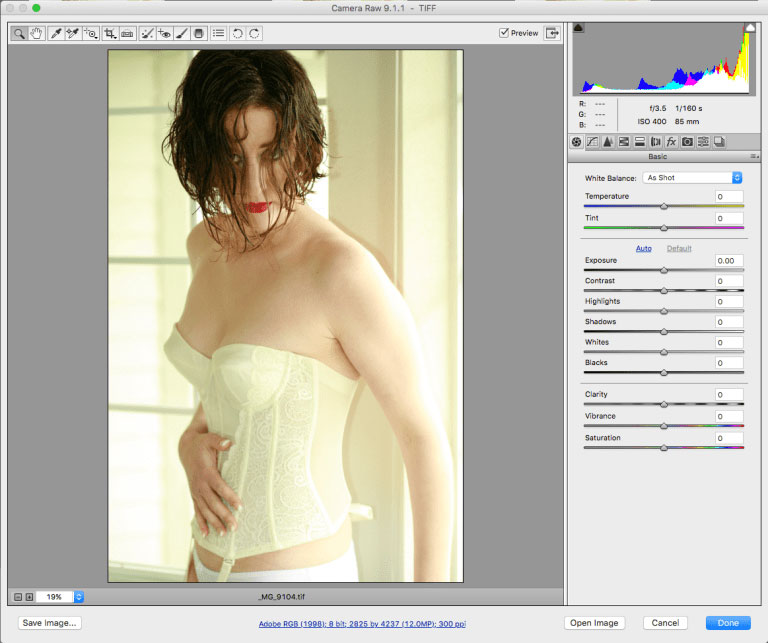
 These days I shoot almost everything from portraits to cars in RAW+JPEG mode. Shooting and working with RAW files lets you change a photograph’s white balance in Adobe Camera RAW, so you may not feel like you have to worry about setting proper white balance. Or maybe the real world lighting throws you a curve like it did in a window light portrait of my former muse* Tia Stoneman.
White balance is important because most RAW processing software opens the file using the captured image’s inherent white balance setting and starting your image processing bu using the best quality image means only minor tweaks are need to make an already good image into a great one. If you look at Tia’s skin tone (above right,) it seems acceptable if a bit warm and that’s usually a good choice for skin tone. You may even prefer that look, but in this case I did not, especially the yellow background.
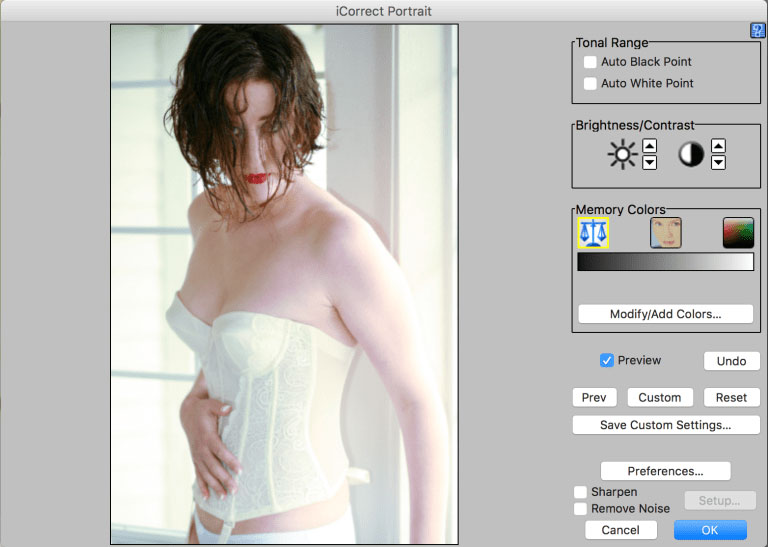
 My first choice for color correction is PictoColor’s iCorrect Portrait. It may just be the best skin tone algorithm available in plug-in form. iCorrect Portrait lets you set black and white points, adjust brightness and contrast and automatically corrects color balance and skin tones with a single click. It also includes sharpening and noise removal features. You can save corrections as Custom Settings and apply a correction to multiple images and add custom Memory Colors to suit your preferences. iCorrect Portrait costs $69.95 and is Mac OS and Windows compatible.
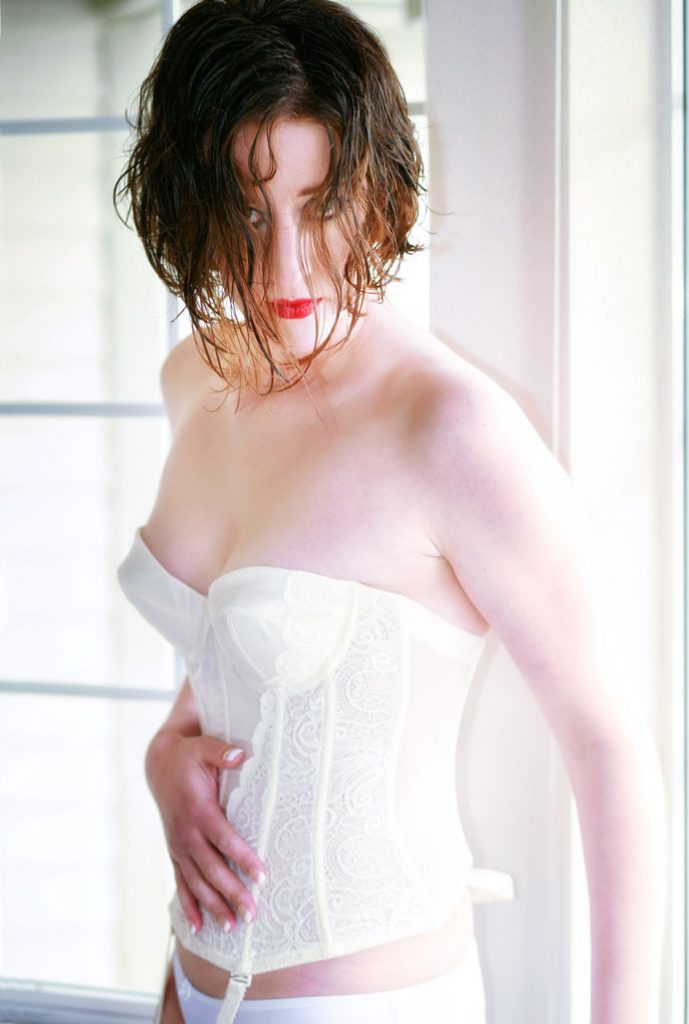
 How I Made this shot: Try as you may sometimes it seems as though you can’t get the color balance right. That includes me too when I was making a portrait of Tia using (mostly) window light. She is wearing a white corset and the window frame behind her is white as well. But color temperature of light varies not only by time of day but time of year and who knows what colors were bouncing in from outdoors.
Tia’s portrait was made with a Canon EOS 5D Mark I set in AWB mode with my all-time favorite portrait lens, the EF 85mm f/1.8 USM. Exposure was 1/160 sec at f/3.5 and ISO 400. An EX550 speedlite with Sto-fen Omni Bounce was used for fill.
After opening the photograph in iCorrect Portrait I just clicked on the window frame to produce the color balance you see here. One click using the Neutral Balance “Memory Color” and the skin tone looked great. I could have followed up using the skin tone memory color and clicking on her cheek or use the Auto White Point of Auto Black Point options and sometimes I do that depending on the image’s contrast. But here one click was all it took.
*If you know of any aspiring models or women who would like to become a muse, please have them Contact me.
 If you enjoyed today’s blog post and would like to buy Joe a cup of Earl Grey tea ($2.50), click here. And if you do, thank so very much.
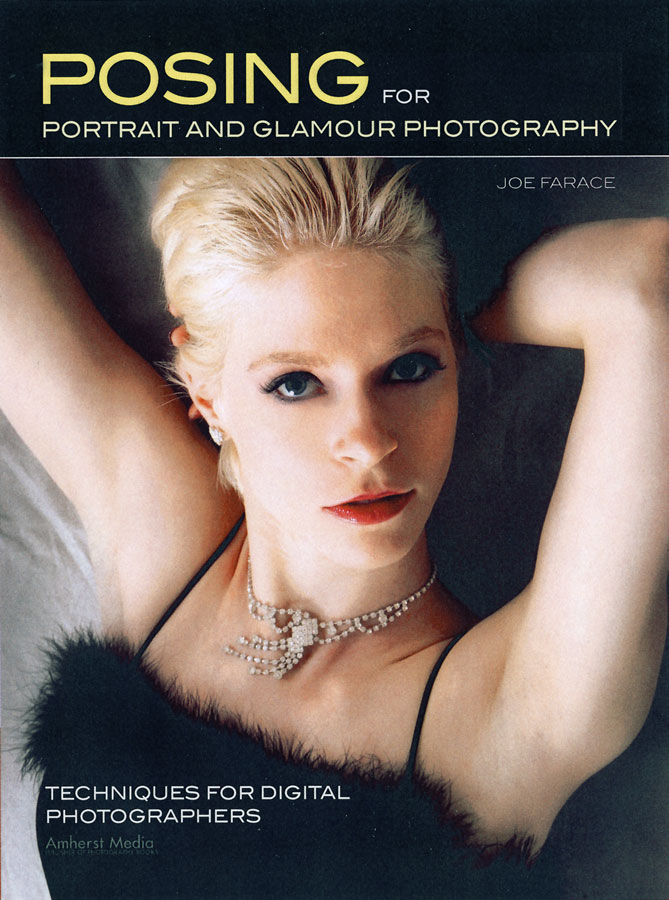
Tia is featured on the inside pages and the back cover of my book Posing for Portrait & Glamour Photography. Brand new copies of the book are available from Amazon.com for just $22.01 with used copies starting at $17.15, as I write this. Kindle versions are $20.99. for those preferring a digital format.