
Today’s Post by Joe Farace
Infrared light) is electromagnetic radiation (EMR) with wavelengths that are longer than those of visible light but shorter than microwaves. The infrared spectral band begins with the waves that are just longer than those of red light (the longest waves in the visible spectrum), so IR is invisible to the human eye.—excerpt from Wikipedia
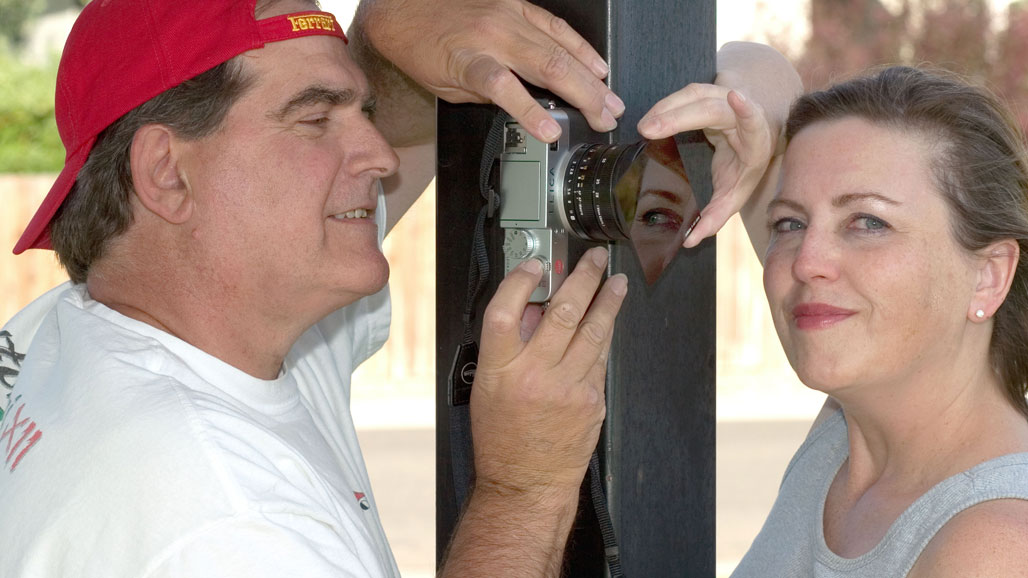 I’m often asked: How I got started in infrared photography?” This was something that I discussed in my post about infrared portraiture. Give it a read when you have time. Another question is how can they get started in infrared photography. Well, there are lots of ways you can shoot infrared photographs: It turns out that you can capture infrared images with (almost) any digital camera by placing an on-lens filter like the Cokin 89B that Mary and I are tag teaming onto a Leica Digilux 1 at right. It used to be that these filters were inexpensive but that doesn’t seem to be the case anymore.
Or You Can…
…choose to have one of your existing cameras converted for infrared-only capture by companies such as Life Pixel or Kolari.There are many other such companies but Life Pixel has done most of the conversions for some of my Canon DSLRs and all of my Panasonic Lumix G-series cameras. This is not a paid or sponsored endorsement, just my experience.
I had my old Panasonic Lumix G5 converted using the company’s Standard IR (720nm) conversion. (for more on nanometers, you might want to read this post.) During the conversion, LifePixel had the camera in-house for seven working days and then shipped it back to me via UPS. I was excited when it arrived and immediately put a Lumix G Vario 14-42mm 3.5-5.6 kit lens on the camera and walked to nearby Bingham Lake to recreate an IR image that I had originally made using a filter.
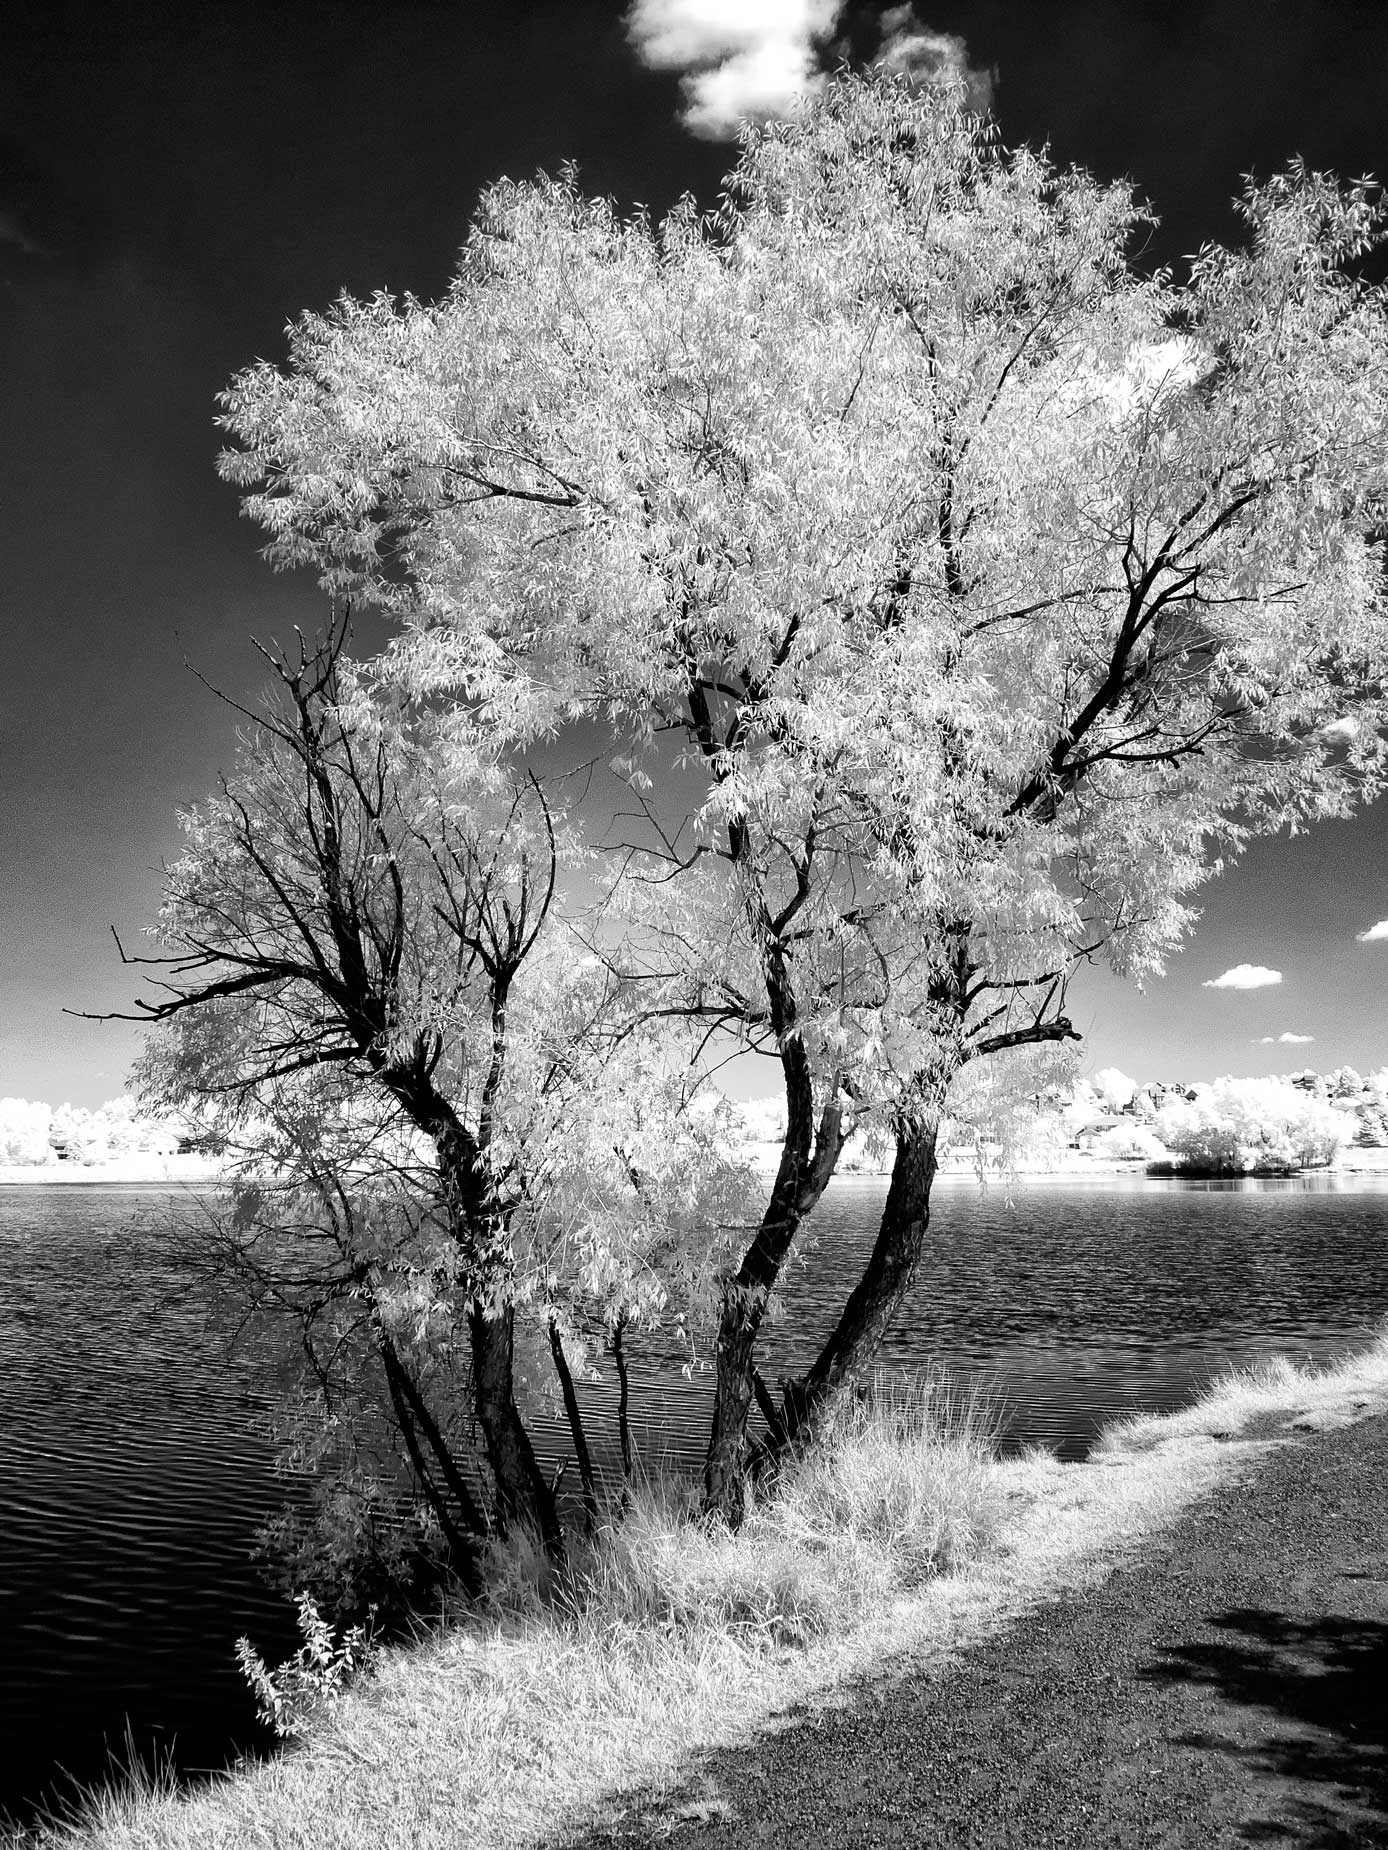 How I made this photograph: For the image above, I used a Panasonic Lumix G5 made with the Lumix G Vario 14-42mm 3.5-5.6 kit lens. The camera was converted to infrared capture by Life Pixel using their Standard IR conversion. The handheld exposure was 1/250 sec at f/9 and ISO 400. The RAW file was converted to black and white using Exposure Software’s Exposure’s BW Tonality filter before appying Tonal Contrast filter from Color Efex.
To be fair, there are upsides and downside to choosing either method. Using filters can be, depending on filter selected and the size of the filter, and the resulting long exposures sometimes create really interesting-looking cloud shapes. But you’ll need a tripod for the long exposures that using these highly dense filters will produce. Converting your camera for IR capture is more expensive and afterwards it can then only be used for infrared photography. But you will get handheld shutter speeds giving you lots of freedom of movement and composition.
The lower ISO settings that are possible with a converted camera tend to produce a crisp, less noisy image. When capturing images with either filters or an IR-converted cameras, I typically shoot in RAW+JPEG mode, with the JPEG file set in Monochrome mode so I can get a preview on the LCD screen of what the final image .will look like. (Look for a discussion of RAW+JPEG in an upcoming Pixels, Grain & Cookies podcast.) Then I process the RAW file, with Silver Efex or Exposur, into the finished monochrome photograph to maximize image quality. That’s my workflow but you may choose another approach, whichever work best for you.
 I’ve found that Life Pixel does a great job with IR conversions and they’ve done some of the conversions for my Canon DSLRs and all of my Panasonic Lumix G-series cameras. This is not a paid or sponsored endorsement, just my experience.
New copies of my book, The Complete Guide to Digital Infrared Photography are available from Amazon for $43.66, with used copies selling for around twelve bucks, as I write this. Used copes of my book Creative Digital Monochrome Effects that has a chapter on IR photography are selling for around $7.00, as I write this.