Today’s Post by Joe Farace
 The mind is like an umbrella. Its most useful when open.”—Walter Gropius
It doesn’t matter whether you’re working with speedlights, monolights or power pack and head portrait lighting systems, one of the best ways to improve the quality of the final image is by using a light modifier. It doesn’t matter whether it’s an umbrella or a soft box, each has their own unique advantages and disadvantages. Umbrellas provide a round, broad and soft source that can emulate natural outdoor lighting. Soft boxes emulate the kind of soft, directional lighting produced by a window. Your decision should ultimately be governed by one important lighting rule: The closer the light is to the subject the softer it is; the further away a light source is the harder it becomes.
 Because umbrellas create broad lighting, they’re easy to use. You just point an umbrella at a portrait subject and bang, zoom, nice soft lighting! And because rainy day versions have been around for 4,000 years, umbrellas are simple to construct and less expensive to purchase making them perfect for photographers that are new to working with and buying lighting equipment.
Umbrellas are affordable. You can buy a 45-inch White Satin umbrella with Removable Black Backing for less than 15 bucks. In short, umbrellas are inexpensive, easy to use and produce nice looking lighting.
Soft boxes are controllable and available in large sizes that when placed close to a subject produce soft, yet directional light. There are lots of accessories, such as grids or louvers, that make the lighting even across the plane of light. What’s the downside? Even an inexpensive softbox, like Impact’s 36-inch Small Octagonal Luxbanx, ain’t cheap so that directionality comes with a price.
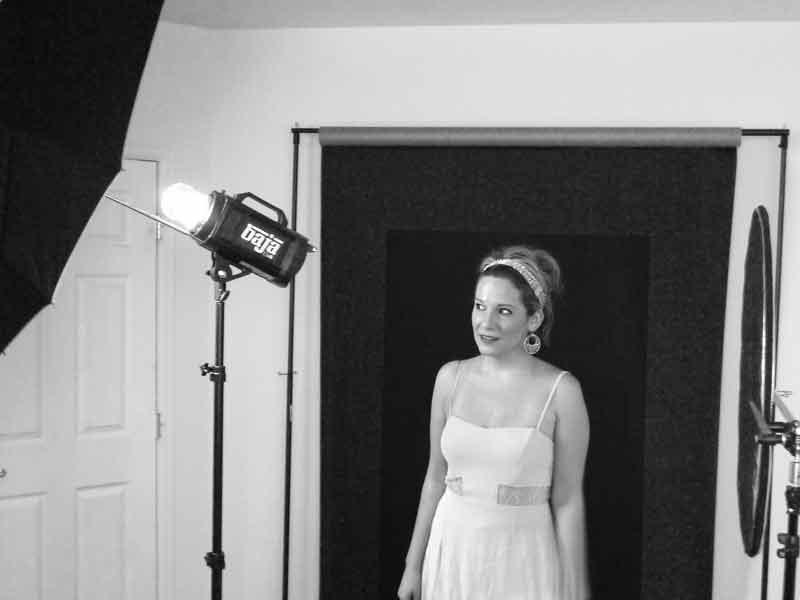
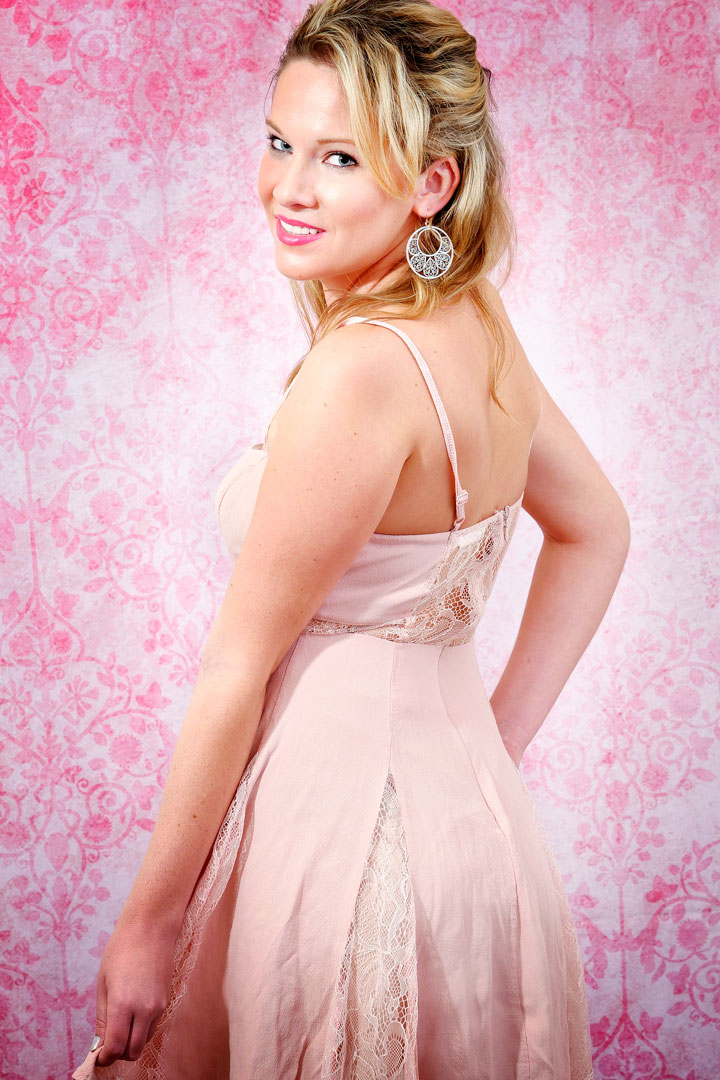
How I made this shot: The old lighting saw that the closer the light, the softer it is and the bigger a light source the softer it becomes plays out in this image I made of Colleen Breanne. I switched from the black background that’s shown in the setup spot, to a (no longer available) Silverlake Photo Blush Colorsmack background. then I used two Dynalite Baja B4 monolights: One is placed at the rear of my studio with the 48-inch Black/Silver Umbrella and the other is at camera right with a white 60-inch, 16-rib white parabolic umbrella in shoot-through mode. Camera used was a Panasonic Lumix GH4 with Olympus 45mm f/1.8 lens and an exposure of 1/160 sec at f/9 and ISO 200. Google’s Vignette Blur was used to soften the bottom edges of the photograph.
And then there’s your welcome to the world of lighting ratios. Unlike umbrellas, softboxes require a little knowledge of keeping a balance of main versus fill light that won’t produce too contrasty lighting—unless of course that’s exactly what you want to produce.
The truth is that there is no “one size fits all” solution to portrait or glamour lighting. Just as you will have to select the right lens and ISO for an available light portrait, when it comes to working with artificial light you need to select the right tool for the job at hand.
My book Joe Farace’s Glamour Photography is full of tips, tools and techniques for glamour and boudoir photography and includes information on all of the cameras used as well as the complete exposure data for each image. New copies are available from Amazon for $26.92 with used copies starting at $8.91 as I write this. Kindle copies are available for $19.99 for those preferring a digital format.
