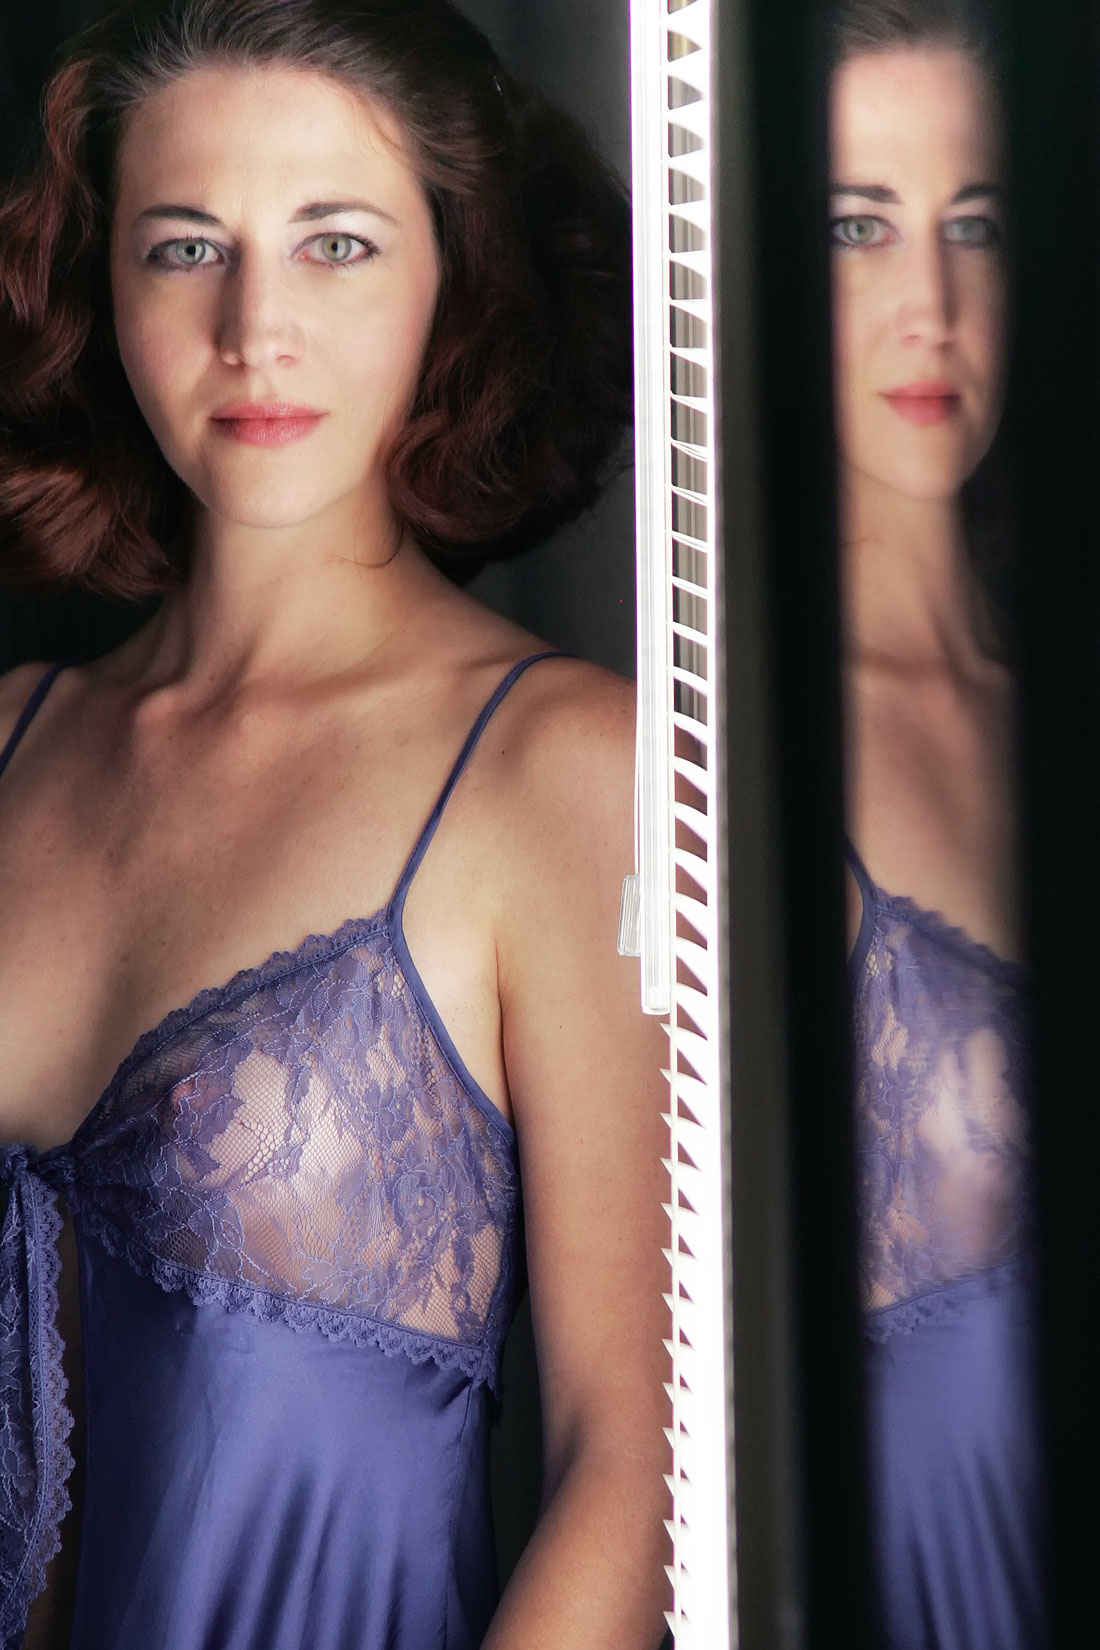
Black & White week on my photography how-to blog. warps up today with a portrait of my first muse, Tia Stoneman.
Today’s Post by Joe Farace
 One of the things I like to do to get myself out of a photographic rut is to make portraits in monochrome mode. It doesn’t have to be all of the images that I make during a session; maybe just a few to, you know, see what happens.
Good Idea, Bad Idea?
You may think that’s a bad idea because you worry about what might happen if you change your mind at some later date and want that image to be in color? (I know this kind of regret all to well.) To overcome this kind of “monochrome anxiety,” I set the camera’s capture mode to RAW+JPEG and then select Monochrome. This approach lets you capture a monochrome (JPEG) and color (RAW) file at the same time. Some dual-slot cameras even let you simultaneously shoot RAW onto the one memory card and JPEG files onto the other card.
This methodology lets you capture in color and convert to monochrome later. The biggest advantage to this approach when shooting portraits is that most retouching tools, including Imagenomic’s’ Portraiture—work better with color files than 256-color monochrome images. Tip: To avoid plasticky looking skin tones when using any retouching software, you apply retouching onto a separate layer, then use the layer’s Opacity menu to lower the opacity of the topmost retouching layer until you see actual skin tone starting to peek through from the bottom or background layer.
 How I Made this Portrait: This available light photograph of Tia Stoneman my first and original muse and was made using light from a window in the back door of my former home. As an actress, Tia was an extremely versatile model and could switch from sexy glamour model—here, she reminds me of Eva Green in Sin City 2—to a wholesome mom. The camera used for this portrait was a Canon EOS 1D Mark II N along with the affordable ($199) and versatile EF 75-300mm f/4-5.6 III lens at 180mm. The exposure was 1/400 sec at f/5.0 and ISO 640 with a plus two-thirds stop exposure compensation..You can see more of Tia all over this blog. Just type “Tia Stoneman” in the box that open when you click the magnifying glass icon in the upper right-hand corner.
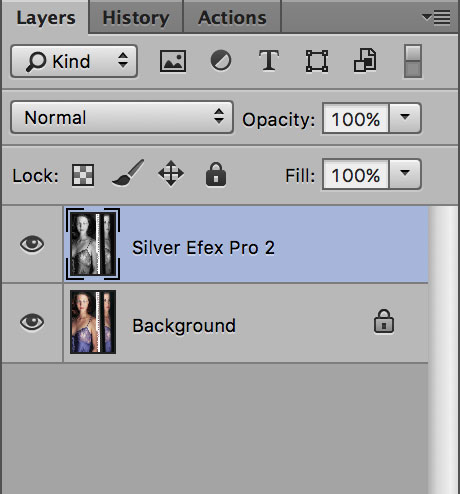
 How I Made this Finished Portrait: That’s why, more often than not, I’ll shoot portraits in color (RAW, if I can but sadly not in this case) and convert to monochrome later using Silver Efex. I did just that do that for the above image using the plug-in’s Standard preset with tweaks to the contrast and with the Grain slider pushed all the way to the left—Soft—to minimize any additional film grain effect. The finished image was ever-so-slightly tweaked in Vivenza before adding the a little bit of Color Efex’s Glamour Glow filter with the Glow Warmth pushed slightly to the warmer side..
To make photographs to illustrate how-to blog posts and stories as well as camera and lens reviews, I’m always casting models. If you know of any models or aspiring models who would like to become my new muse, please Contact me through the email link.

If you enjoyed today’s blog post and would like to treat me to a cup of Earl Grey tea ($2.50), please click here. And if you do, thanks so much.
My book Creative Digital Monochrome Effects is available from Amazon and (I think, anyway) is a fun read. There’s even a chapter on infrared photography. It’s available for $16.16 but bargain shoppers can pick up used copies starting at around seven bucks. No Kindle version is available at this time.