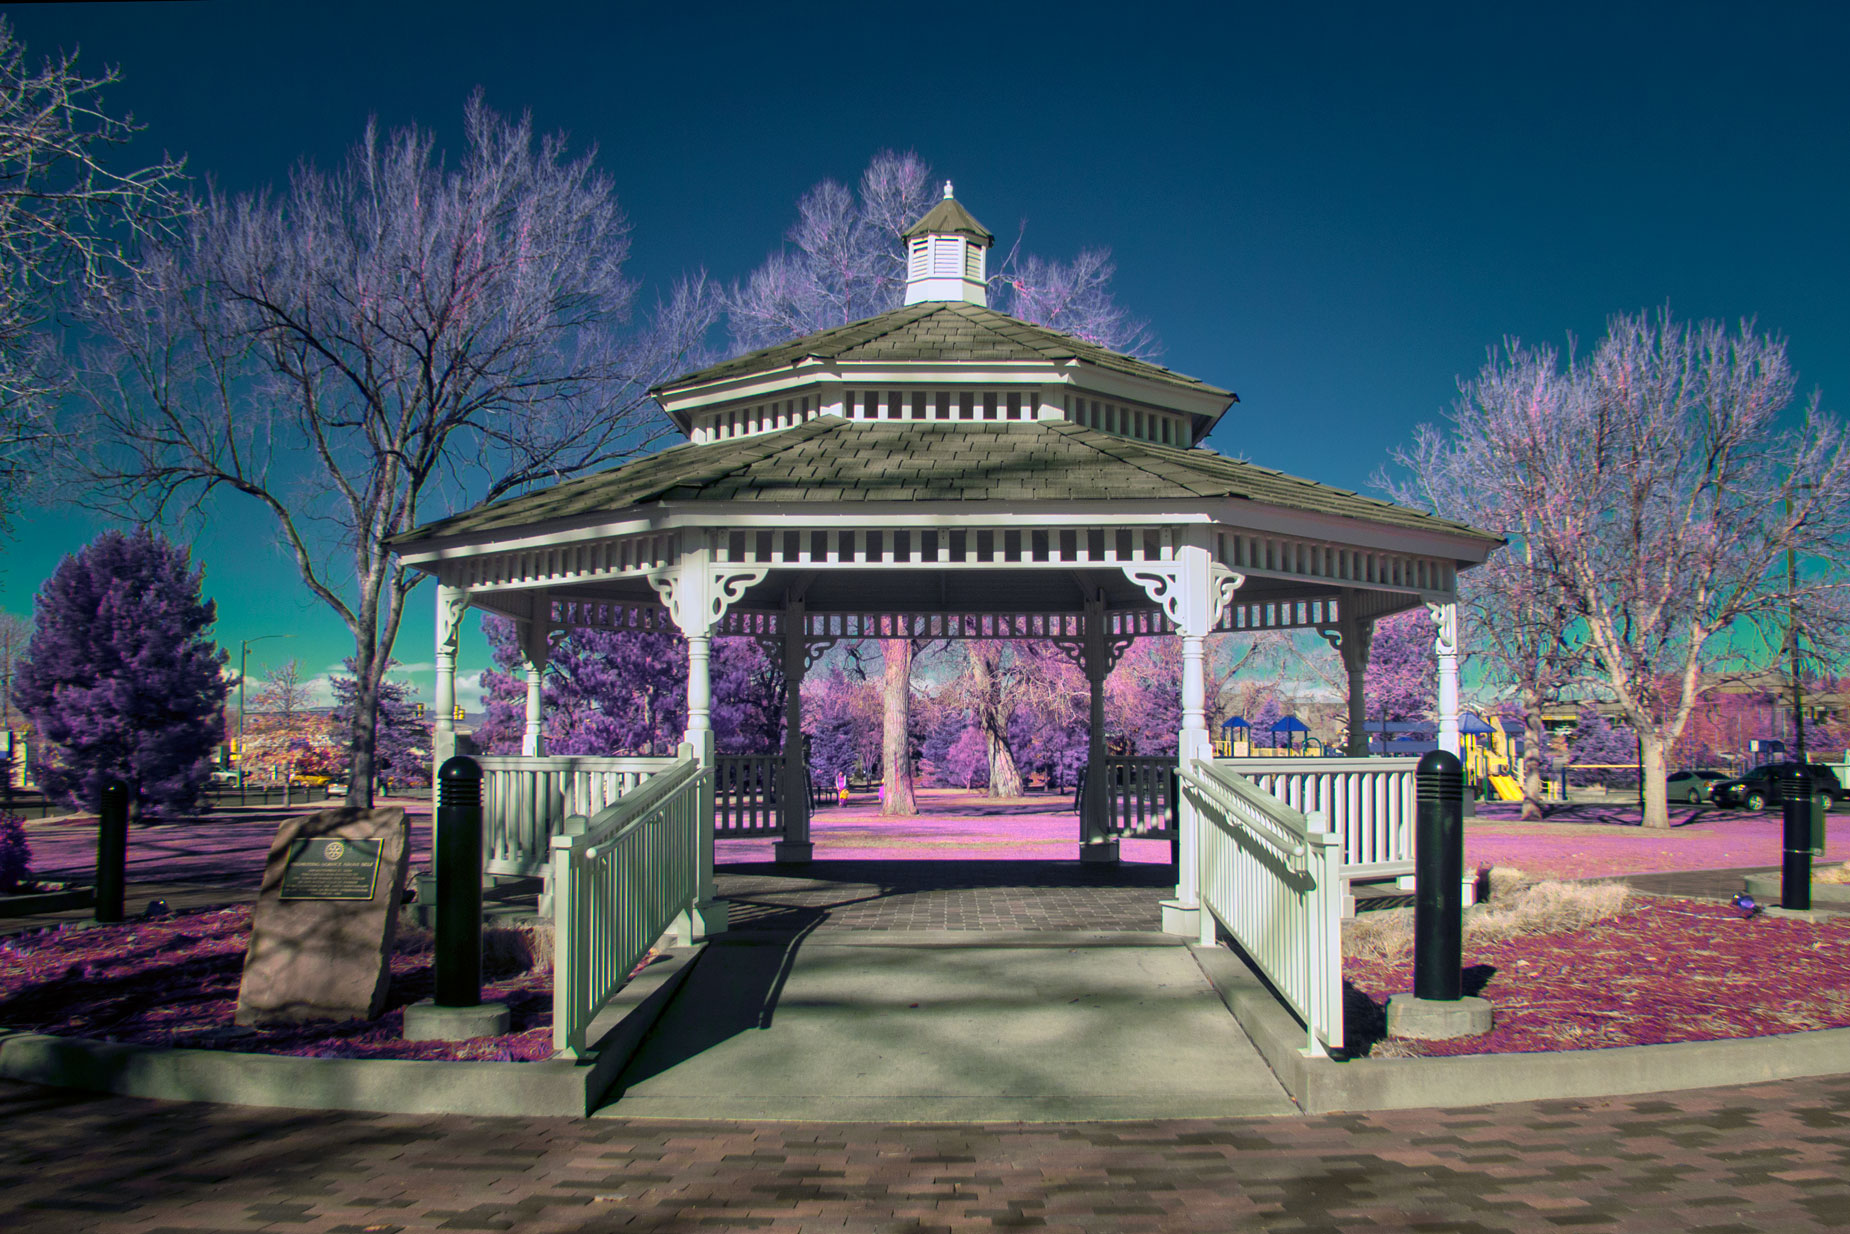
In the past year or so, I’ve been writing about and posting images of Littleton, Colorado’s Hudson Gardens that were made with a Panasonic Lumix GX-1 that was converted for infrared capture with Life Pixel’s Hyper Color filter. That’s not how I started with this camera/filter combination. Let me take you, as Huey Lewis once sang, “Back in Time” to when I got that camera back from Life Pixel and I went to, where else, O’Brien Park and made some photographs…
Today’s Post by Joe Farace
One of Farace’s Laws is that “All Special Effects are subject dependent.”
 Initially, I took my converted silver body Lumix GX1 to Parker Discovery Park to photograph the giant “jacks and ball” sculpture and immediately began to doubt my choice of camera. The glare on the GX1’s fixed screen was so bad it was difficult to shoot any kind of composition.
Did Somebody Say “White Balance?”
To start with I had to deal with one of LifePixel’s Hyper Color filter’s main features: There is no default white balance. LifePixel suggests using your camera’s different white balance settings (even Kelvin) to capture a variety of tones in your images. Bouncing in an out of the camera’s White Balance menu turned out to be a pain in the patootie, so I wanted an easier solution.
It tuned out that both of my problems were easy to solve: First, I borrowed (stole) the VF2 tilting EVF from my unmodified, black-body Lumix GX1 and slipped it onto the modified GX1’s shoe and was set to go. If you don’t already own an VF2, I’ve seen them selling on eBay for around $150, which I think is too expensive for what it is. Maybe when my ships comes in, I’ll purchase a second one or maybe not.
Second, it turned out that the solution for changing the GX1’s white balance setting was also easier to solve than I thought. The GX1, like many mirrorless cameras, has programmable custom settings that are available on the Mode dial allowing each one to be customized for a specific application or, in my case, white balance choices. I found that only two of the camera’s available White Balance settings produced dramatically different colors and set up the C1 and C2 modes accordingly. Selecting white balance modes were now just a dial spin, no menu diving required but I wasn’t initially happy with those results. And then…

How I Made this Photograph: Let’s start with the basics: The camera used was a 16-megapixel Panasonic Lumix GX-1 with Life Pixel’s Hyper Color infrared conversion. The lens was the Olympus M. Zuiko 17mm f/2.8. The RAW file was captured using one of the C1 (or C2) color settings I created. After capture, I used the optional Photoshop action (Hyper Color to Super Color) that Life Pixel sometimes offers with conversions, at least they did when I had my GX1 converted. After tweaking in Vivenza, I think it gives my favorite photographic subject a Willie Wonka look.
I tried identical processing with one of the other RAW files that were captured with a different color balance and was not happy with the results but neither the technique I used for the above image or any others produced the kind of results you see in this post. I think that’s because not only are the special effects not subject dependent but results can be affected by the time of day and also perhaps by the temperature and even time of year!
Then I remembered that when I had my camera converted, Life Pixel offered a series of Photoshop Actions that produced different, and in my option, interesting looking results for color images. As an alternative, you could also use the techniques described in my post How to Produce the Blue Sky Infrared Technique to produce an even different-looking color palette.
 I should point out that it might almost be Spring where you’re located—officially it’s March 20—but Springtime in the Rockies, no matter what Roy Rogers sang about, can be unpredictable here in Colorado. We had snow with a blizzard warning the night before I wrote this and snow is predicted for tonight. Right now, there are no leaves on any pf the trees in my zip code, other than evergreens that are (somewhat) immune to the Wood Effect.
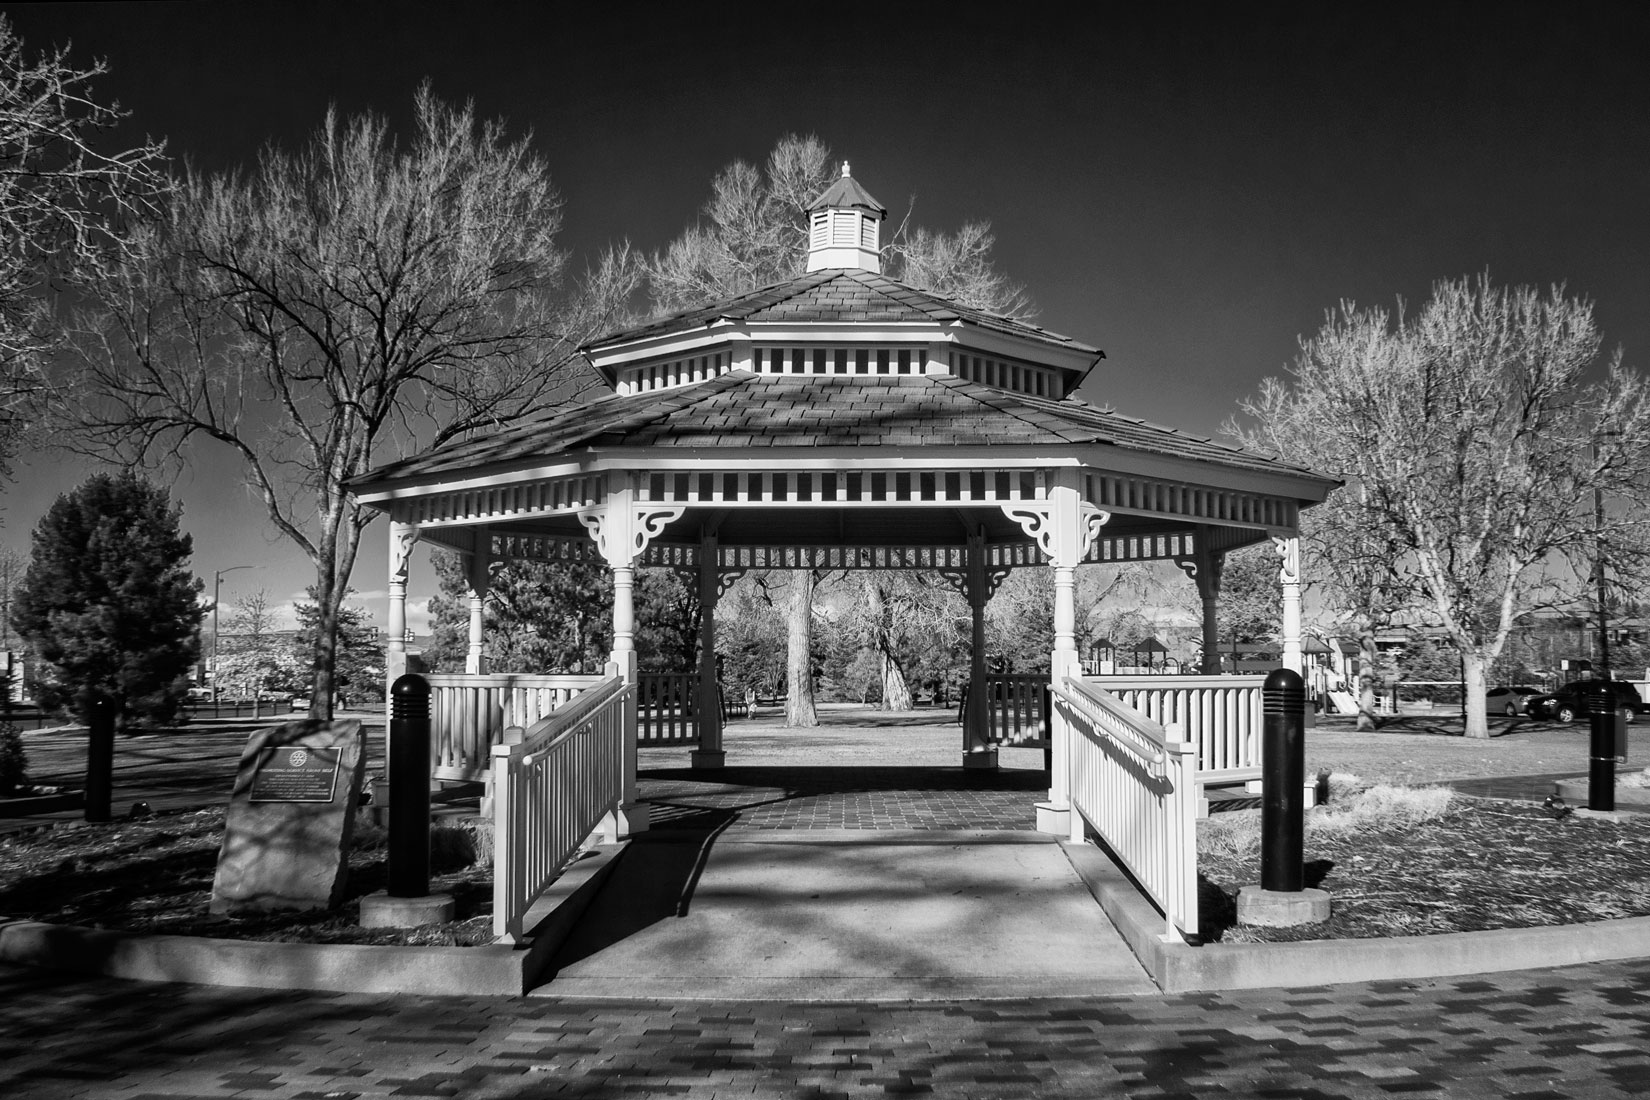
When talking about the Hyper Color filter, Life Pixel says, “you can have even more control of your black and white images with this filter.” What’s a black and white version look like? I decided to give it a try using the same RAW file. For monochrome conversion, I prefer using Exposure or Silver Efex and used the latter’s Full Dynamic (smooth) preset to create the image at left. This image was processed using the same RAW file as above center and I think it looks pretty good in monochrome
Even though I’ve had this camera conversion for my Lumix GX1 for almost two years, I feel like I’ve only just begun to unlock its potential. Look for more explorations, including portraits and maybe a another visit to Hudson Garden, using the GX1 with the Hyper Color infrared filter as the weather improves and I gain more experience with it.
