This is not a “my way or the highway” blog.” I’m not asking you to change anything you’re already doing photographically. With all my posts I’m just providing information that you can use—or not.
Thoughts for Today by Joe Farace
There is a lot of music in the world that I love that does not always get the appropriate exposure.—Moby
On Monday I talked about my approach to obtaining proper photographic exposure but I also recognize that exposing for invisible light can be more of a challenge. So today I wanted to share some thoughts on how I approach exposure for infrared photography….
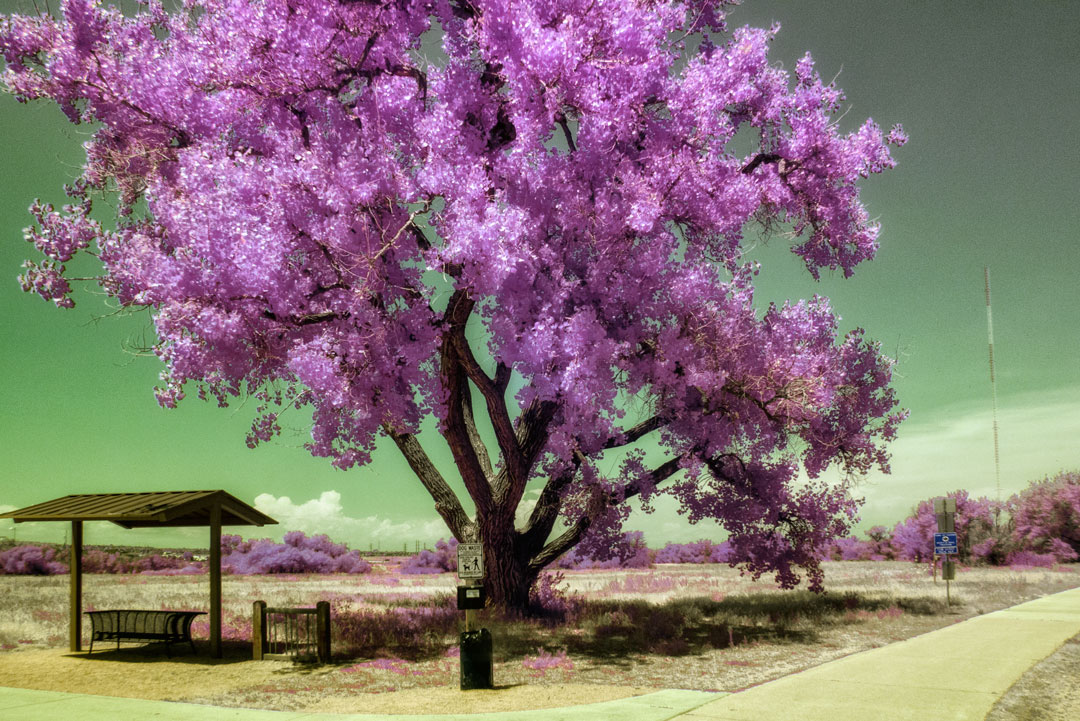
Because of their nearly white reproduction of vegetation’s green chlorophyll, infrared black-and-white photographs render landscapes as if they were glowing, moonlit or immersed in an extraterrestrial light. Infrared color photographs (SOOC) have a fairy-tale look because it renders infrared-reflecting plants in orange to purple-red tones, while the use of filters can suppress the blue and green components that are present. As in black and white IR photography, these results are difficult to predict, making them ideal for experimentation and surprises!

How I Made this Photo: I photographed my second favorite tree in the Cherry Creek Trail portion of Parker, Colorado’s McCabe Meadows with a used Panasonic Lumix GX1 that I purchased from Roberts Camera and had converted by Life Pixel using their Hyper Color IR filter. (There’s no nm rating on this filter.) The lens used was the Lumix G Vario 12-32mm f/3.5-5.6 kit lens at 12mm. The image as-captured was slightly perspective corrected in Photoshop before being tweaked using Photoshop Actions from Life Pixel and enhanced by the Vivenza and Color Efex plug-ins.
Because almost all exposure meters are not sensitive to infrared capture, it’s difficult to calculate exact exposures but that doesn’t mean you can’t try, especially since digital cameras provide instant feedback. Keep in mind that two subjects that seem equally bright in normal (visible) light might reflect infrared radiation at significantly different rates and have different IR brightness. Therefore it is a good idea to bracket a series of three to five different exposures and especially do testing with your camera.
Bracketing means you make several photographs of the scene, changing the exposure each time. Most DSLRs and mirrorless cameras have a built-in bracketing function that lets you make a specified series of shots at exposures over and under what is considered “normal.” Read your manual for directions because every camera’s gonna be a little different on how they accomplish this.
Even if your camera doesn’t have bracketing function it should have an Exposure Compensation feature that will let you adjust exposures in your choice of one-half or one-third stop increments within the camera’s different automatic exposure modes. If all fails, use manual mode. Typically I look through the viewfinder and see what the suggested exposure is in Program mode, then transfer that shutter speed and aperture to the camera after it’s set in M. Now you are free to change shutter speed or aperture to bracket exposures.
