Today’s Post by Joe Farace
Wide angle lenses may be great for architectural photography but can create the “falling over” building effect that doesn’t always recreate the look that’s produced when making photographs with a view camera or even when using a Tilt-Shift lens or Perspective Control lens. Using these kinds of cameras or lenses can eliminate the falling over look and can, depending on the structure being photographed, almost (key word) duplicate what you can do with a view camera.
But all this control doesn’t come cheap. A Canon TS-E 24mm f/3.5L II Tilt-Shift lens costs $1,899 and a Nikon PC NIKKOR 19mm f/4E ED Tilt-Shift lens costs even more. That kind of price tag is justifiable if you make your living as an architectural photographer but what if you just do it for fun and only from time to time? (And don’t forget, you maybe able to rent one of these lenses for far less.
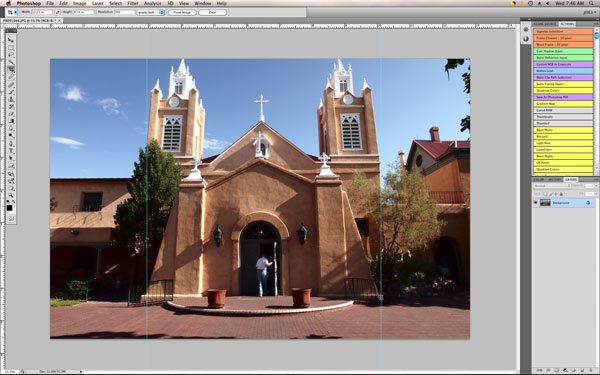 I photographed the 300 year old San Filepe de Neri church in Old Town Albuquerque using an Olympus E-P3 mirrorless camera with a 12mm f/2.0 lens (24mm equivalent) and there is some perspective distortion due to the lens’s 82-degree angle-of-view along with how I had the camera titled. This looks doesn’t bother some people and if that’s you, just bail from this page and look at another post. If it does bother you, here’s a quick and easy way to fix it using Adobe Photoshop.
Step 1: Open the file and chose Select > All to select the entire image. Drag a guide line out from the side by making sure Rulers are shown and just drag and grab and place a blue line to guide you in making corrections.
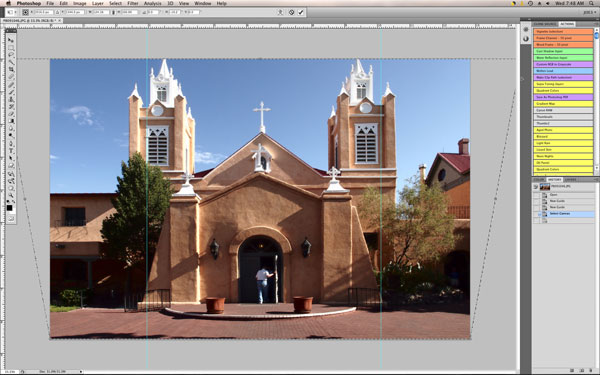 Step 2. Chose Edit > Transform > Perspective that will place handles (a little box) in each corner. Drag one of the top handles straight out and watch the lines in the building start to “correct themselves. You can do this by “eye” or by using one of the guide lines that I previously suggested you drag onto the images.
Step 3: Select Image > Crop and you’re done. I finished the image buy tweaking in using the Polarizing filter that’s part of Color Efex.

When correcting the perspective, something from the image is always lost and if you know you’re going to correct perspective in post production, then you might plan ahead and include some extra material on the sides that will later be cropped out when the image is corrected.
Thank You to Gregg Lowrimore for his support for me and this blog!
If you enjoyed today’s blog post and would like to buy Joe a cup of Earl Grey tea ($3.50, Starbucks and Dunkin’s has raised tea price), click here. And if you do, thank you very much.