Today’s Post by Joe Farace
“I’m not asking you to change anything that you’re already doing. In all of my blog posts, I’m just providing information that you can choose to use—or not. This is not a ‘my way or the highway’ blog.”— Joe Farace
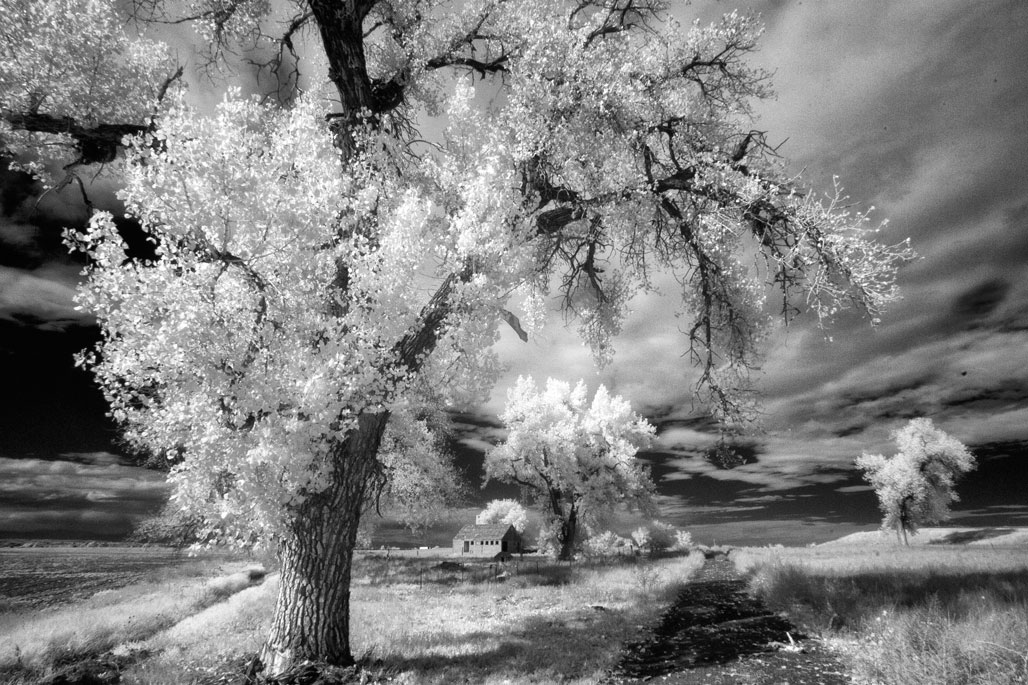
When shooting infrared, the near white reproduction of green chlorophyll in some vegetation produces black-and-white photographs rendered as if they were glowing, moonlit or immersed in extraterrestrial light.
 How I made this photo: Camera was a Canon EOS 50D that was converted to infrared by Life Pixel using their Standard IR filter (720nm.) Lens was the (now discontinued) Tamron AF 11-18mm f/4.5-5.6 Di-II SP LD Aspherical at 11mm with an exposure of 1/90 sec at f/16 and ISO 400. RAW file processed in Silver Efex Pro.
Infrared photographs when made with IR color film have a fairy-tale look rendering infrared-reflecting plants in orange to purple-red tones. In black and white IR photography, the results can sometimes be difficult to predict, making them ideal for experimentation and open to the kind of surprises that photographers who are in their first phase of development always experience. In short, it’s an easy way to kick-start your creativity.
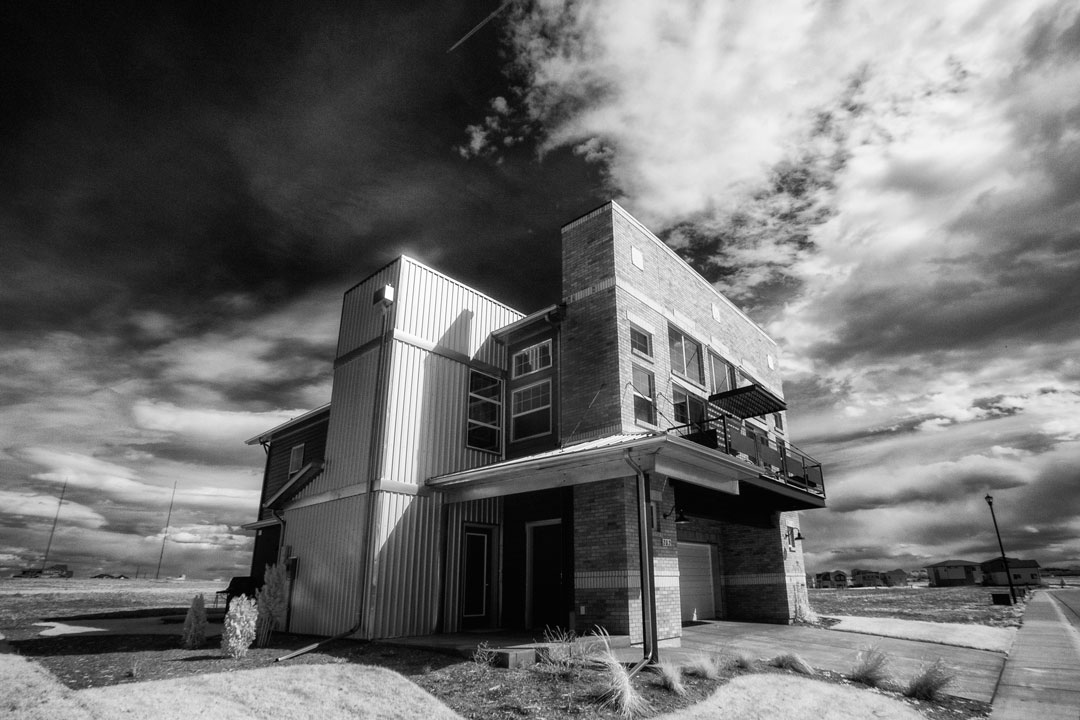
 How I made this photo: I photographed this firehouse with a Canon EOS Rebel Xti that had been converted to infrared by Life Pixel. Lens was the (now discontinued) Tamron AF 11-18mm f/4.5-5.6 Di-II SP LD Aspherical at 11mm with an exposure of 1/100 sec at f/16 and ISO 400. RAW file processed in Silver Efex Pro.
The problem with determining exposure is that while two subjects that appear equally bright in normal (visible) light might reflect infrared radiation at different rates producing different IR brightness. That’s because exposure meters built into cameras (and even most hand held ones) are not sensitive to infrared light. This means that it can be difficult to calculate exact exposures but that doesn’t mean you can’t try, especially with your camera’s LCD providing instant feedback.
That’s why I think it’s a good idea to bracket infrared shots using a series of three to five different exposures. Most cameras these days have an auto-bracketing feature that you can use or you can use Exposure Compensation to adjust exposures at one-half or one-third stops in any of the various automatic exposure modes. If all else fails—and you’ll know it right away— use manual mode.
Here’s one exposure method that I use: In Program mode, I look through the lens and see what the suggested exposure is, then I switch back to Manual mode and transfer that shutter speed and aperture to the camera. Now I’m free to change shutter speed or aperture to bracket exposures manually. For some expanded tips on this subject, please check out my post: Exposure Tips for Infrared Photography when you have the time.
