My wife suggested the“Tricky Tuesday” theme as a way for me to share some of the different tricks, tips and techniques I’ve used over the years when shooting glamour images in my home studio and on location, as with today’s photograph of the legendary Maria Cedar..
Today’s Post by Joe Farace
I put my heart and my soul into my work, and have lost my mind in the process.—Vincent Van Gogh
 Photoshop users have access to Adobe Camera RAW (ACR) software that works with RAW files created by most DSLR’s and mirrorless cameras. Some camera companies don’t or won’t provide Adobe with their RAW file specifications and in those cases the implementation of a particular RAW format is reverse engineered by Adobe to make it work. Users of Photoshop Elements have access to ACR as a separate plug-in.
About Those RAW Files
 The same limitation of reverse engineering that affects ACR is also true for most, if not all, general-purpose image programs that process your camera’s RAW files, although I am told that is not the case, at least for Canon DSLRs, with Phase 1’s Capture One.
This brings up the biggest downside of using RAW files: They are proprietary and some critics feel the use of closed, proprietary RAW file formats limit your processing choices.
To me the biggest danger of this proprietary approach is the possibility that sometime in the future a certain camera’s RAW file may be unreadable. If you don’t think that can happen, just ask photographers, like me, who have Kodak-produced disks full of images saved in the now defunct FlashPix of PhotoCD formats. As an alternative format, Adobe offers the DNG (Digital Negative) format that has been adopted by a few manufacturers, such as Leica and Pentax, for use as their default RAW file format, in many of their cameras. I think Pentax offers a choice of DNG or their own proprietary .PEF RAW format. To overcome any conversion problems, Adobe offers the free DNG converter software that lets you convert many camera’s proprietary RAW files into DNG. You can download a copy here.
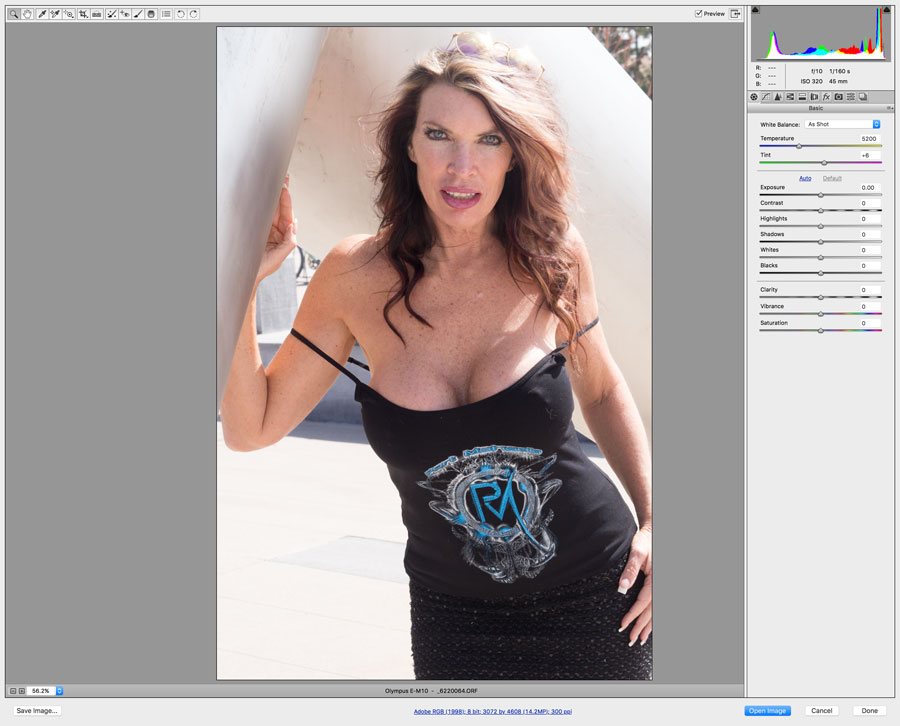
 How I made this portrait: At the giant Jacks & Ball sculpture in Parker, Colorado, I photographed famed Internet model Maria Cedar with her back to the sun using an Olympus E-M10 Mark I and M. Zuiko 45mm f/1.8 lens. The camera’s built-in flash that has a GN 19 (in feet) was used as fill. The exposure was 1/250 sec at f/4.5 and ISO 320 with an exposure compensation of plus two-thirds stops. There are more details on this particular shoot accompanied by a different portrait of Maria in my post Shooting Outdoor Portraits with Entry-Level Cameras.
In the past, I shoot almost everything in JPEG format but over time the constant drumbeat of “shooting RAW” convinced me that I might be wrong about that approach. Now, for lots of reasons, I hedge my bets by shooting in RAW+JPEG but for portraits and infrared photography and almost always end up working with the RAW files. Cameras with dual card slots,—I don’t currently own one—make shooting RAW+JPEG easy by giving you the option of writing RAW files to one card and JPEG’s to the another one.
I shoot in RAW+JPEG mode when making monochrome portraits and I always do it when shooting landscapes with one of my infrared converted cameras. For infrared images, I start by opening the file, sometimes adjusting the image using ACR’s Clarity and Vibrance sliders but more often than not, I just open the file into Adobe Photoshop, convert to monochrome with Silver Efex and then perform additional tweaks to get the results that I want.
The point of all these true confessions is that I use a similar workflow for JPEG, RAW+JPEG for whatever I’m shooting at the time. The biggest difference when shooting JPEG is that I can skip Adobe Camera RAW and use some of Photoshop’s and third-party filters to tweak my images instead of using any of ACR’s built-in capabilities.
Note for my Patreon Subscribers. After looking at all of the images in this session that I had with Maria, I realized I could make a Bonus post using some of these images of her for one of my uncensored Password Protected posts. If you are interested in seeing some of the other images from this session, click CONTACT and let me know. If you are not yet a Patreon subscriber—it’s surprisingly inexpensive—details on how to sign up can be found here.