For 2025 I’ve retired my #thursdaythoughts theme. While searching for a new one to replace it. it’s going to be (and may end up as) Anything Can Happen Day for the time being. This might have been what Thursdays were called on the Mickey Mouse Club where I stole the idea!
Today’s Post by Joe Farace
Of course you learn from certain moments, and you always get more and more experience, so maybe in the future you will do some different things, but in general, the basics always stay the same.—Max Verstappen, race driver
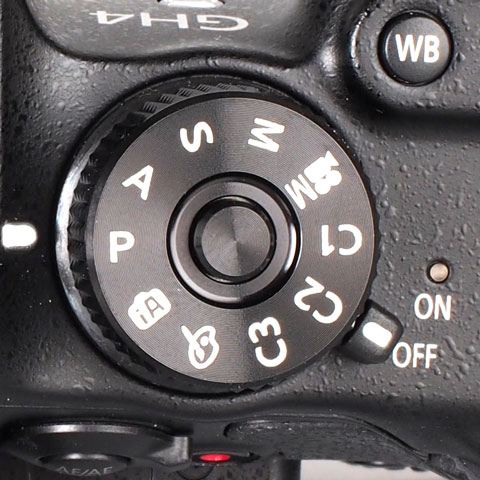
 The number one question that I’m asked by photographers during workshops or PhotoWalks is about how they can obtain “proper exposure.” I’ve written several posts on that topic here as well as my car photography blog. That’s why today I want to tackle the subject of manual mode.
To keep the automotive analogies going, I like to think that capturing images in manual mode is for the photographer who prefers to drive a car with a manual transmission rather than one with an automatic. That does not mean that manual mode is the only way you should use to make photographs. Some purists and YouTube experts claim that manual exposure mode is the only one you should ever use but I don’t fully agree with that. Here’s when I use Manual mode:
- First, I use it in the studio when shooting with electronic flash—not continuous lighting.
- Second, I’ll use or when working under extremely low light (see below) or challenging lighting conditions. That’s because complex lighting situations will often confuse even the most sophisticated automatic exposure system.
Using manual exposure can especially be helpful when working with high contrast or those situations having a strong backlight but can also help when trying to achieve a specific mood. As an aside, I will sometimes use manual exposure , when shooting infrared but that’s a special case and not all photographers are interested in producing this type of imagery.

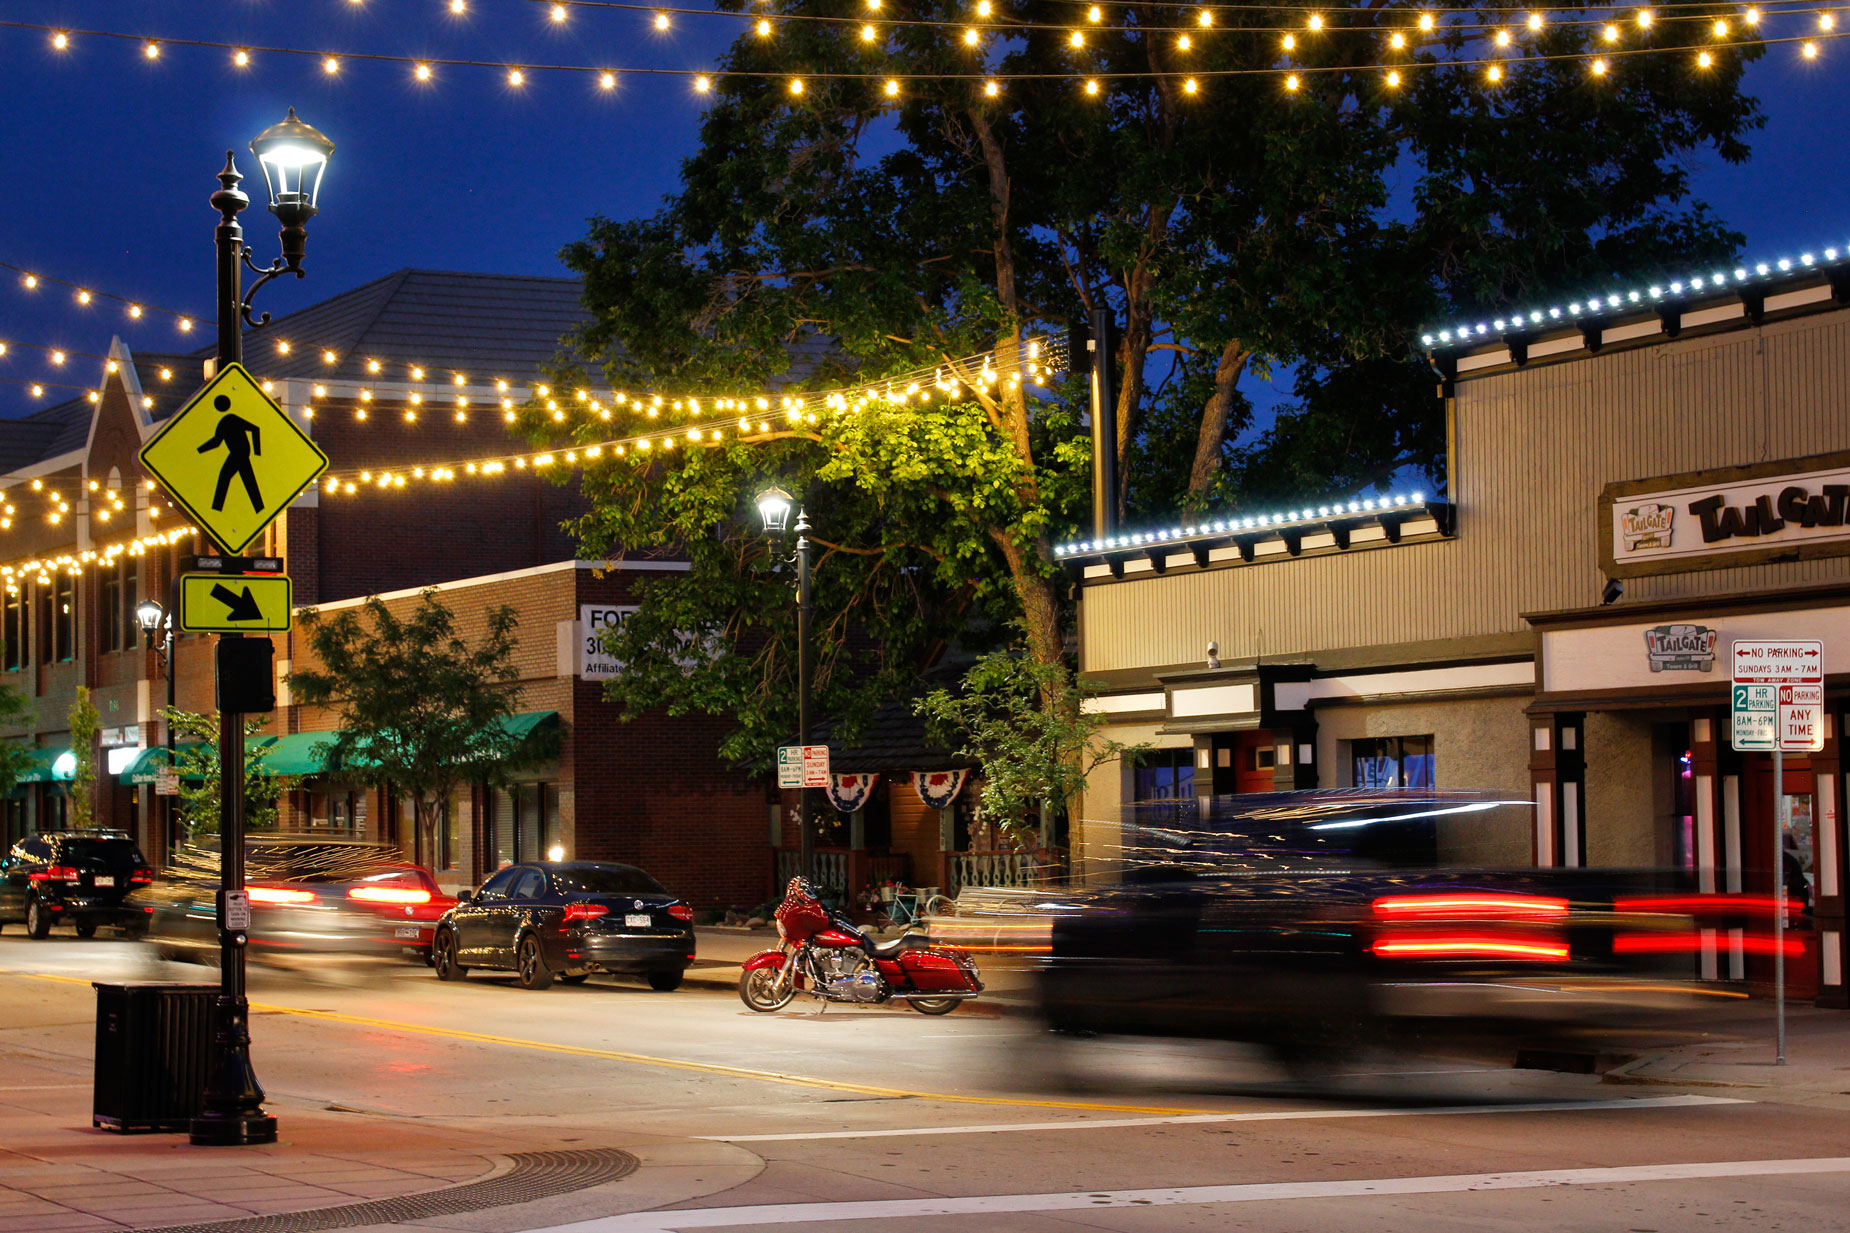
How I made this photograph: Here’s a nighttime shot of Mainstreet in Downtown Parker, Colorado made at 9:30 PM.The camera used was a tripod-mounted Canon EOS 60D and Tamron 35-150mm F/2.8-4.0 Di VC OSD lens at 46mm (74mm equivalent.) The manual mode exposure was 1/4 sec at f/5 and ISO 640 with a minus two-thirds stop exposure compensation.
Here’s my two cents
Obtaining the best exposure is simply about correctly choosing and setting the appropriate combination of lens aperture, shutter speed and ISO setting. You can set the exposure manually or let the camera do it using the many automatic modes that modern DSLRs and mirrorless cameras offer and…
…for 90% of the photographs you’ll make, any one of your camera’s automatic modes will do a fantastic job in producing correct exposure but those last 10% will kill you. That’s why sometimes you just have to shift into manual. If you’re constantly producing underexposed images, Eos, the Greek goddess of the dawn and the personification of light at the break of dawn, is telling you to start shooting in manual mode.
You can set manual exposure on your camera by using readings from a hand-held light meter and you can learn how I use that system when making outdoor portraits in this post, More conveniently, you can use the meter that’s built into your camera. Here’s how I use my camera’s in-camera meter like a handheld one: I look through the viewfinder in Program mode to see the suggested exposure, then change to manual mode to set the shutter speed and aperture that was indicated. That doesn’t mean these were the best exposure settings, so sometimes you might want to bracket while checking the image’s histogram— a graphic representation of the distribution of exposure data—on the camera’s LCD screen.
Some Caveats: Many of these suggestions in today’s post relate to exposures made with available and natural light photographs. As I mentioned above, shooting portraits in my studio using electronic flash under tightly controlled conditions is another story and makes manual mode shooting the only way to go. When shooting in the studio using continuous light, I will sometimes shoot in one of my camera’s automatic modes but with experience you may find find that using manual mode will produce more accurate and better exposures.
Most cameras also offer a Bulb mode that is a variation on manual mode where the shutter stays open as long as the release is pressed. This setting lets you to make really long exposures when making photographs of holiday lights, fireworks or special effects such as images of carnivals and amusement parks. For long exposures like this you should mount the camera on a sturdy tripod and further reduce the risk of camera shake by tripping the shutter with a cable or remote camera release
 If you enjoyed today’s blog post and would like to buy Joe a cup of Earl Grey tea ($3.50), click here.
Along with photographer Barry Staver, Joe is co-author of Better Available Light Digital Photography with new, used and Kindle copies are available from Amazon.