
Today’s Post by Joe Farace
“It’s a world, someone’s face. When I capture it, I see the future of the world.”– Malick Sidibé
Back when group model shoots were a thing, one of the best was held twice a year in Arizona and were sponsored by the late Dave Hall. As I watched some of the images made during these shoots being posted on Dave’s Glamour Models forum, a woman named Michelle Monroe stood out and those images really, really made me want to photograph her.
At the first shoot I was able to attend, I met Michelle during a “get acquainted” event the night before the shoot started, which made me even more excited about being able to photograph her. The next day we had a private shoot that lasted longer than is typical for most group shoots but there’s more to to the story than that. The session where I made today’s featured portrait resulted in my writing the first Stupid Photographer’s Tricks posts, where you also see the original color version of this portrait.
Creating a Monochrome Portrait
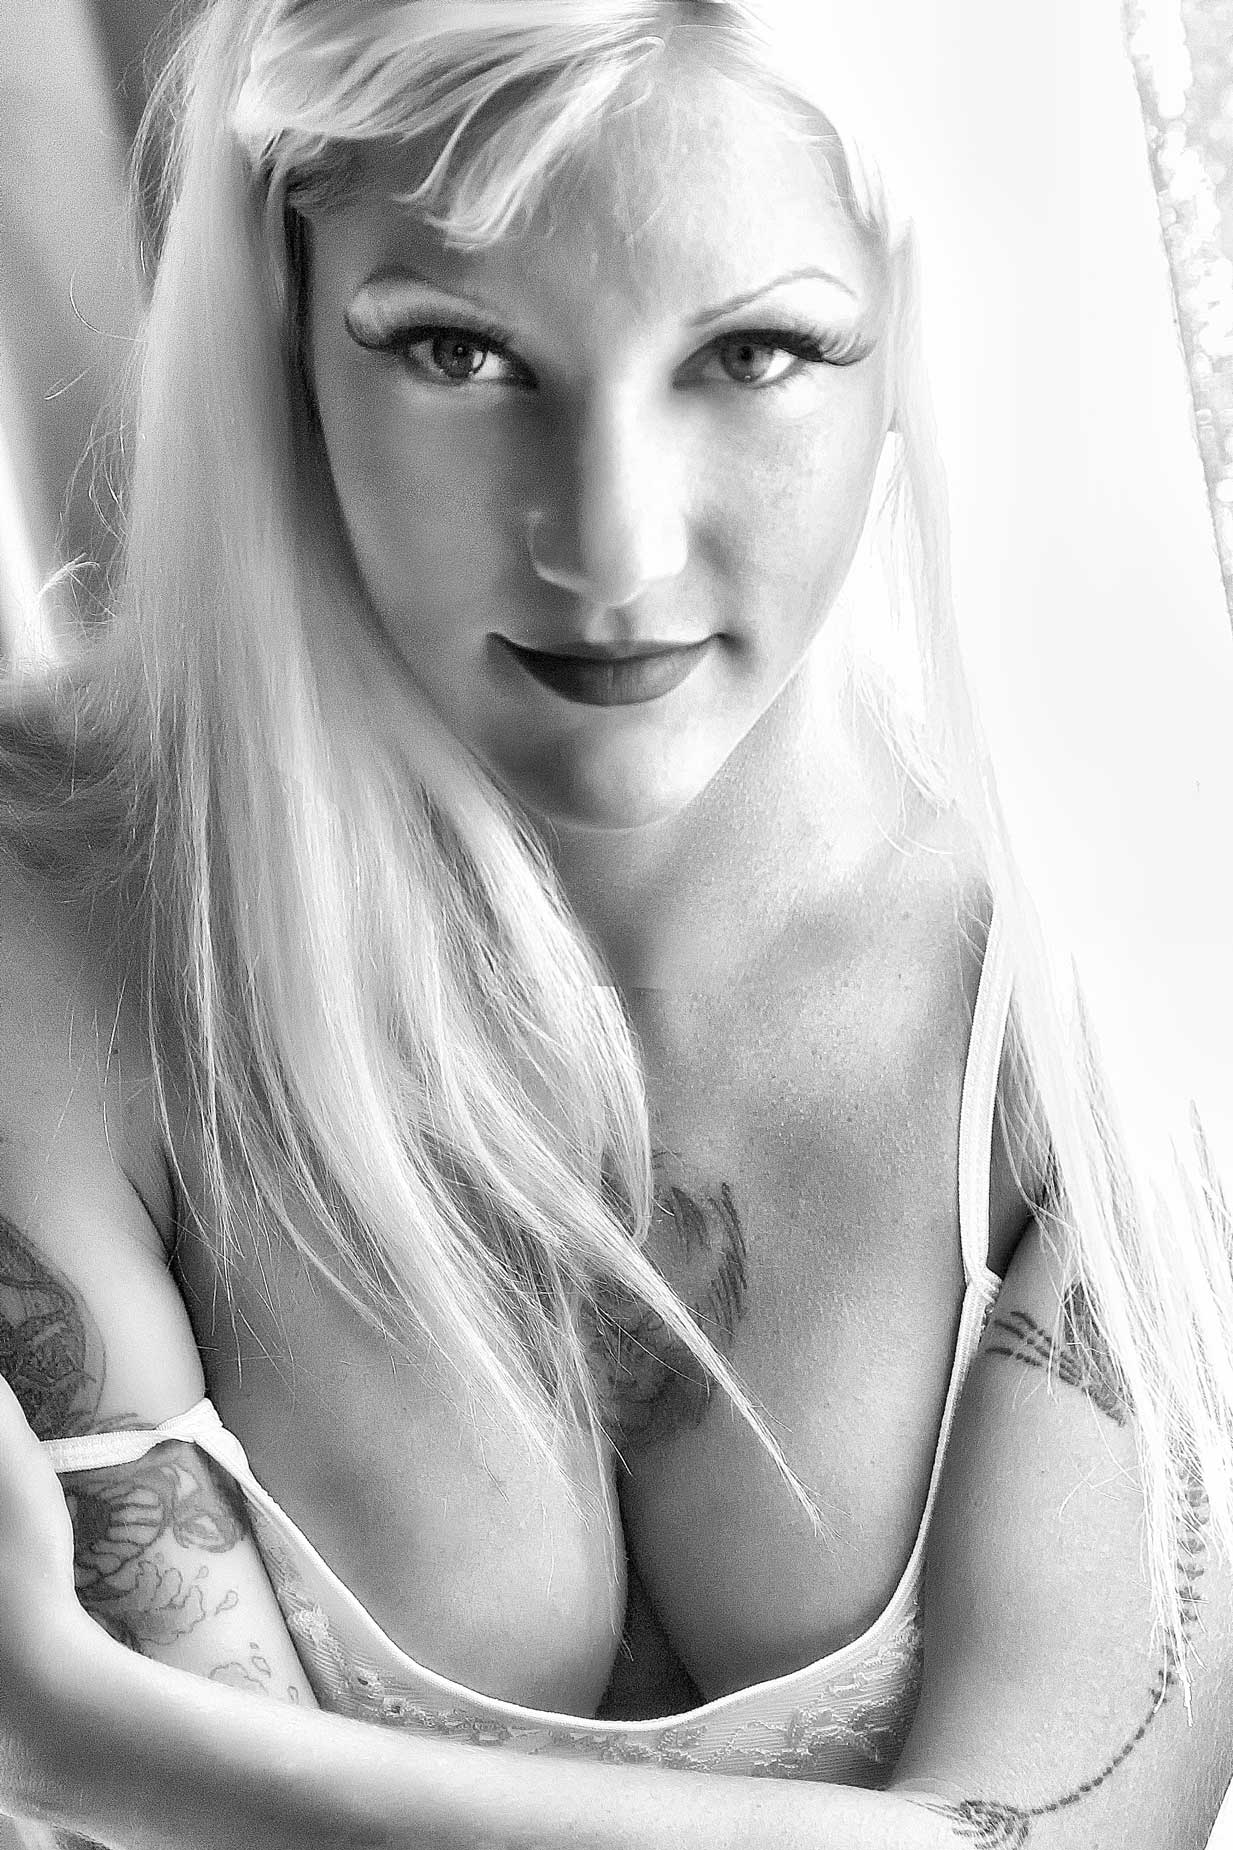 In a previous post, I said, One of the things I like to do to get out of a photographic rut is to shoot some of the photographs made during a portrait session in monochrome mode. It doesn’t have to be all the images, just a few to, you know, see what happens. If you think that’s a bad idea because you worry about changing your mind later and want that image to be in color, there are options.
Most cameras have a RAW+JPEG option that lets you capture a monochrome (JPEG) and color (RAW) file at the same time. Almost all dual-slot mirrorless cameras and DSLRs, also let you simultaneously save each file type onto a different memory card. That’s why during almost all of my current portrait shoots, I use RAW+JPEG capture. This was not one of them. In the latest Pixels, Groan & Cookies podcast, my co-host Barry Staver and I go into some depth about the RAW or JPEG concept.
How I made this portrait: Most of the time. I’ll capture an image in color and convert it into monochrome later and that’s how I made the window light portrait of Michelle Monroe at right. The original color portrait was captured as a JPEG file with a Canon EOS D60 (not 60D) and EF 28-105mm f/3.5-4.5 lens with an exposure of 1/160 sec at f/5.6 and ISO 800 with a plus two-thirds stop exposure compensation. That exposure produced some slight underexposure, that was, as least, mitigated using a technique I explain here.
The original color file was lightly retouched with some burning and dodging layers from Photokit 2, Then it was converted to monochrome using Exposure Software;s Exposure with one of the Shadow recovery options from their B&W Tonality presets. I wanted to add some contrast, which I did with Tonal Contrast before applying the Glamour Glow filter, both from Color Efex to produce the final image you see,
About that Underexposure
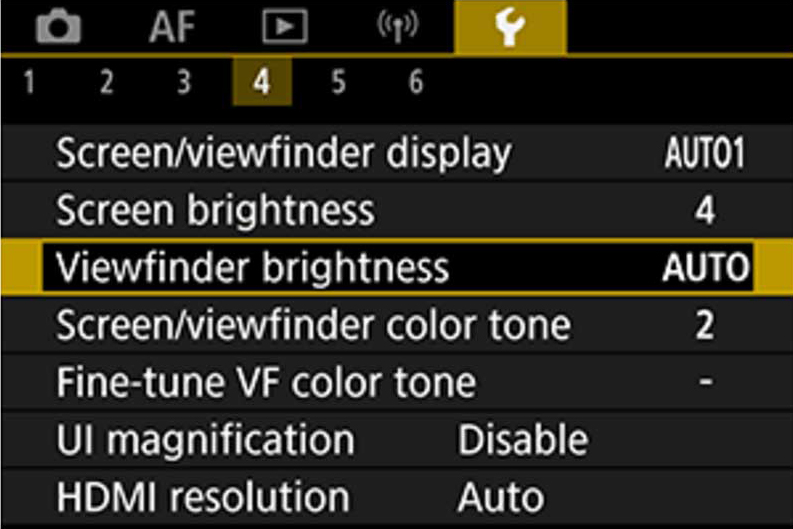 If you look at posts featuring images that were made around this same time at Michelle’s, you will notice that many of them are somewhat underexposed. So much so, I eventually developed the previously referred technique to fix it, although to be fair, only a properly exposed image will look as good as it can be. Underexposure was a problem with some of Canon’s early DSLRs whose preview screens were often optimistic. This error could, of course, be easily corrected by increasing the screen’s brightness (see below) or using a histogram to check exposure, but group model shoot conditions didn’t necessarily lend themselves to contemplative shooting. But then again, it was made during a time when I was an insane shoot-and-scoot photographer so it’s undoubtedly all my fault.
The biggest advantage of post converting portraits is that retouching tools, such as Imagenomics’ Portraiture, work better in color because there are more tones for the software to access, making the final retouched image look more natural. Tip: When using Portraiture. Enlarge the image on your screen and gradually lower the retouched layer’s opacity until you see some skin texture showing. Then flatten it. That will keep you from creating the “plastic skin” look you often see in portrait images on social media.
 If you enjoyed today’s blog post and would like to buy Joe a cup of Earl Grey tea ($2.50), click here. And if you do, thanks so much.
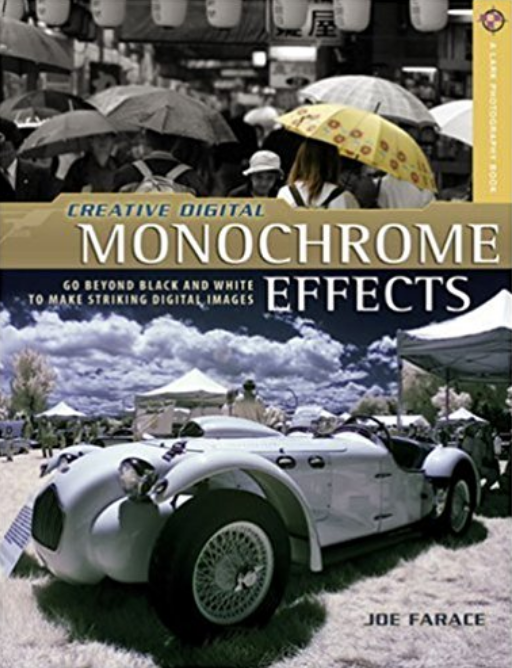
Copies of my book Creative Digital Monochrome Effects, which has many tips, tricks and techniques for monochrome conversions and effects, is available from Amazon with used copies starting around ten bucks or less than your next coffee at a Starbucks drive-through.