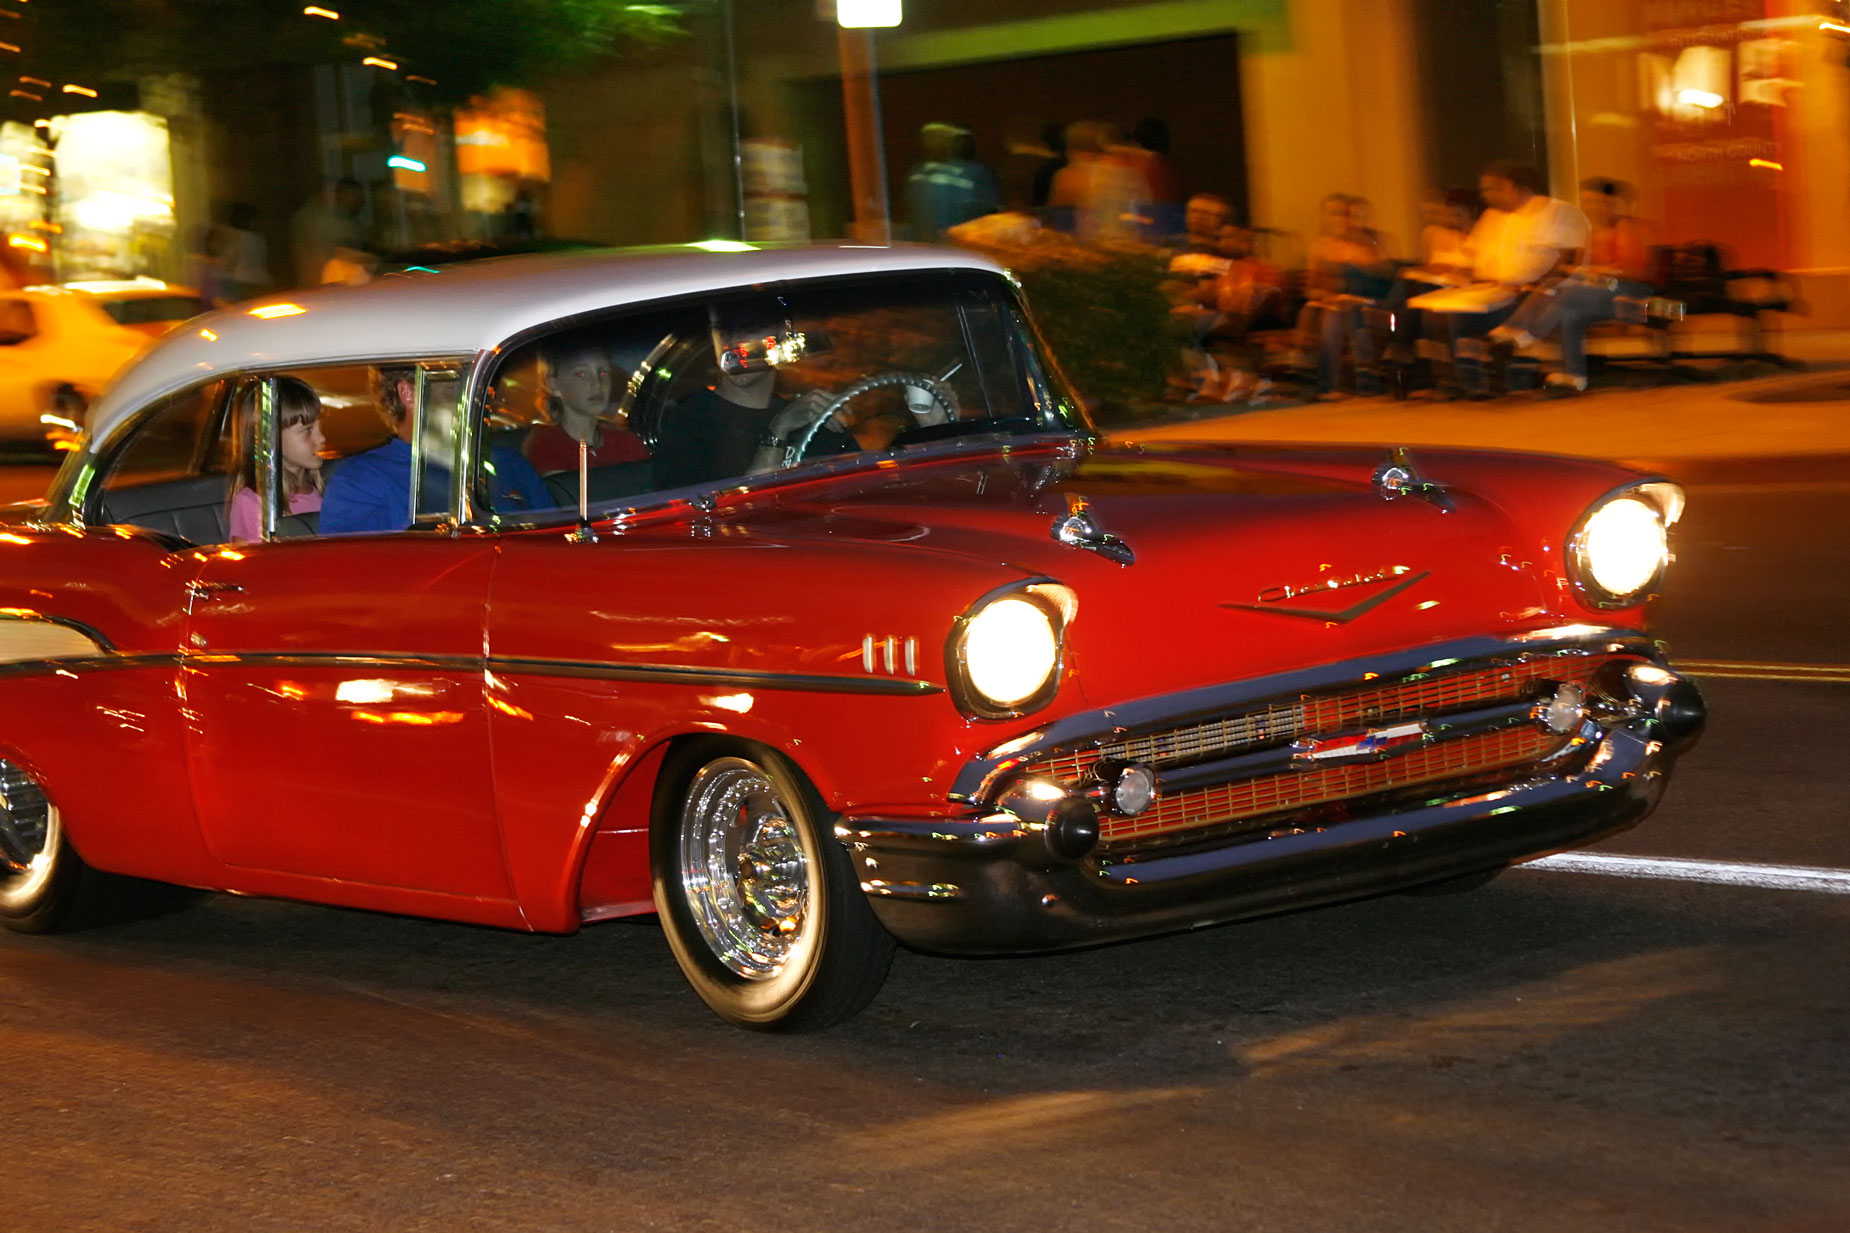
Most photographs have memories attached to them and today’s featured image is no exception. It was made when Mary and I were visiting her (now departed) parents in San Diego, and they suggested we drive to Escondido for Cruisin’ Grand to look at the cars. We were driving a PT Cruiser at the time and as we drove into the town, we saw the local PT Cruiser club had a parking lot just for their cars and they waved us is. They could not have been a nicer bunch of people and we all, in-laws included, enjoyed hanging out with them and looking at the cars driving up and down the street. It was a special night and I will always remember it fondly
Today’s Post by Joe Farace
The automobile is an American cultural symbol.—Raymond Loewy (1893-1986,) Often referred to as The Man Who Shaped America, The Father of Streamlining and The Father of Industrial Design.
Digital noise has many causes and I’ve written here about all of them. While there are many reason for seeing noise in your images—it may not even bother you—no noise reduction software that I’ve tried, so far anyway, is perfect. You can try, by working through the many options, presets, and sliders the software offers, to eliminate noise but you may never achieve your own personal digital noise nirvana. More often than not, you will obtain an image that may be noiseless but is too smooth obscuring details. When dealing with noise that I don;t want, there’s a simple way I (try to) fix this problem using Adobe Photoshop.

How I made this photo: The above image was made during Cruisin’ Grand in Escondido, California with a Canon EOS 50D with EF28-135mm f/3.5-5.6 IS USM lens (at 65mm.) th exposure was 1/8 sec at f/5 and ISO 800.
Disclaimer: This technique is mostly useful for images made with older cameras, like the one I used to make the featured image. Newer DSLRs and mirrorless camera have such improved high ISO performance that you might not even need this technique, unless you’re shooting at elevated ISO settings such as 25,000 and maybe not even then.
Here’s Just One Approach
- First, after opening an image, create a duplicate layer (Layer > Duplicate Layer.)
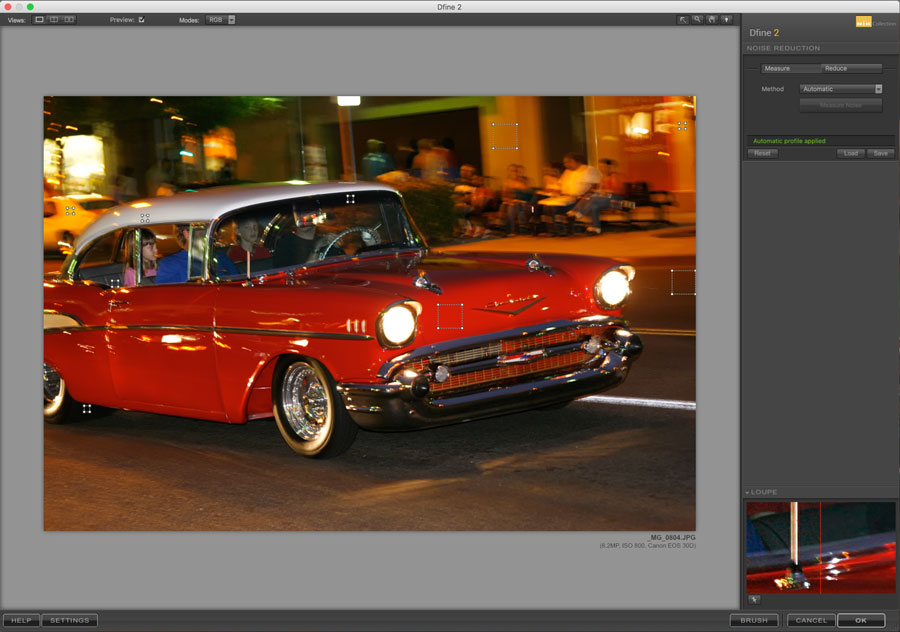
- Next, I apply the somewhat over-smooth effect from noise reduction software to the duplicate layer. (Some DNR software, like Dfine that I used on this image, will automatically create the additional layer.)
- Then, go to the Layer palette and change the Opacity of the noise reduction layer to 50% blending the noisy original with smoother duplicate layer.
- Just because I used 50% for this example doesn’t mean you have to. Experiment with different percentages to find what works best, if any, for your photographs.
- Then flatten the file and “Bob’s your Uncle.”
- Optional: Use Photoshop’s Unsharp Mask command or Smart Sharpen, which is what I did here. to add a bit of sharpness to the image to make up for any details that might have been lost or obscured.
 Safety tips: Photographing cars at a nighttime event can be dangerous. First, you should only make photographs in designated areas. Second, if you decide to use flash, as I did with this 1957 Chevrolet, make sure you only fire it at the side of the car and not directly at the driver. For this image, I “dialed down” the power from my Canon 550EX flash by minus one and one-third stops reducing the impact of the flash further on the driver while providing some fill flash and adding a few sparkles to the paint job.
 If you enjoyed today’s blog post and would like to treat Joe to a cup of Earl Grey tea ($3.50), click here. And if you do, many thanks.
Along with photographer Barry Staver, I’m co-author of Better Available Light Digital Photography that’s available from Amazon with used copies starting around ten bucks, as I write this.