Today’s Post by Joe Farace
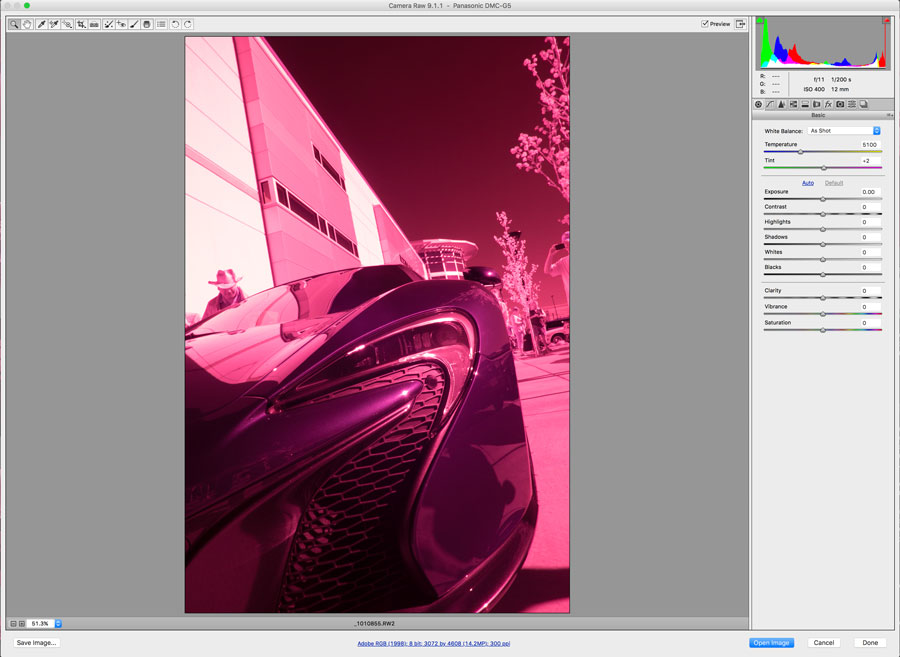
Whenever I write about infrared photography I get lots of questions from readers. One of the most common ones is that when they try shooting infrared, their JPEG or RAW files always seem have some color tint to them; sometimes it’s blue or it could be magenta. So they ask:” How do I get the kind of black and white tones in my photographs that you do?” The good news is that’s accomplishing this goal is not difficult and you have three possible options:
 First, if you want to do it in camera, you should go outdoors and set a custom white balance by making a photograph of the grass on your lawn or at a park. Then select Custom WB from your camera’s menu, which lets you pick your test image, then click OK. To see how this process works you may have to read your camera’s User’s Guide but it’s just a matter of making a photograph, pulling a few menus and pressing a button. No matter what kind of mirrorless camera you use, it’s easy. Keep in mind that whether you use an IR filter on your camera or have it converted for infrared capture the results may still have a slight color shift.
 Second, you can shoot photographs using your camera’s Monochrome (JPEG) mode. You can find all the details and my philosophy on this approach in a post of my main blog entitled Tips for Coping with White Balance for IR Photography. And as is the case with any of these options, you can always click the Contact button atop this page and ask a me a specific question. I am always glad to help.
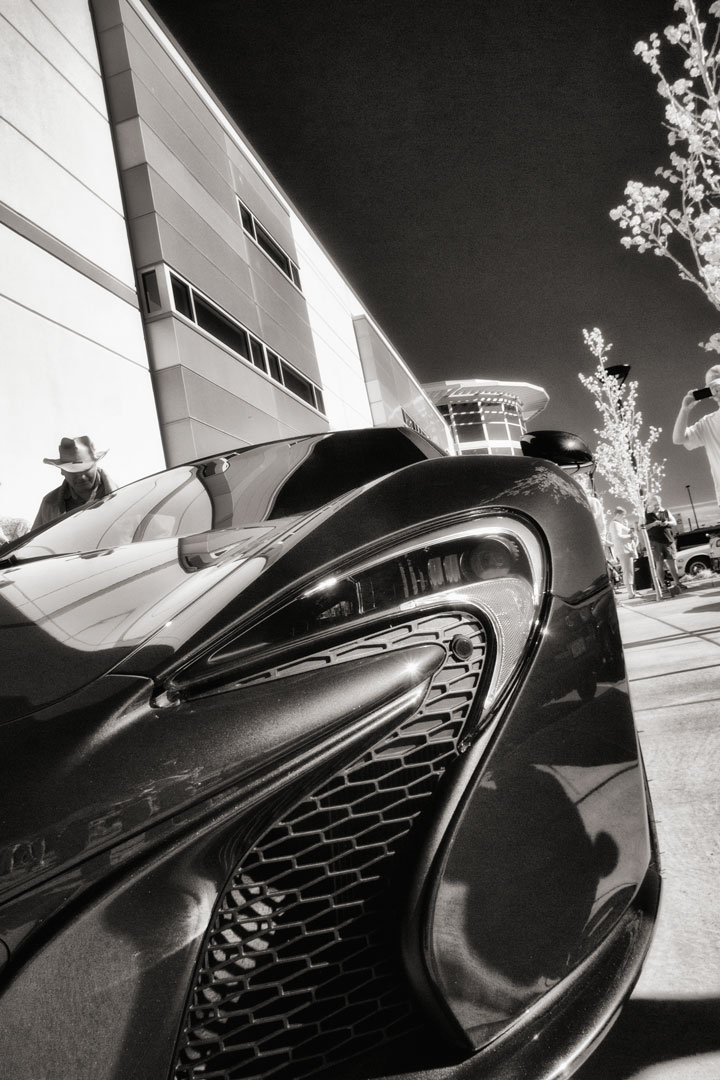
How I made this photograph: Whenever you photograph a McLaren at Cars and Coffee there’s always a crowd and this car was no exception. I used a Panasonic Lumix G5 that was converted for infrared capture by LifePixel using their Standard IR (720nm) filter. Lens was a Lumix G Vario 12-32mm f/3.5-5.6 at 12mm, with an Av exposure of 1/200 sec at f/11 and ISO 400. It was converted to black and white using Silver Efex, with a sprinkling of Color Efex to add some infrared glow.
Third, if you want to do it in the digital darkroom, here’s another way. Capturing images in RAW format lets you maximize imaging quality but I hedge my bets by shooting in RAW+JPEG, with the camera set in Monochrome mode. This option gives me a preview of what the image will look like in black & white on the camera’s screen that I will view later in Adobe Bridge. (I’m an not a Lightroom fan but if that works for you, go for it!) I’ll look at the monochrome JPEG files to select a RAW image to work with. Then I open the RAW file, often using Adobe Camera RAW to tweak the image first using the Clarity and Vibrance sliders. After opening in Photoshop, I’ll use Silver Efex to convert the file to black and white as I did in the image at left.
 I’ve found that Life Pixel does a great job with IR conversions and they have done most of the conversions for my Canon DSLRs and all of my Panasonic Lumix G-series cameras. This is not a paid or sponsored endorsement, just my experience.
My book, The Complete Guide to Digital Infrared Photography is available from Amazon with new copies available for $55 and used copies starting around nine bucks as I write this. Creative Digital Monochrome Effects has a chapter on IR photography and is available from Amazon with new copies available for $5.95 and used copies starting at a little more than four bucks.