Today’s Post by Joe Farace
…I didn’t always but wished I had.
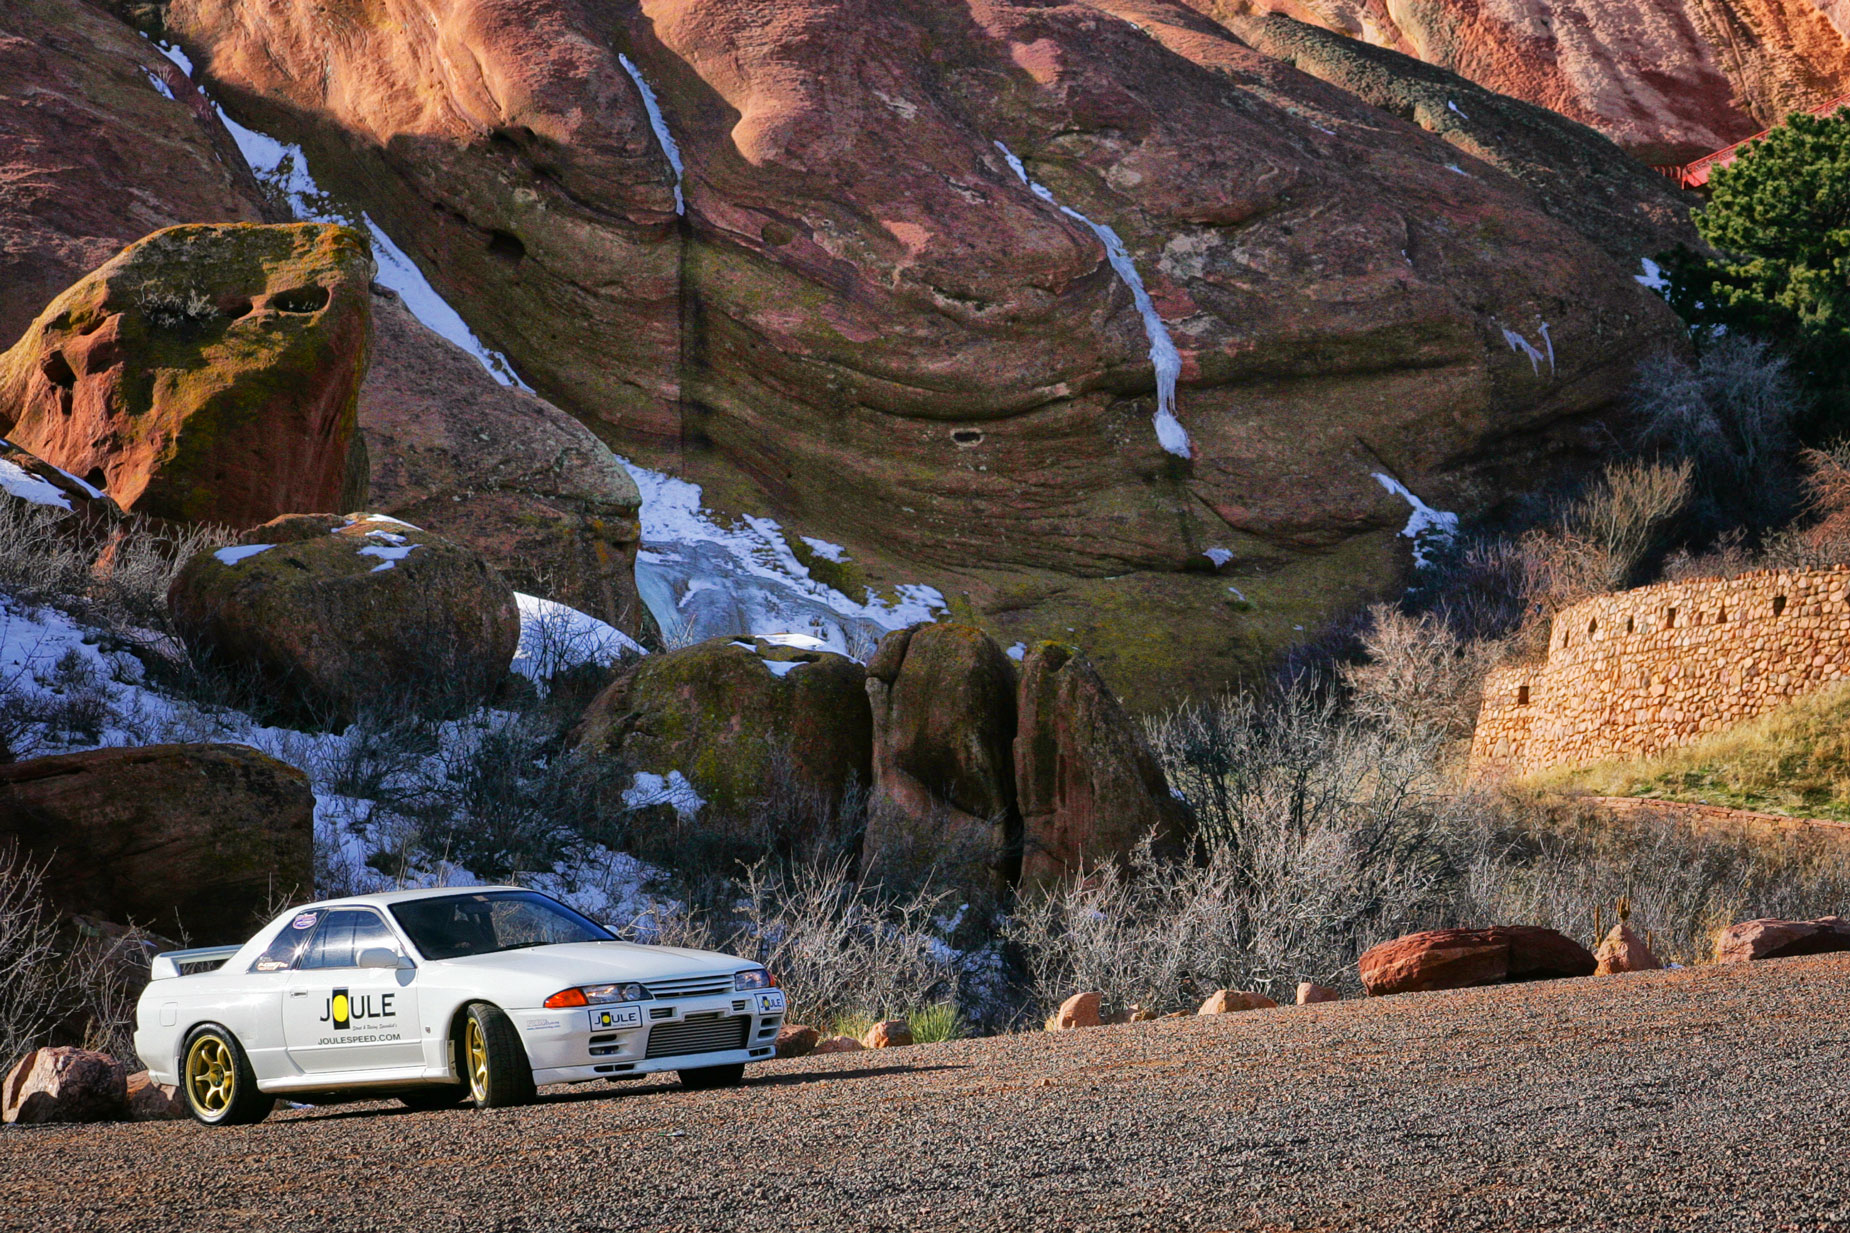
Let me start by telling you a story that explains where I was initially coming from. I received an assignment from a car magazine to photograph a Nissan Skyline GTR and the Art Director told me, “For most of the shots in the spread, shoot JPEG’s but for any that you think would make a good double-page spread, shoot those in RAW.” I did exactly what he asked but the photo that he decided to spread across two pages in the magazine was shot as a JPEG! You can see it below.
Because it didn’t seem to make any difference to the Art Director, I ignored what all the cool kids were saying to “shoot RAW” and continued shooting everything as a JPEG. But I was wrong. But first, how did my conversion to RAW capture happen?

How I Made this Shot: I photographed this Skyline GTR at Colorado’s Red Rocks Park with a Canon EOS 1D Mark II N and EF 100-300 f/4.5-5.6 lens (at 100mm) with a manual exposure of 1/500 sec at f/10 and ISO 200.
It all started with the three Panasonic Lumix mirrorless cameras that I had converted to infrared capture by Life Pixel using different IR filters. All three— a G6, G6 and GX1—are older camera and what might be politely termed as megapixel challenged, so in order to squeeze the maximum images quality from all of them, I started shooting RAW files on all three cameras.
Then I started to do the same thing with my portrait and glamour images for similar reasons, plus one important change. During my misguided JPEG-only phase I shot a lot of portraits, too many it seems, in direct monochrome mode. At he time I believed that there are some good reasons for doing this but now realize that this approach was short sighted. Now when I shoot in direct monochrome mode, I’m also shoot in RAW+JPEG so I still have the monochrome JPEG file but also have a color RAW file. True, I can rescue some of those old direct monochrome images by colorizing them, as I wrote about here, but why not just do it right the first time and save the colorization for rescuing older images that I should have shot in RAW.
For portraits, color RAW files make lots of sense because the images have so many more tones than a black and white JPEG, which makes them much easier to retouch. While I now shoot everything in RAW+JPEG, not all of my camera’s RAW files can be opened in my copy of Adobe Camera RAW that’s part Photoshop CS6, I often have to convert that camera’s RAW file into the DNG format using Adobe’s free software.
I refuse to use Adobe’s Photoshop subscription service, so when I shoot with my Olympus Pen F, for example, Adobe Camera RAW CS6 will not open its .ORF RAW files. I downloaded Adobe DNG Converter and that did the trick at the time, converting ORF’s into portable DNG files I could use with this older version of Photoshop. But the latest version of DNG Converter won’t run on my 5K iMac and its OS. My workaround was to install the newer version of the software on my 23-inch iMac that has a later operating system then transferring the images back to the 5K iMac. The entire process is awkward but you gotta do what you gotta do when you can’t afford software or hardware upgrades.
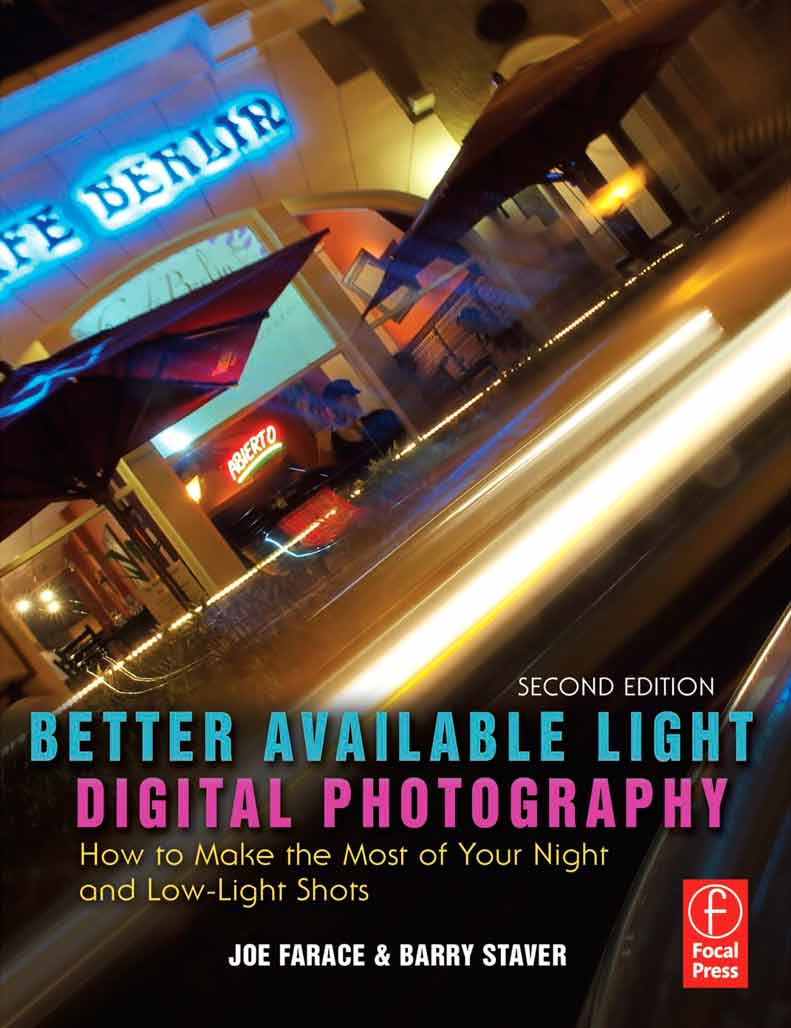
Along with photographer Barry Staver, Joe is co-author of Better Available Light Digital Photograph with new copies available from Amazon for $21.50 with used copies starting at five bucks. For some reason,(not Barry or I) the Kindle price is really high.
