In 2018 I wrote a post entitled Tutorial: Correcting Underexposed Portraits and recently some people I met at Starbucks over a cup of tea asked if those techniques were still worth using. I think so but it’s always worth a second, fresh look. So I’ve created today’s post to update the process featuring one of the nicest, sweetest models that I photographed during a time when I was getting model referrals from a local modeling agency.
Today’s Post by Joe Farace
It’s one thing to make a picture of what a person looks like, it’s another thing to make a portrait of who they are.—Paul Caponigro
 Out here in the real world, everybody makes mistakes and sometimes, especially when I was in my “shoot and scoot” era, I would lose track of my camera settings, didn’t keep up with changing lighting conditions or just forget to chimp. A combination of those kinds of errors, more often than not, produced in an underexposed image, which for some reason I’ve noticed in oldee Canon EOS DSLRs.
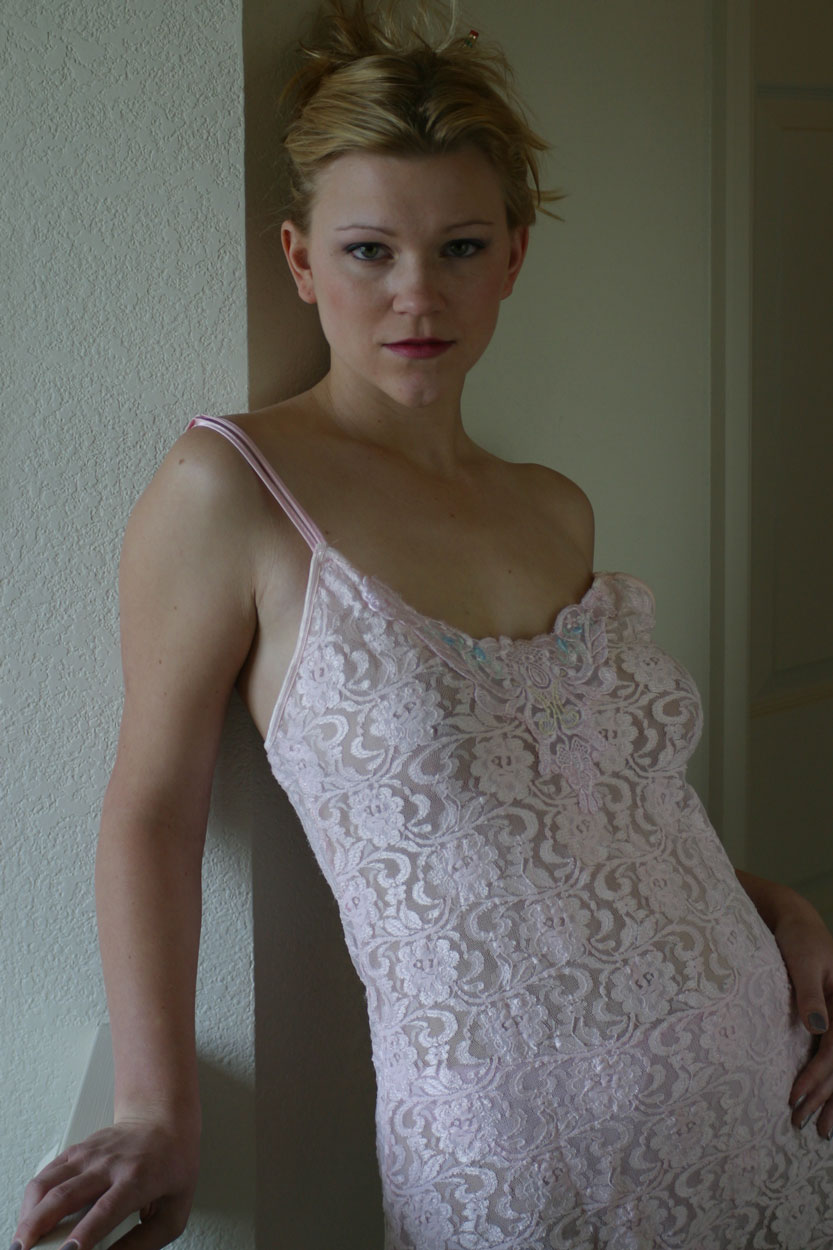
How I Made the original portrait: I photographed Jennifer—one of three Jennifer’s I’ve photographed—by available light in the loft area outside the office in my former home. (I was going to link to some images made there but it turns out many are in my password protected posts.) For this portrait, I used a Canon EOS D60 with an EF 28–90mm f/4–5.6 lens (at 64mm.) The exposure was 1/45 sec at f/4.5 and ISO 200.
Before jumping into fixing the underexposure for this image, I first used Photoshop to do some minor copping, while maintaining the 3:2 aspect ratio of the portrait. Next I used PictoColor’s iCorrect Portrait and clicked on the wall next to Jennifer knowing that the wall is white. The plug-in automatically corrected not just the wall but also her skin tone because that’s the kind of amazing tool iCorrect Portrait is.
Here’s how I do it
One digital darkroom technique some people sometimes use to correct underexposure is work with Photoshop’s Levels (Image >Adjustments> Levels) command: They slide the right hand triangle to the left to increase exposure but that can increase contrast at the same time. Another method is to use Curves (Image >Adjustments> Curves) to increase overall exposure, often with similar results. Here’s my suggestion: Try Photoshop’s Layers command:
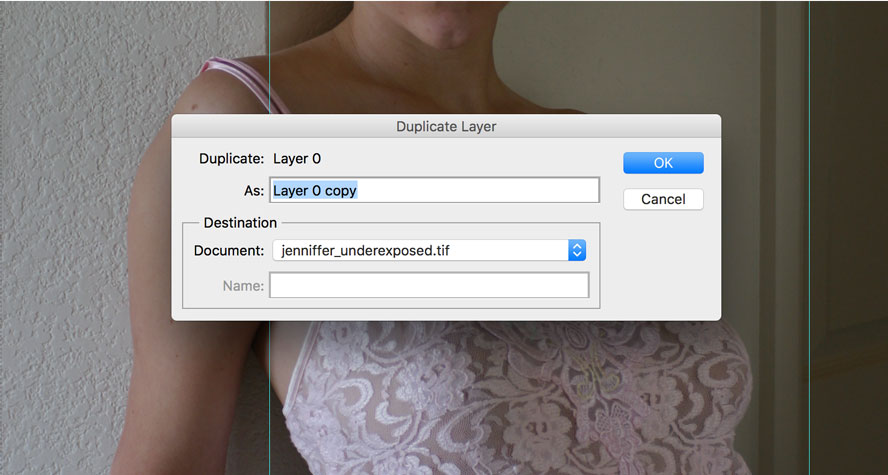
 Start by creating a duplicate layer using the Layer > Duplicate Layer command. You can name this layer or not, then select “Screen from the Layer’s palette’s Blending Mode pop-up menu. If you’re lucky the underexposure will be instantly corrected but you may have to modulate the effect by using the Layer’s palette’s Opacity slider to change the percent of the duplicate layer’s overall exposure. To produce the corrected image below right, I used 100%. Depending on how underexposed the image is, you may have to apply another layer—flatten the layers before you do this—to get it looking better. After the portrait it looks the way you want it, use Flatten Image to create a single layer exposure corrected file. When you think you;re done, look at the image using Levels (Image>Adjustments>Levels) and you might have to make small adjustments with it.
Tip: As with any under-exposed image you can expect to find some digital noise; the amount of noise depend on how badly underexposed the image file is. That’s when I will often use Nik Dfine to minimize any noise but I didn’t use it in this instance.
 The final image at right has its under-exposure corrected/lightly retouched using my normal tips and tools and then was slightly enhanced using Vivenza because more often than not, this underexposure correction technique may produce a less contrasty image. The final touch was adding a layer (9%) of Glamour Glow filter from Color Efex..
Note on the model: Jennifer G. was one of three, maybe four, models that I photographed over the years who were named “Jennifer.” If you would like to see another in my What’s In a Name posts about all of the Jennifers that I’ve photographed, click CONTACT to send me an email and let me know.
 If you enjoyed today’s blog post and would like to buy Joe a cup of Earl Grey tea ($2.50), click here. And if you do, thank so very much.
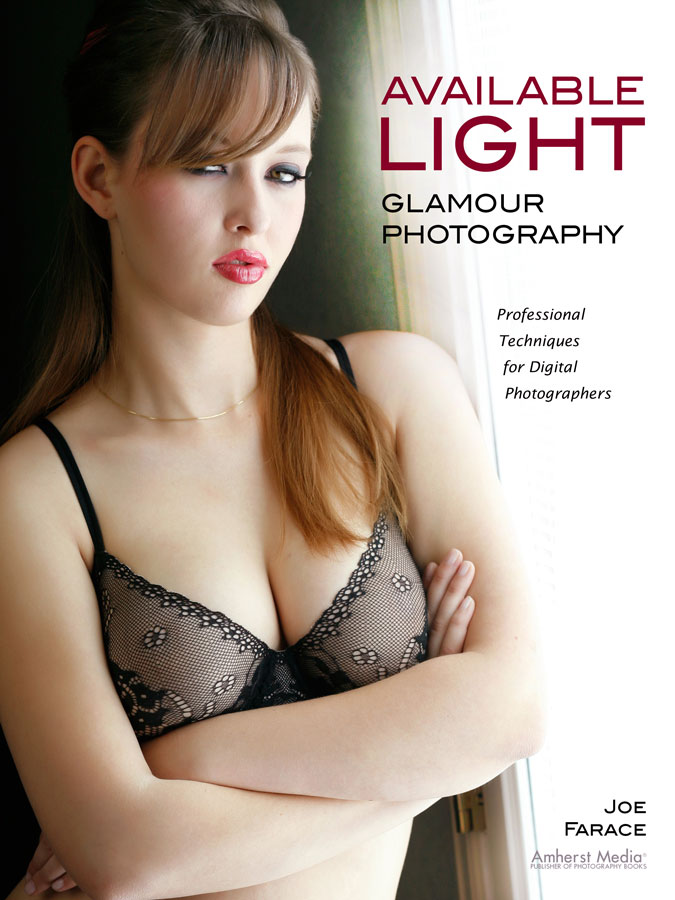
My book Available Light Glamour Photography that is available from Amazon with new copies selling for $29.95 and used copies starting around twenty-six bucks as I write this. Kindle copies are $28.07 for those preferring a digital format.