Thoughts for today by Joe Farace
When the track’s muddy, and you’re trying to get even, never walk away from a long shot. —Burke’s Law, 1963
Good day and welcome to August,,,,
 Before the Dot Com bust, in addition to writing for photography magazines like Shutterbug, I was a writer and Contributing Editor for several computer magazines, such as ComputerUSER.
During that time, I came up with a series of “Farace’s Laws of the Computing Universe.” I figured if Murphy could have a law and Burke (my inspiration for the idea) there could be Farace’s Laws as well. When I started writing exclusively about photography, I brought those laws along with me and they surface from time to time in my blog posts and books.
There’s an old computer adage that goes: “Garbage in, Garbage out” that’s been attributed, if not literally, to computer pioneer Charles Babbage. I think the same thing’s true for photography.
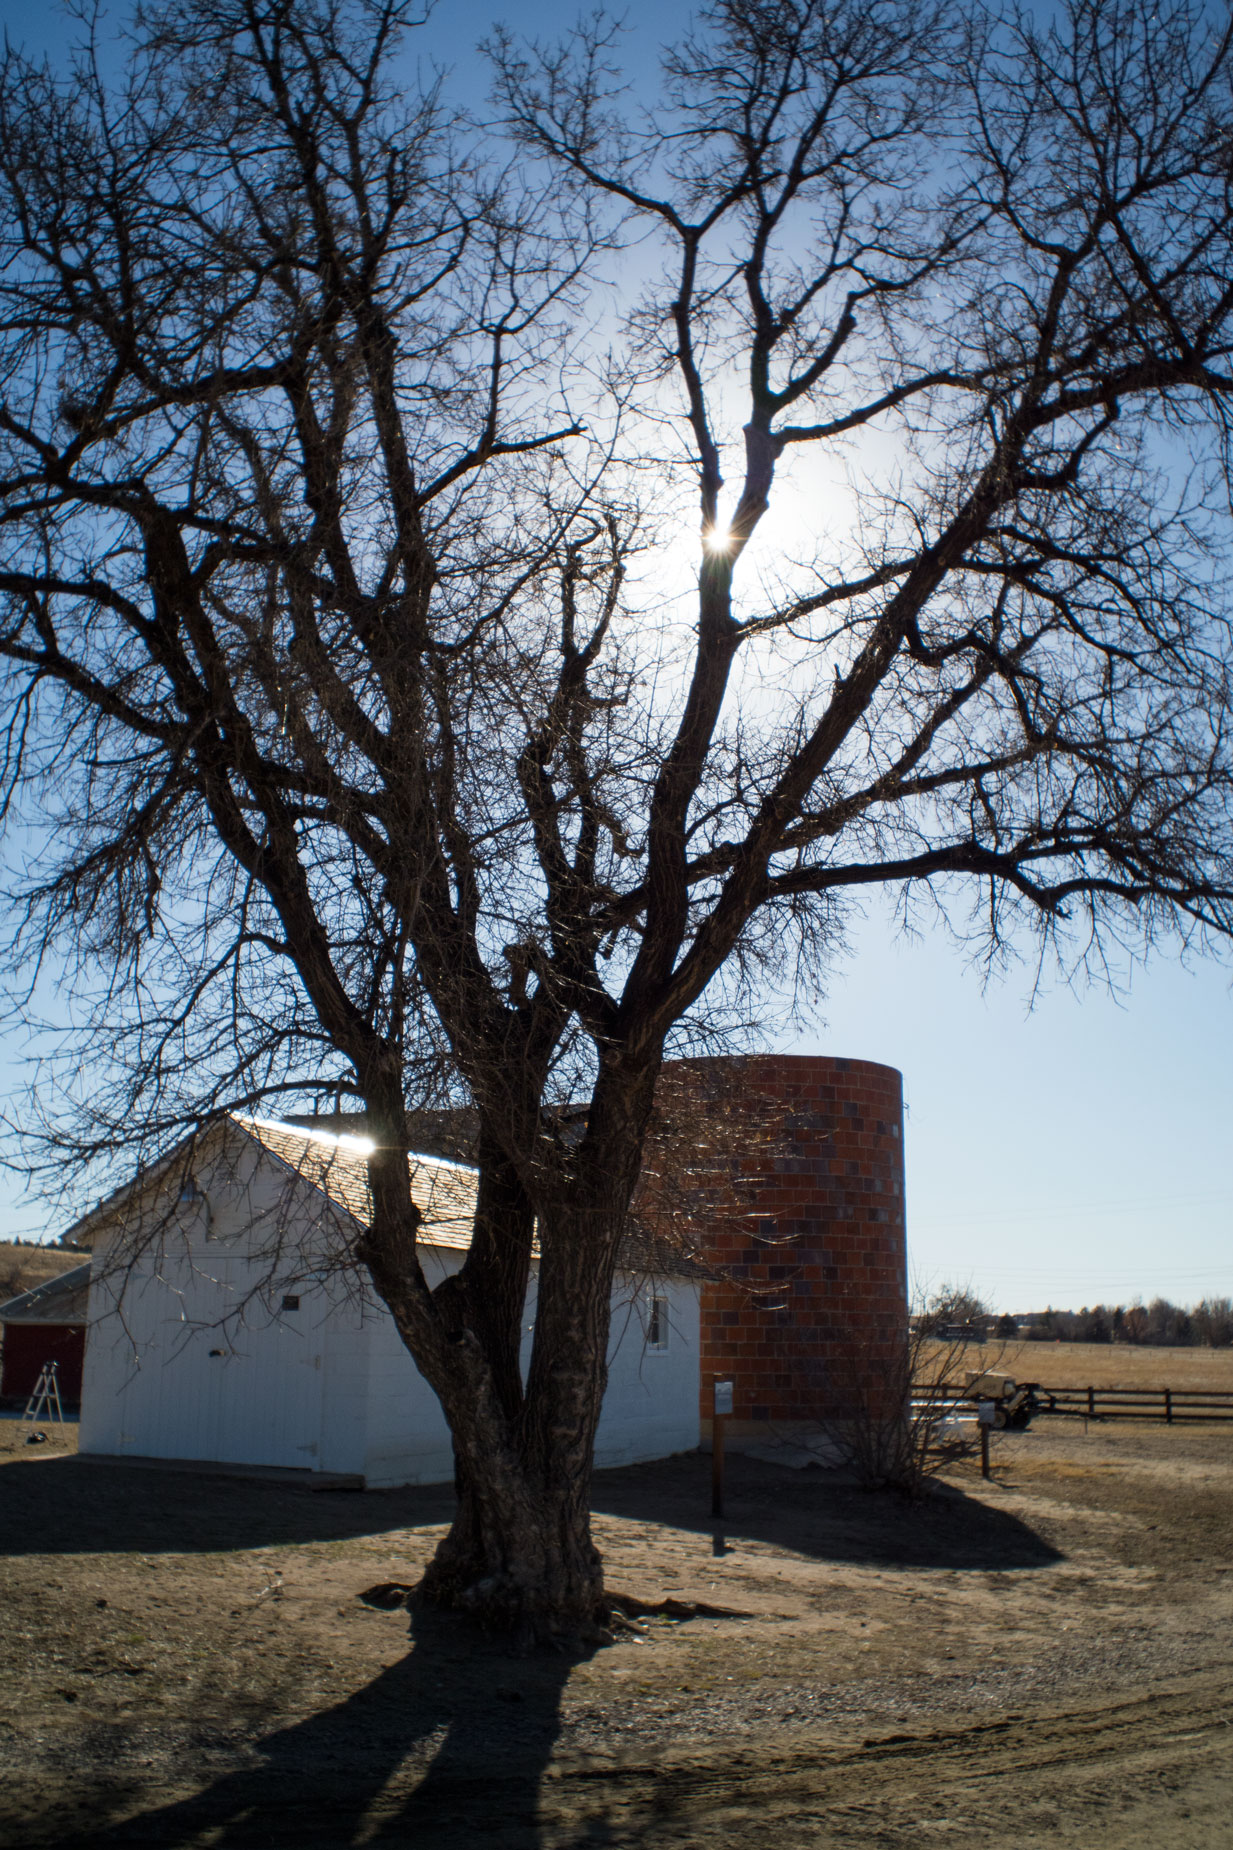
How I made this shot: I made the image at left at 17 Mile House near Parker, Colorado. This is part of a 70-acre open space that includes an 1860’s “mile house,” barn, windmills and silo and is located along the historic Smoky Hill/Cherokee Trail route to Denver. The farmhouse was originally a log cabin and some portions of it can still be seen. The camera used for this photograph was my beloved Olympus Pen F—will OM Systems make their version, I wonder?—and the “worst ever” Olympus’s 15mm f/8 lens cap lens. While I don’t believe that this is the worst Olympus lens (read my thoughts in the linked post) it may produce the worst sunstars ever, Exposure was 1/1250 sec at f/8 and ISO 400.
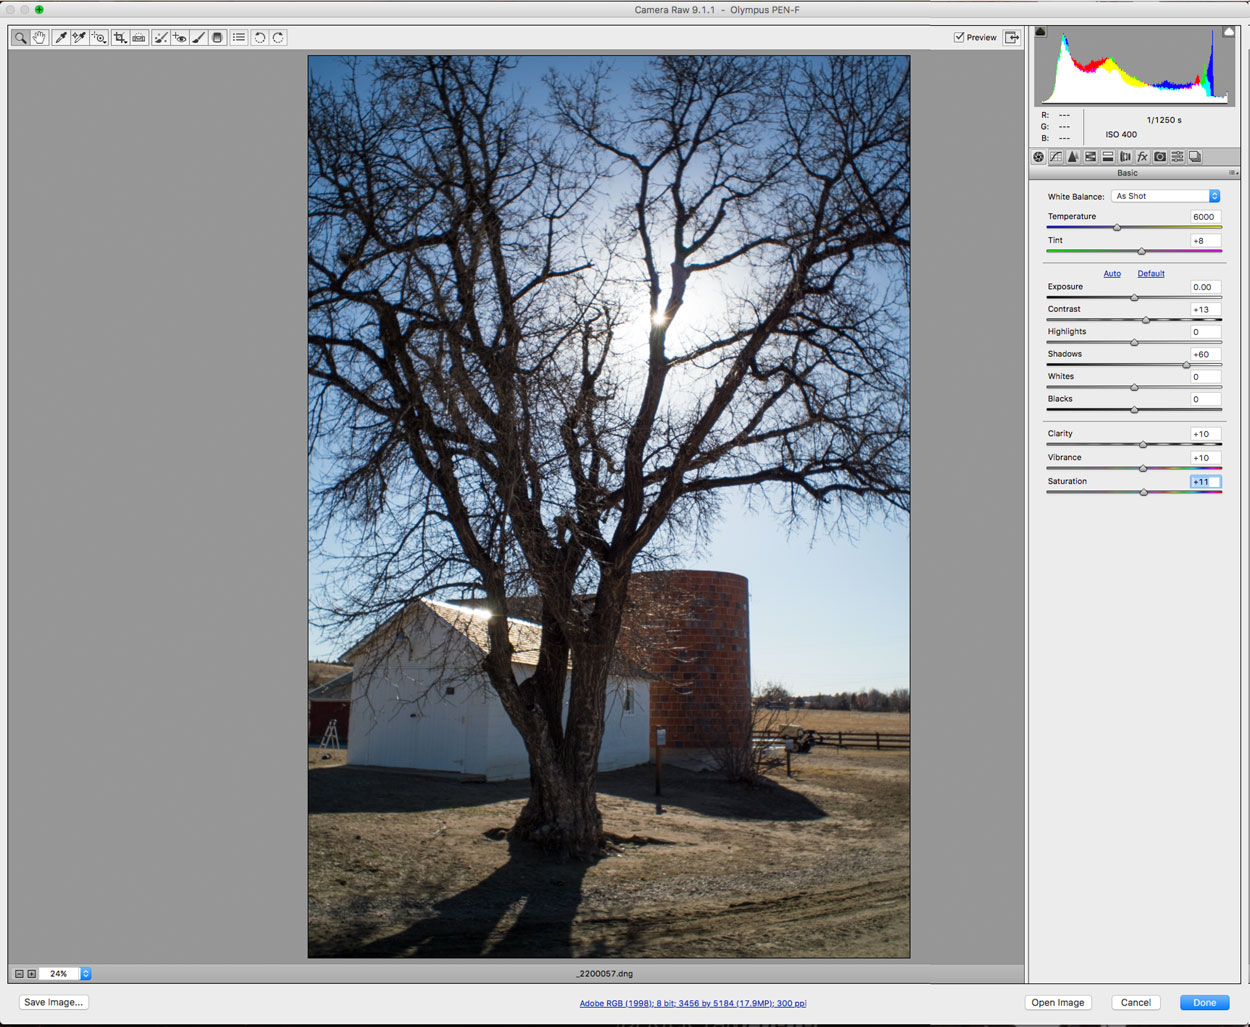
One of Farace’s laws of the Computing Universe is that “The best captured image files make the best photographs.” Your DSLR or mirrorless camera usually has a Histogram feature that you can use to home in on exposures while shooting. Take advantage of it to adjust your exposure to create the look you want to achieve. (Tomorrow’s post is all about histograms. If you’re interested in that topic, check it out.) You could also use the camera’s auto bracket control or put the camera in Manual mode for what you think might be important photographs. I have some tips for working with slightly underexposed portraits, but even Adobe Camera Raw’s controls can’t rescue a helplessly under or overexposed image file but you can make some adjustments to get you close.
 The Exposure slider in Adobe Camera Raw—Photoshop CS6 version is shown at right—lets you adjust an image’s brightness or darkness. Moving the slider to the left darkens the image, while moving the slider to the right brightens the image. The values are in increments equivalent to f-stops. A +1.50 adjustment is like increasing the aperture 1 1/2 stops. A –1.50 adjustment is like reducing the aperture by 1 1/2 stops.
Tip: Holding the Alt (Windows) or Option (Mac OS) key while moving the Exposure slider give you a preview of where the highlights become completely white with no detail. You can adjust the slider until the highlights (not specular highlights) are clipped and then back off the adjustment. Black indicates areas that aren’t clipped and color indicates areas that are being clipped in only one or two channels.
Along with Pulitzer Prize-winning photographer Barry Staver, I’m co-author of Better Available Light Digital Photography that’s available from Amazon for $21.50 prices with used copies selling for around five bucks, as I write this. The Kindle version varies in price, for some reason/
