In some recent posts and even some past blog posts that I’ve updated, I have been spending lots of time talking about images sharpness. After the subject of correct exposure, the next most popular question I get during PhotoWalks and workshops is about image sharpness. But photography life is not just about field curvature….
Today’s Post by Joe Farace
In the blur of the photograph, time leaves its gleaming, snail-like track.—Wright Morris
Let me tell you a secret: Your image files don’t always have to be tack sharp. Sometimes a soft focus image is just what the doctor—or photographer—ordered and blur and selective blur, especially in a black and white portrait, can add a film noir touch to an otherwise ordinary photograph.
Blurs vs. Sharpness
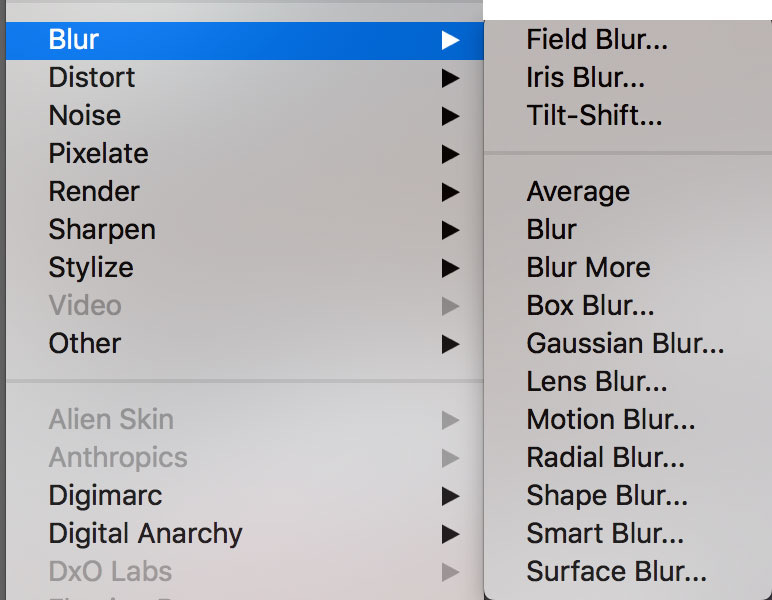
 There’s no doubt that when all or part of a photograph lacks sharpness, it’s blurry but there are all kinds of blur. Here are just a few:
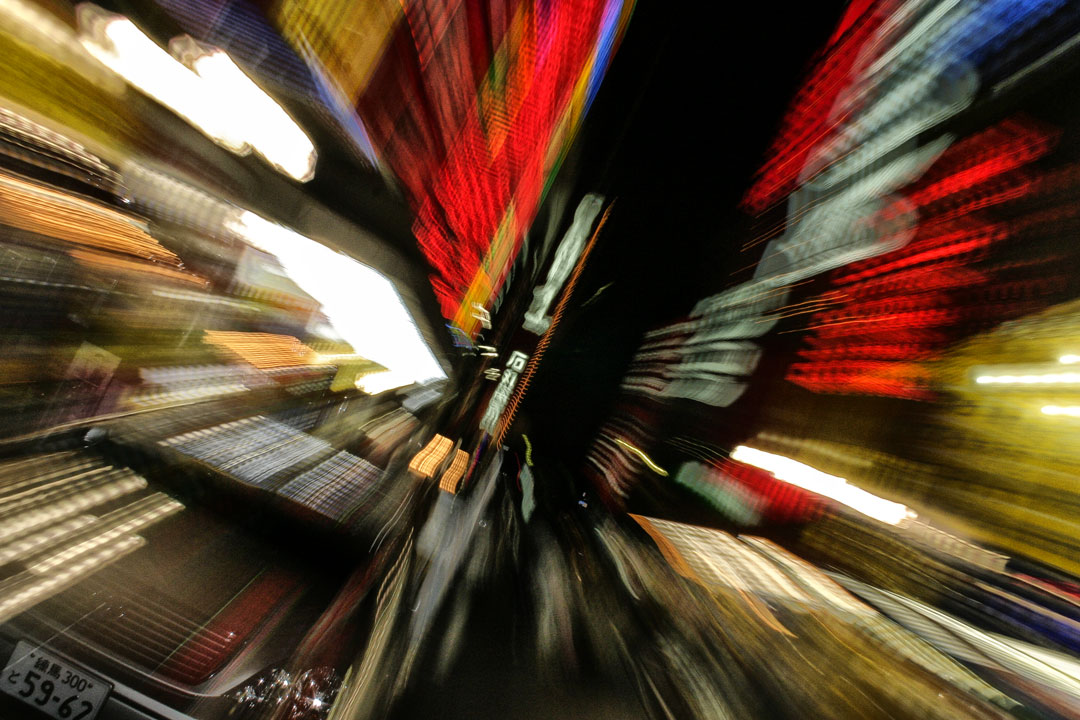
Gaussian Blur is the result of blurring an image by using a Gaussian function (named after mathematician and scientist Carl Friedrich Gauss). This technique is often used in software to reduce image noise and, more often than not, can reduce detail. Then there is Bokeh that’s created by a combination of lens design and wide apertures. It describes the aesthetic quality of blur that’s produced by the out-of-focus parts of an photograph. Then there is Motion Blur, which is the apparent streaking of moving objects in a photograph or a sequence of frames. It results when the image being recorded changes (inadvertently or not) during an exposure due to rapid movement or long exposures, which just happens to be the subject of today’s featured image.
One of the classic photography spacial effects is producing light trails from car headlights and taillights at night by using slow shutter speeds. That’s just one age-old technique for creating streaking light images. Another classic trick for creative blur is zoom during exposure.
Here’s how to do it: Set your camera at a slow shutter speed, start to zoom the lens, press the shutter, and keep zooming during the exposure. This technique can be unpredictable and takes some practice to produce results you might like but is relatively easy to do with a DSLR or mirrorless camera because you can immediately see the results and adjust exposure or your zooming technique accordingly.

How I Made this image: This photograph was made at night while I was visiting the Akihabara district of Tokyo. It was shot with an Canon EOS Digital Rebel and EF-S 18-55mm f/3.5-5.6 kit lens. The Program mode exposure was 1/8 sec at f/22 and ISO 400 with a minus one and one-third exposure compensation to punch up the colors.
 If you enjoyed today’s blog post and would like to treat Joe to a cup of Earl Grey tea ($2.50,) click here. And if you do, many thanks.
Along with photographer Barry Staver, I’m co-author of Better Available Light Digital Photography that’s available from Amazon for $21.50 The prices for used copies start at the bargain price of three bucks, as I write this.