Today’s Post by Joe Farace
“Never confuse the improbable with the impossible: Burke’s Law.”—Burke’s Law, 1963
 Before the Dot Com bubble in 2000, in addition to photo magazines—remember them?— I also wrote for several computer magazines. Back then and just for fun I created a series of “Farace’s Laws of the Computing Universe.” I figured if Murphy could have a law and Amos Burke (my inspiration for the idea) there could be Farace’s Laws as well.
When I started writing exclusively about photography, I brought those laws along with me and they surface from time to time in some of my blog posts as well as my books.
Computers and Photography
There’s an old computer adage that goes: “Garbage in, Garbage out” that’s been attributed, if not literally, to computer pioneer Charles Babbage. I think the same thoughts can be true for photography. One of Farace’s Laws is that “The best captured files make the best photographs.” While I didn’t always shoot in RAW, that has changed and now I always shoot RAW+JPEG. More on why that is can be found here.
Your digital camera has a Histogram feature that you can use to home in on exposures while you’re shooting. You could use the camera’s auto bracket control or put the camera in Manual mode and bracket exposures for critically important photographs. I;m especially a fan of exposure compensation and you can read about that here.
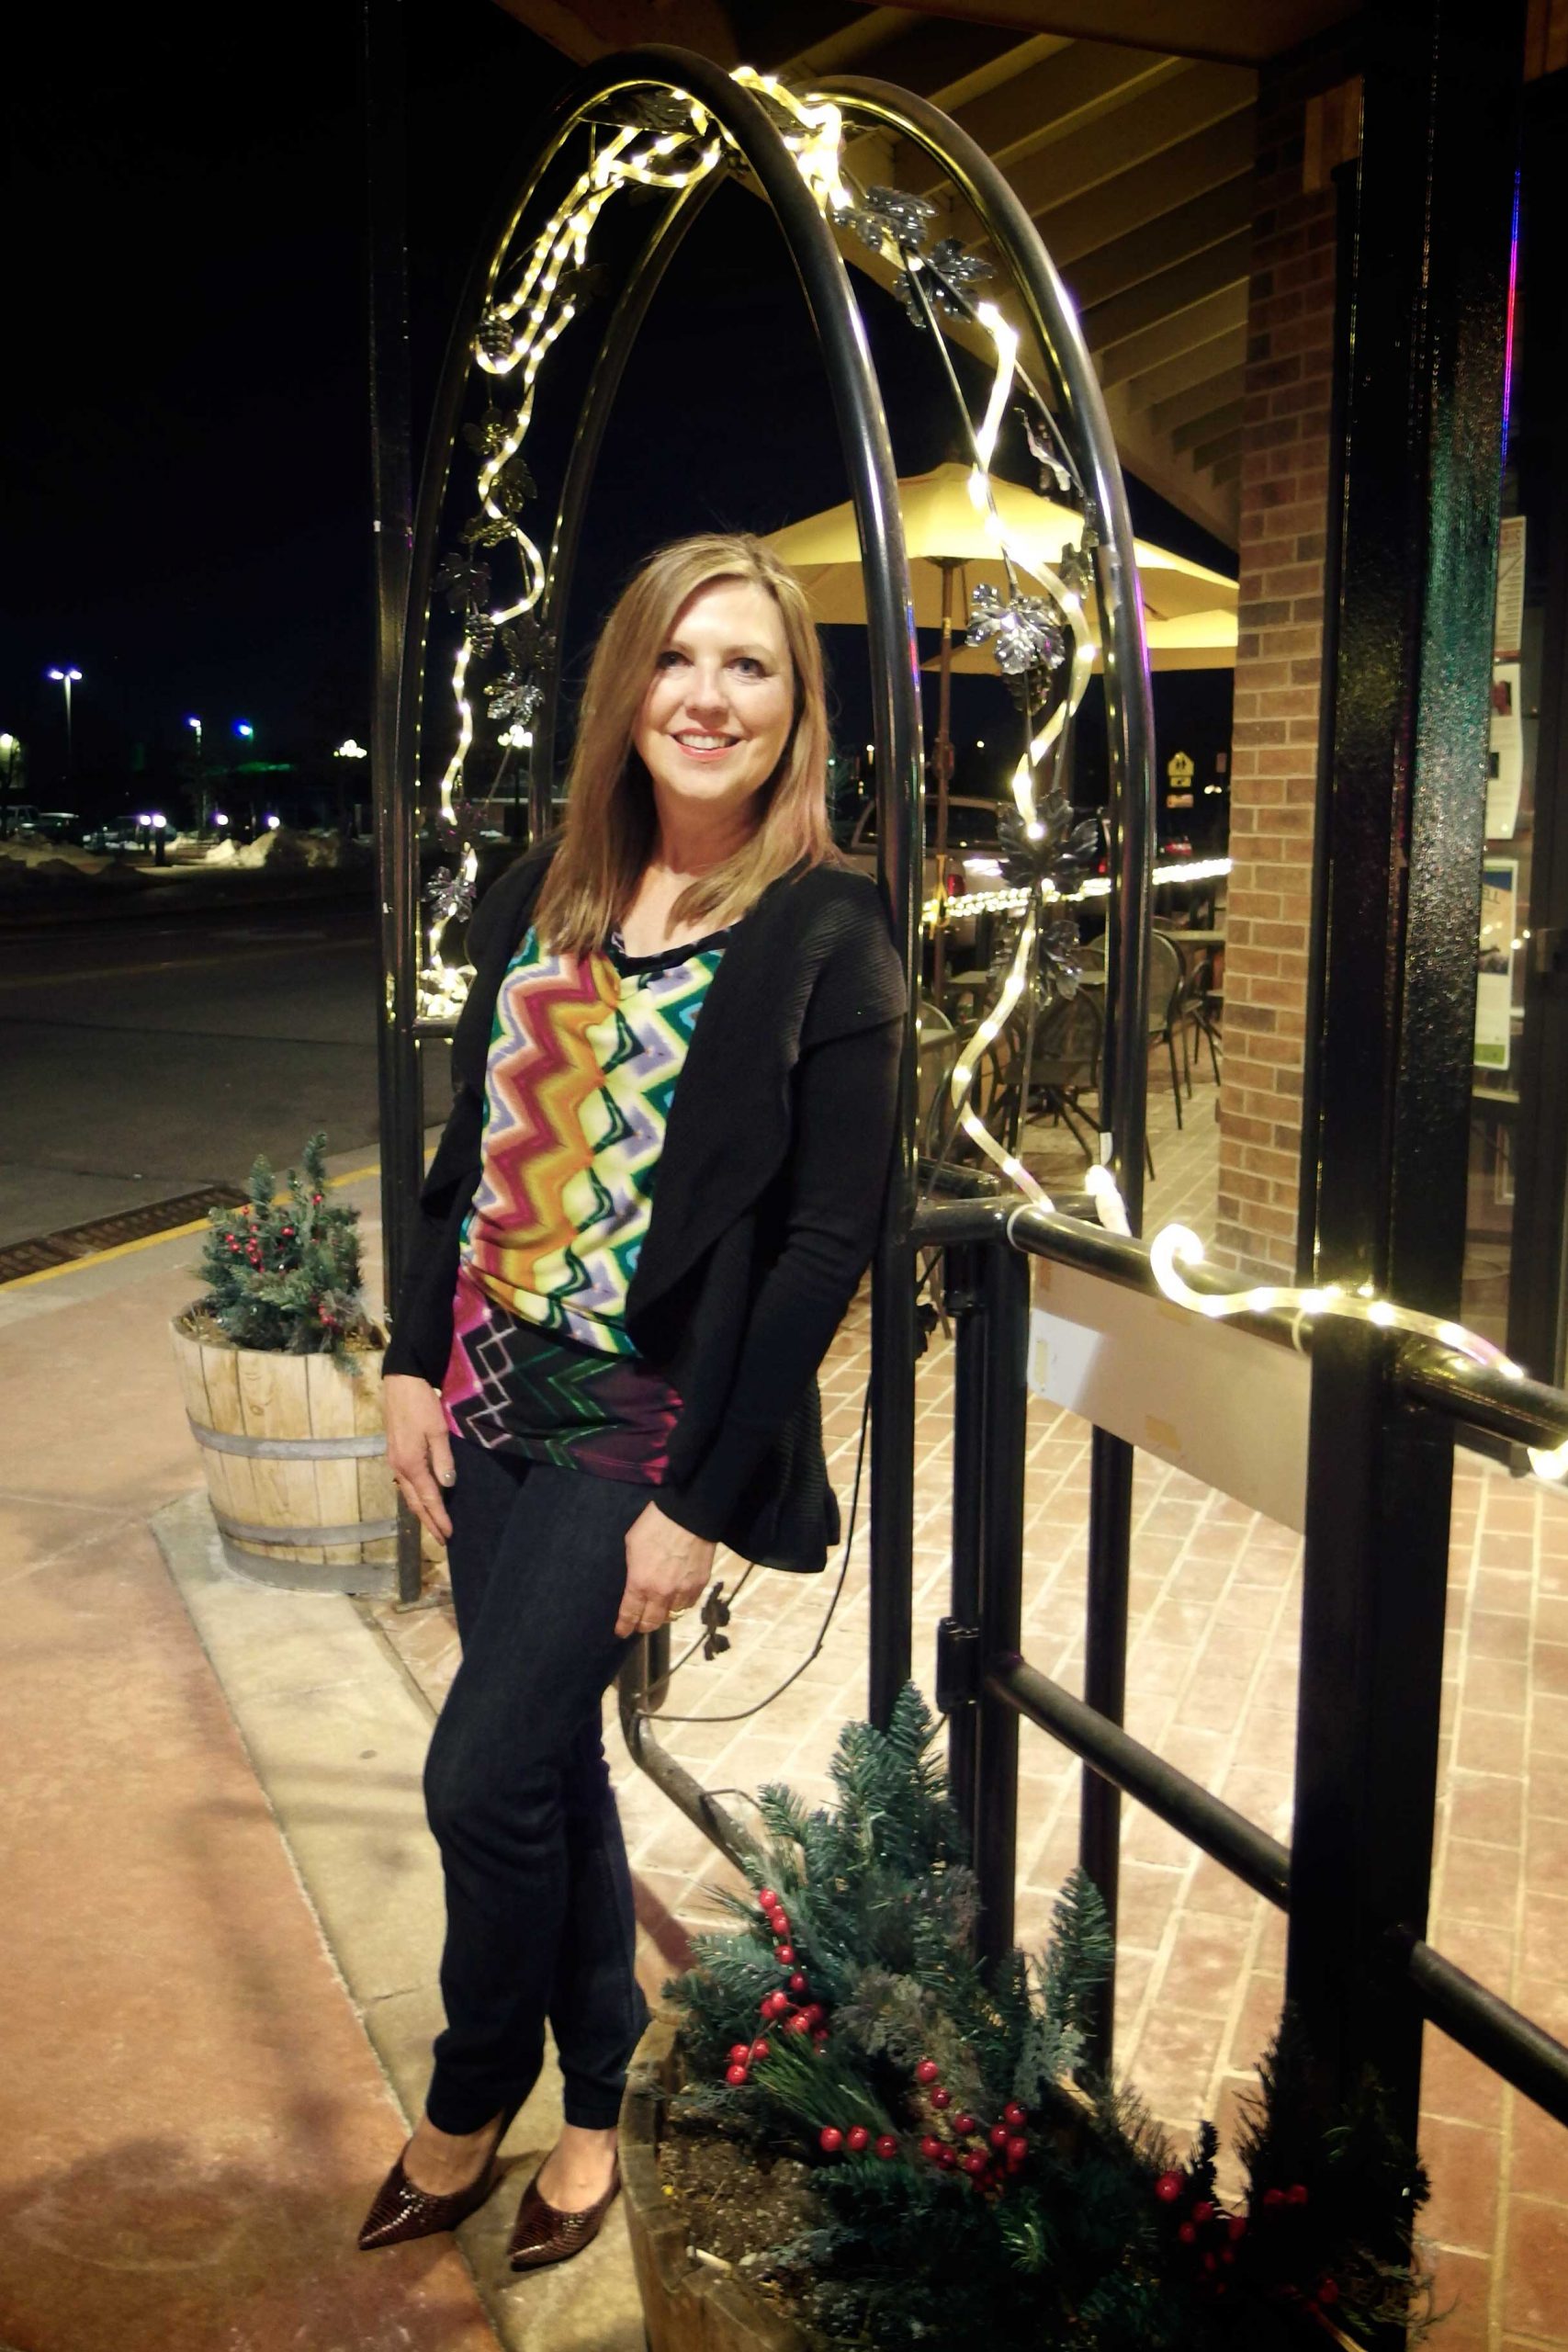
How I made this shot: I photographed Mary at night on Mainstreet in Parker, Colorado using a Pentax MX-1 that I was testing. The lens used was a 28-112mm (at 28mm) with an exposure of 1/10 sec at f/1.8 and ISO 400.
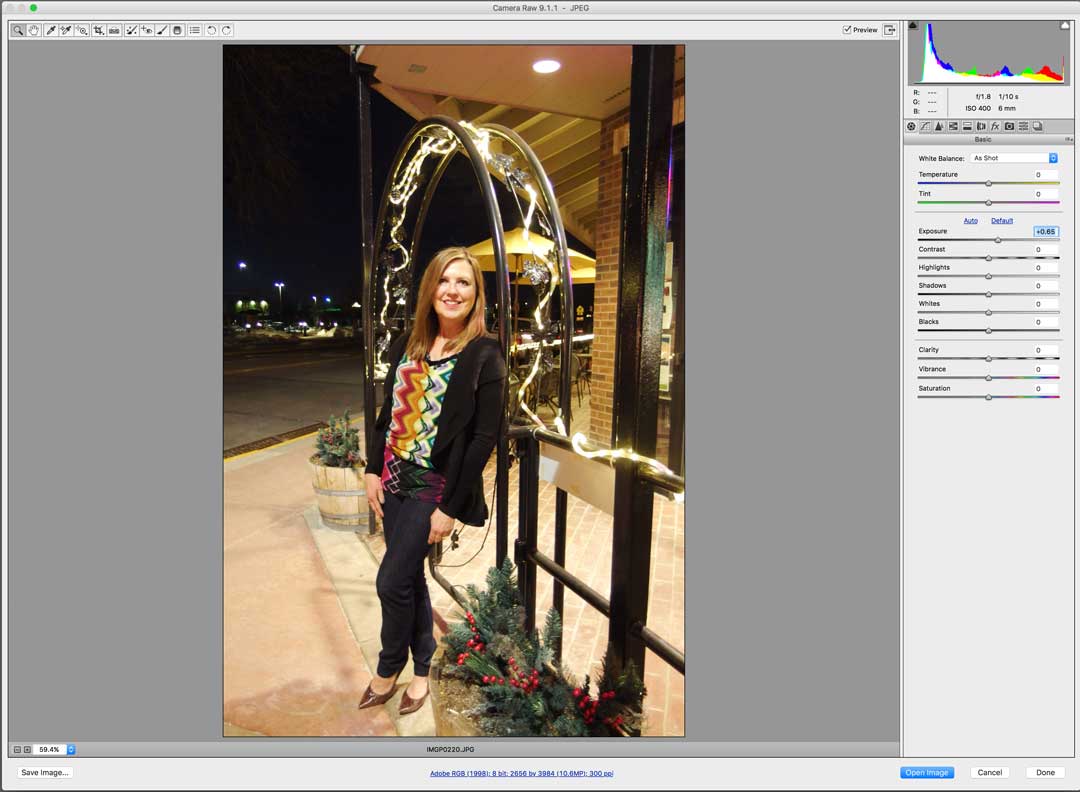
 The bad news is that Adobe Camera Raw’s controls can’t rescue a helplessly under or overexposed image file but you can make some adjustments if you get close.
The Exposure slider in Adobe Camera Raw lets you adjust an image’s brightness or darkness. Moving the slider to the left darkens the image, while moving the slider to the right brightens the image. The values are in increments that are equivalent to f-stops. A +1.50 adjustment is similar to increasing the aperture 1 1/2 stops. A –1.50 adjustment is like reducing the aperture by 1 1/2 stops.
Tip: Holding the Alt (Windows) or Option (Mac OS) key while moving the Exposure slider give you a preview of where the highlights become completely white with no detail. You can adjust the slider until the highlights (not specular highlights) are clipped and then back off the adjustment. Black indicates areas that aren’t clipped and color indicates areas that are being clipped in only one or two channels.

Along with photographer Barry Staver, Joe is co-author of Better Available Light Digital Photography that’s out-of-print but new copies or used copies are available from Amazon, as I write this.