Today’s Post by Joe Farace
 When it comes to portraits, you don’t always want tack sharp photographs. Blur and selective blur, when applied to an ordinary photograph can create an impression of the subject that’s more pleasing than reality. But sometimes the distinction between blur and soft focus can be confusing, so let’s look at their differences.
Blur can be caused by camera movement or accidentally or deliberately created by an object moving while the camera’s shutter is open. Digital blurring is accomplished through software averaging of pixel values that soften edge detail and the effect can be produced using Photoshop’s extensive Blur commands.
Soft focus can be created by a lens that isn’t corrected for spherical aberrations and produces a diffused look by bending light away from the subject so parts of the photograph are defocused while the rest remains in focus. Highlights are dispersed onto adjacent areas and the image still looks focused but some of its components are enough out-of-focus so they’re soft. Sharp lines and edges are slightly fuzzy and small details seem to disappear.
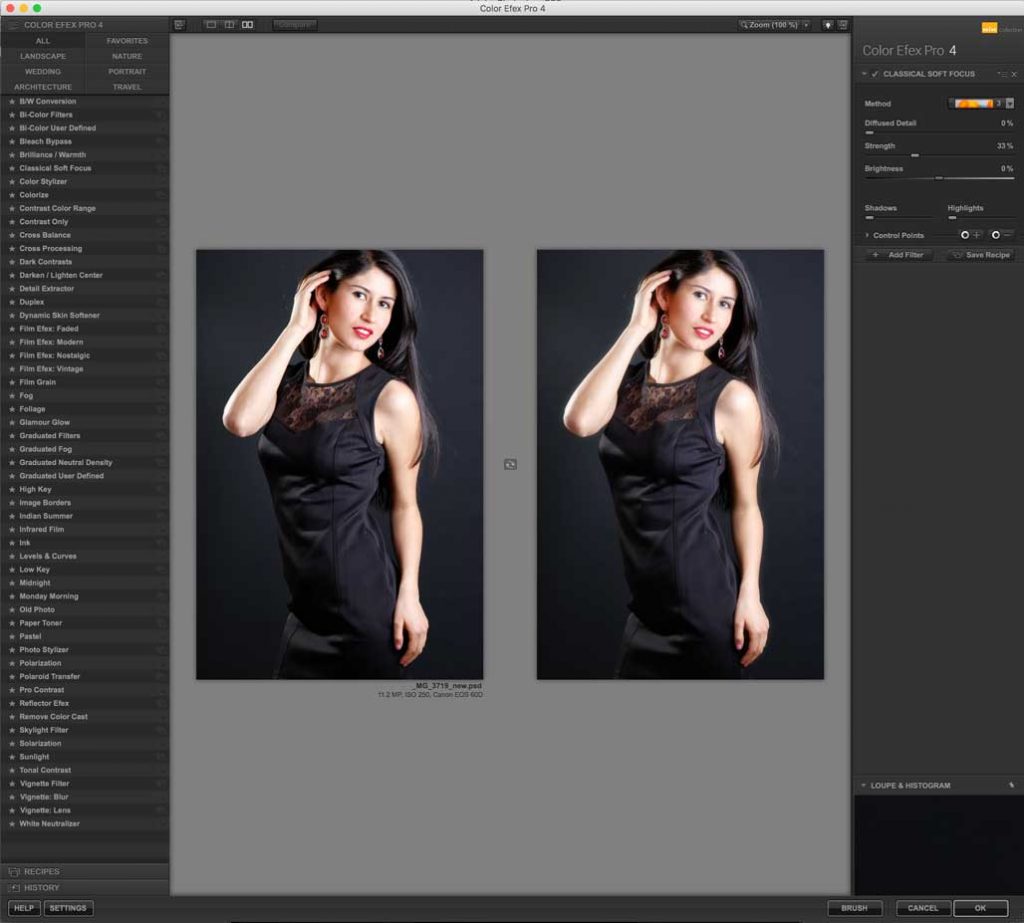
Capturing soft focus effects is possible with a dedicated soft focus lens, such as Canon’s now discontinued EF 135 f/2.8 SF or though digital darkroom techniques. Color Efex Pro contains a Classical Soft Focus filter that mimics the kind of soft focus camera filters that have long been used in film photography and can add diffusion to an image while preserving detail much like the (no longer available) Zeiss Softar camera filter.
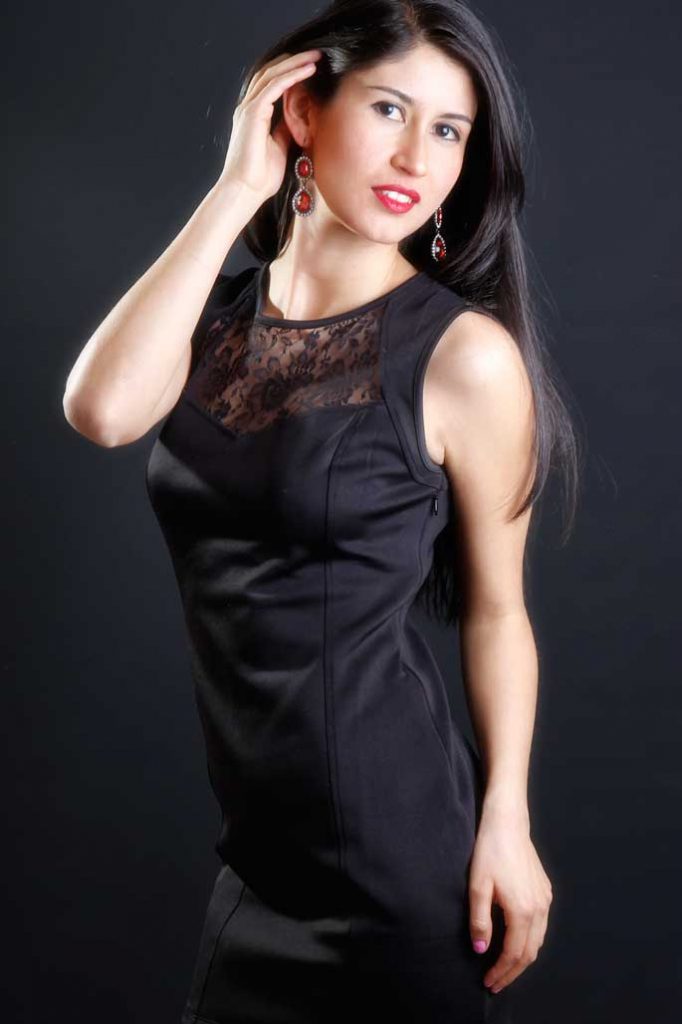
 Classical Soft Focus creates a soft focus image but not a blurry one and sometimes the only way that you can tell that it was used is compare it against the sharper original which is why wedding photographers (and their clients) will love this effect that doesn’t look like an effect. The control panel’s (at right) Soft Focus Method pop-up menu lets you select the type of effect from a subtle soft focus effect to more pronounced diffusion. The Diffused Detail slider controls the amount of random detail to maintain the appearance of some sharpness and prevent banding.
Tip: Since the Classical Soft Focus filter can applied to a new layer I often use the Eraser tool to erase portions of the top (soft focus) layer around the subject’s eyes and lips to keep them looking crisp. It’s an extra step that I like to do but you don’t have to if you prefer an overall soft look.
 If you enjoyed today’s blog post and would like to buy Joe a cup of Earl Grey tea ($2.50), click here. And if you do, thanks so much.
Joe Farace’s Glamour Photography is full of tips, tools and techniques for glamour and boudoir photography with new copies available from Amazon for $24.12, as I write this. Used copies start at an amazing $2.49 and the Kindle version is $11.99 for those who prefer a digital format.