Today’s Post by Joe Farace
Soft focus is an important skill that can effect us metaphorically. In other words, the way we see the future has everything to do with how well we can look up and see the expanded horizon before us.—Peter Kline
 There is no rule of thumb about how much blur or soft focus that you can or should apply to an image file but that doesn’t mean you can’t have a few tricks up your sleeve.
Like most special effects you can apply a greater amount of soft focus or blur to larger image files than smaller ones. Applying the same amount to smaller-sized files can end up with them looking mushy but as always you are the one that gets to decide how much is too much.
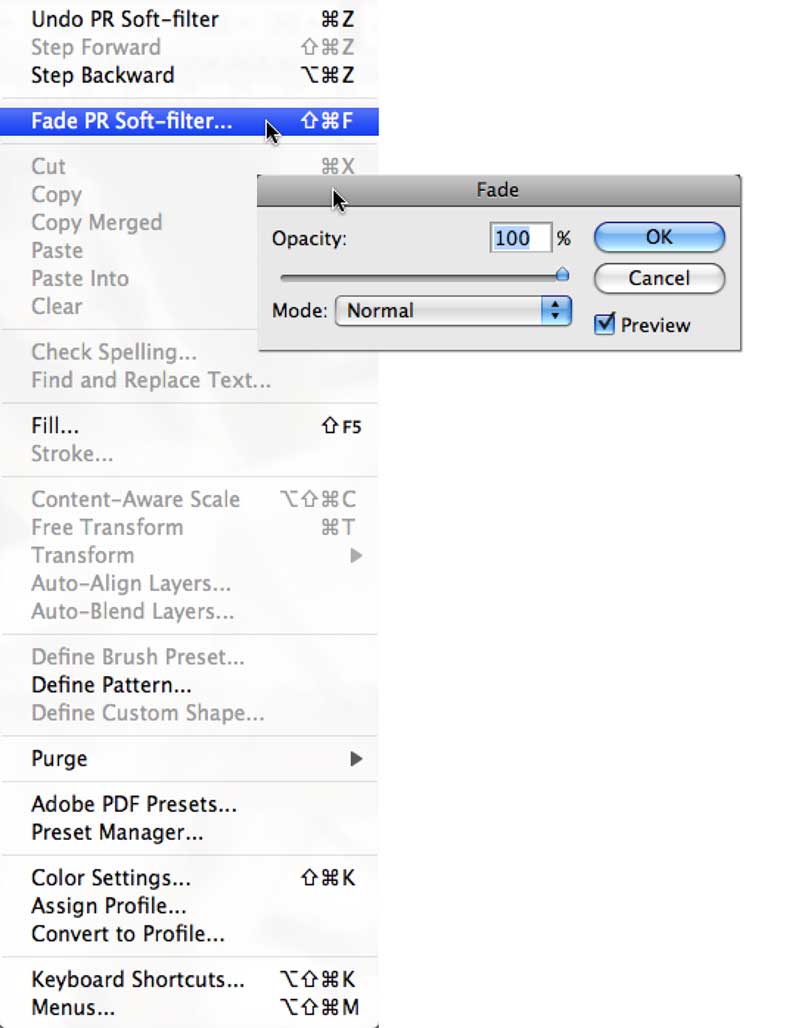
Let’s start with a few suggestions: When using any kind of soft focus or blur filer, start by moving any sliders or other controls to their extreme ends to see what maximum effect this produces. Don’t panic! Even after you apply a filter, there’s always the Undo command and don’t forget Photoshop’s Fade option. After applying a filter, you can reduce its effect by applying the Fade command (Edit > Fade.) You can use the Fade slider to apply the Filter at from 1% to 99% to create the desired soft or blurry effect.
 Layers are an important tool in creating soft or blurred focus effects. Before applying a filter, make a duplicate layer (Layer > Duplicate Layer) of the original photo and apply the filter to the duplicate layer.
That way, you can lower the layer’s Opacity setting allowing just part of the bottom layer to show through. For even more control you can use the Eraser tool to selectively erase portions of the blur/soft focus effect on the duplicate layer allowing you to place the viewer’s focus on a critical part of the photograph, like the subject’s eyes, and give the impression of sharpness while maintaining an overall soft focus.
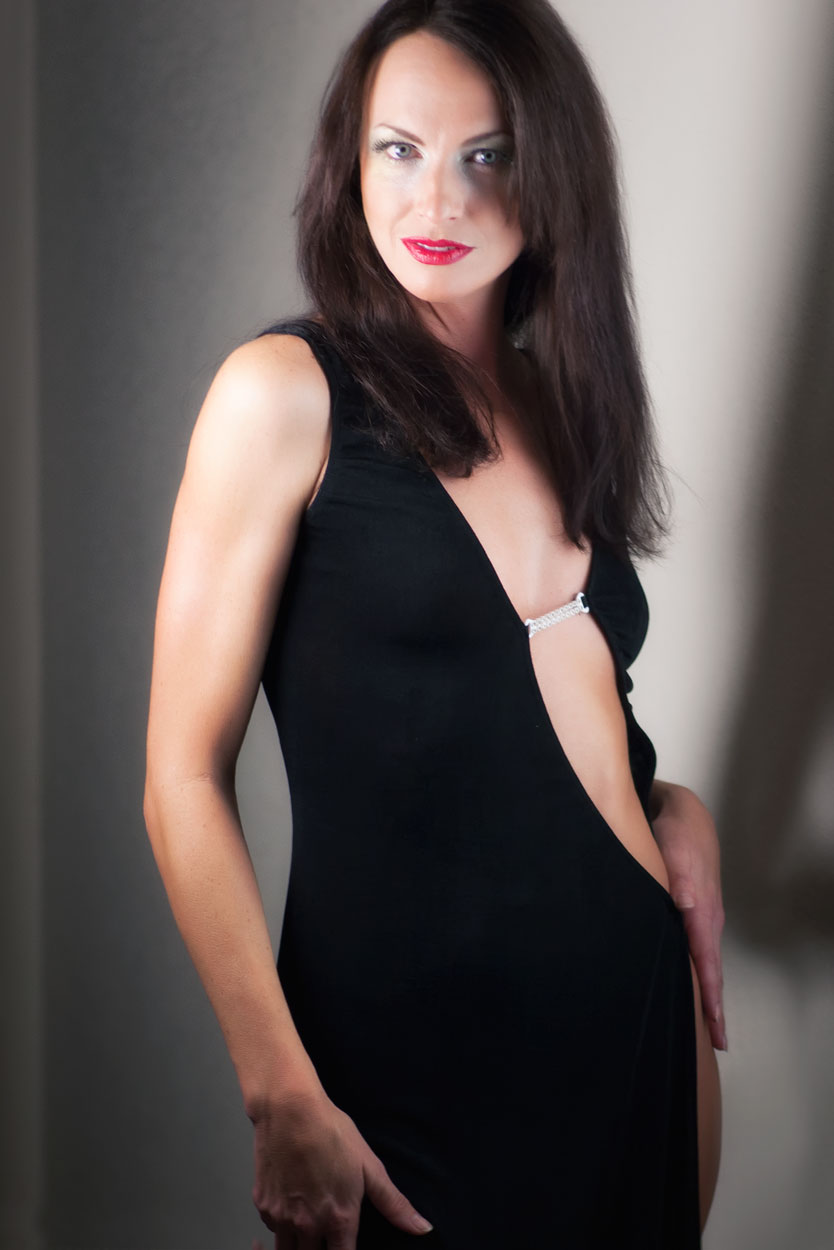
How I made this portrait: I photographed the amazingly wonderful Ashley Rae in the dining room of my former home as part of what became a controversial shoot* that I did for a major photography magazine’s print edition. Light was from an LED light panel placed at camera left with lots of fill coming from a window in the back door of my home at camera right and out of camera range. Camera was a Canon EOS 50D with the EF 28-105mm lens (at 105mm.) The lens was affordable, optically excelleny and I’m sorry I sold it back when I was wrapped up in a “newer is better” attitude that I’ve since gotten over. Used copies of the wonderfully useful EF 28-105mm lenses are available through Amazon for less than $150, as I write this.
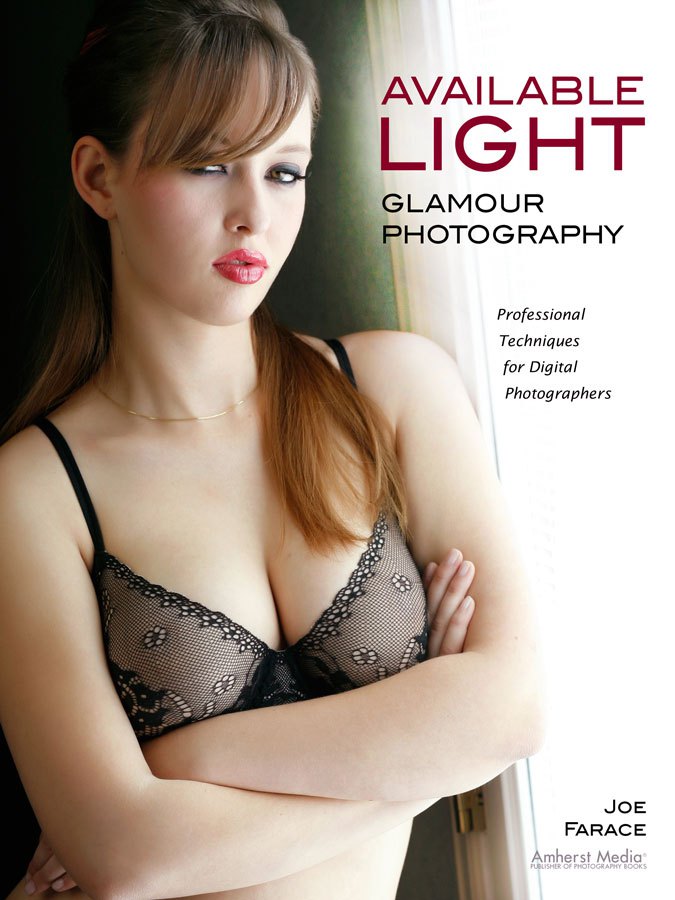
You can learn all of my tips, tools and techniques on shooting available light glamour photography in my book surprisingly titled Available Light Glamour Photography. New copies of the book are available from Amazon for $29.95 with used copies starting around twenty bucks, as I write this. Kindle copes are $28.45 if you prefer a digital format.
