
Today’s Post by Joe Farace
“Look and think before opening the shutter. The heart and mind are the true lens of the camera.”–Yousuf Karsh
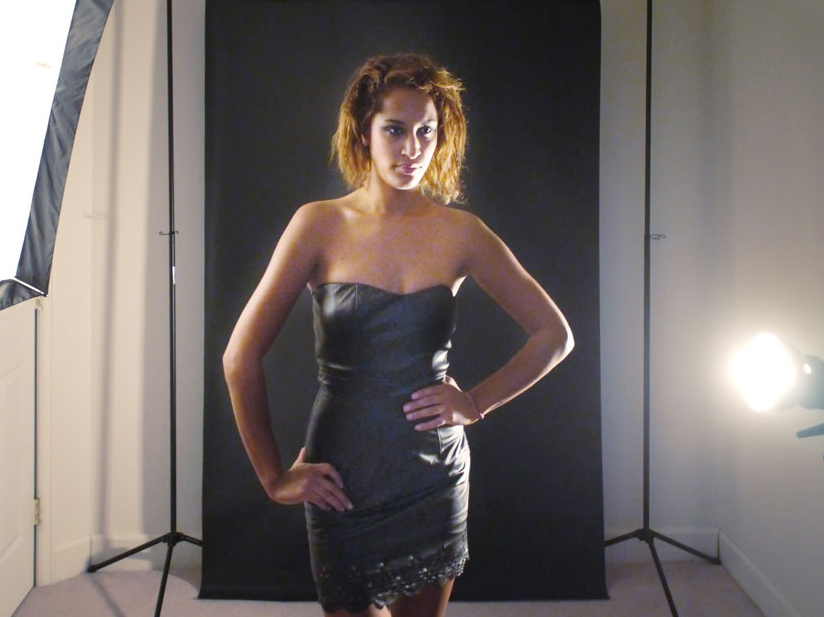 If you’re a regular reader of this blog or follow me on Instagram (@joefarace) you know that a few years ago, my basement was flooded causing lots of damage, including to my in-home studio. After some rehabilitation in a few months of construction, it was back up and running, not that there wasn’t some inevitable drama in the process.
About My Home Studio
My basement studio measures 11×15-feet and one end of the room there’s a window via a window well and that’s where part of the flood waters came in. The rest came through a window in the family room that’s on the other side of the studio wall. In the wall opposite that window is the space where I place my backgrounds and the wall has an angle cut for a door you can almost see in setup photo above right. While architecturally interesting it makes setting up a background more challenging than if the room was perfectly rectangular.
 There are lots of things you should consider when setting up a home studio beginning with exploiting the possibilities of the available space. That amount of space also determines the kind of lenses and focal lengths you’ll be able to use, which is invariably why I choose wide-angle to short telephoto zooms but there are always some exceptions.
What about your subject? You’ll need to work with them in the space you’ve set aside and place them in poses to help them produce the best possible photographs. Posing is highly subjective but I’ve written about this subject many times, including in the Kindle version of one of my books and in posts that are found here. Since I get lots of e-mail asking for posts on this subject, I expect it will continue to be a theme for the future.
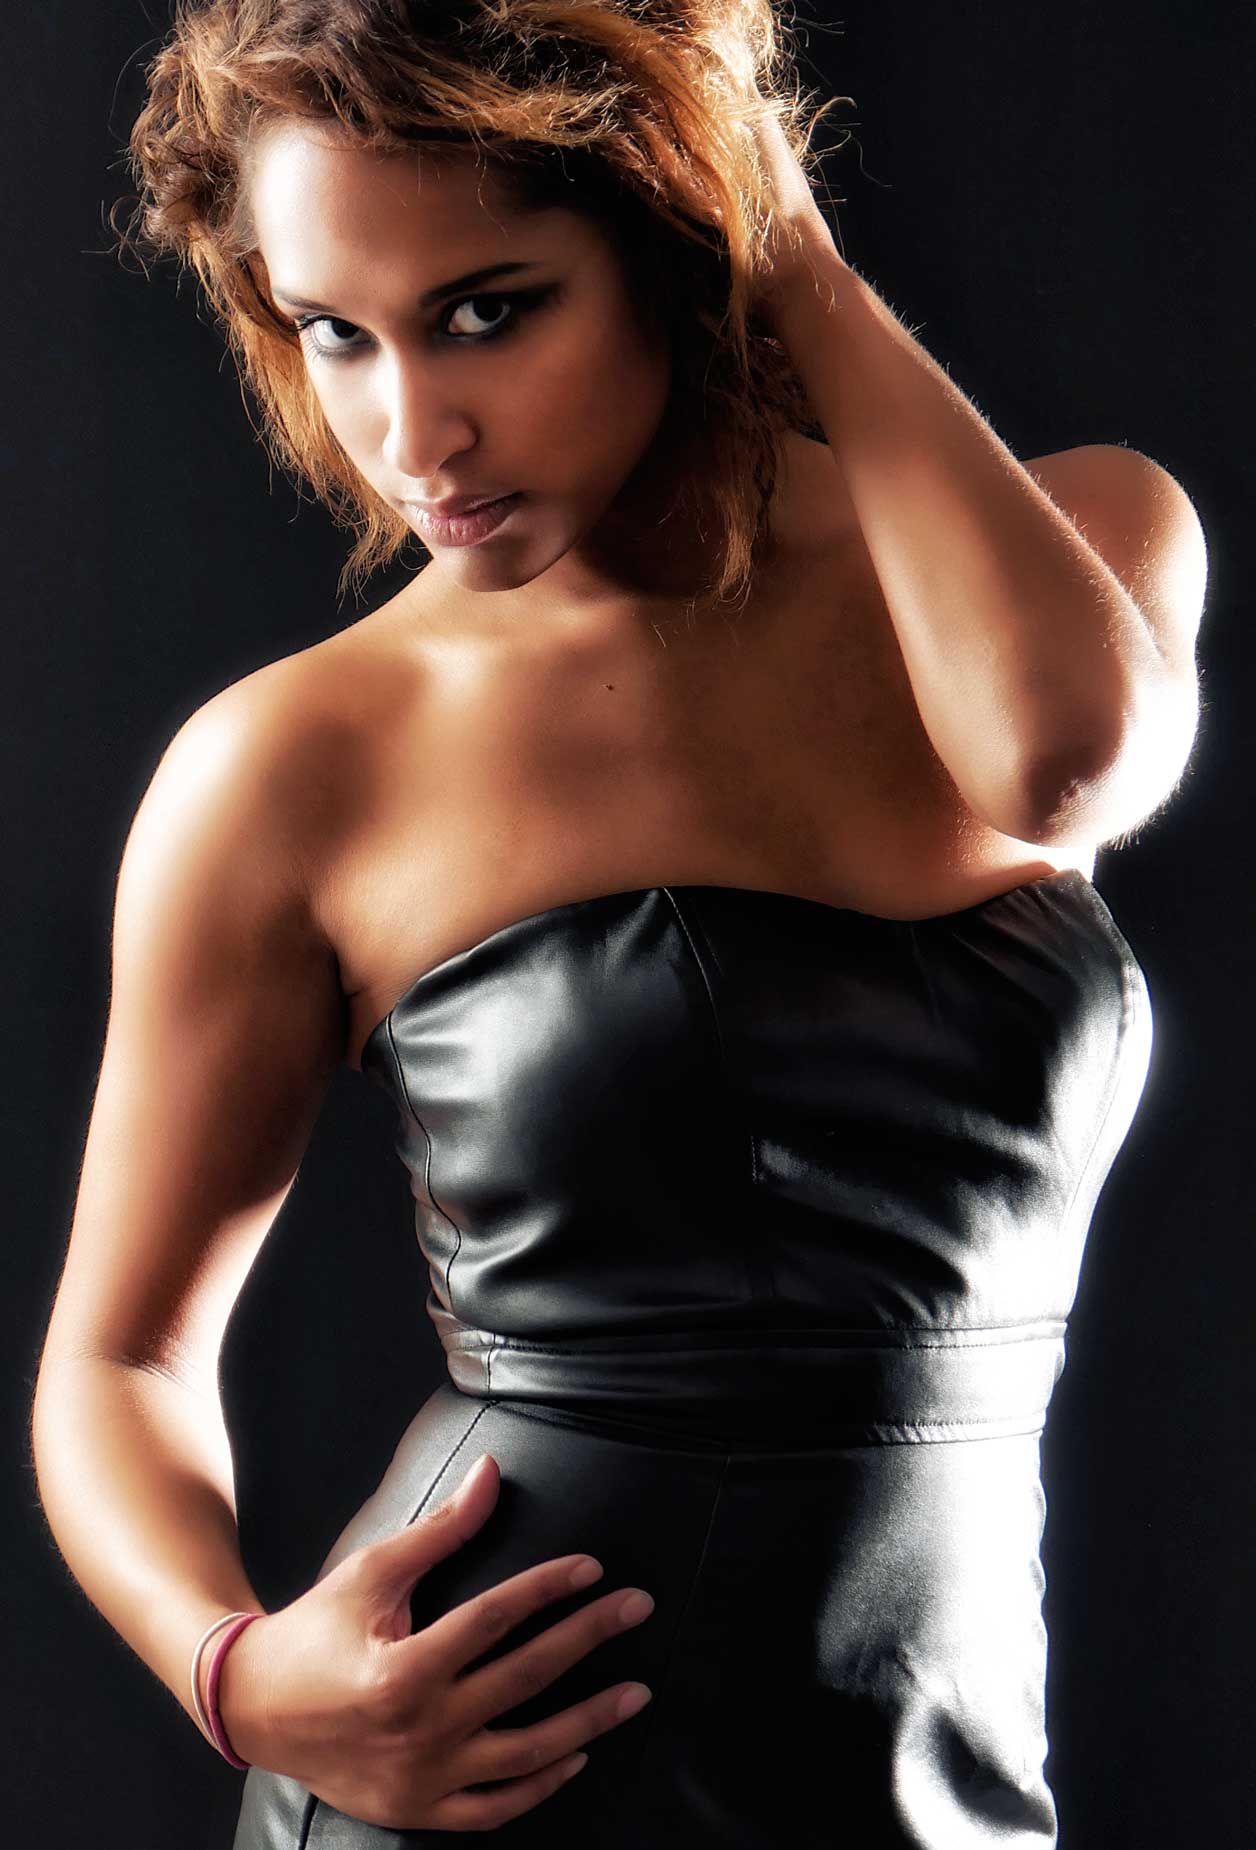
How I made this portrait: My friend Barry Staver says that I’m a master of the high key photograph but I also like to shoot in low key as well as with today’s featured portraits. For this low-key lighting setup that I had with Amanda, I placed a Godox QT600 monolight with a Westcott 16 x 30-inch Apollo Strip light soft box at camera left. A Godox DS200 monolight with its standard seven-inch (18cm) reflector attached is at camera right and located slightly behind the subject. I first thought I would need a snoot on this light (which I didn’t have anyway) but the standard reflector worked OK.
This portrait of Amanda was shot against a 5×7-foot black Savage Universal Infinity vinyl backdrop and was made using a Panasonic Lumix GH4 and a Lumix G Vario 14-45mm f/3.5-5.6 at 42mm with an exposure of 1/125 sec at f/7.1 and ISO 200. The image was then processed using the Pro Contrast and Glamour Glow filters that are included in Color Efex.
 If you enjoyed today’s post and would like to support this blog, you can join my Patreon where memberships start at just $1.25, with additional levels of support at $2.50 and $5 that includes special benefits including access to uncensored, private posts.
My book Joe Farace’s Glamour Photography is full of tips, tools and techniques for glamour and boudoir photography and includes information on all of the cameras and lenses used as well as the complete exposure data for each image. New copies are available from Amazon for $45.08. with used copies selling for around the same price, as I write this. The Kindle version is $19.99 for those preferring a digital format.