My Sunday Series on Outdoor Portraits remains on hiatus as I consider changing this day’s theme to Available Light Portraiture, which is what today’s post is about. This post also takes a look at a very special model called Dusty.
Today’s Post by Joe Farace
“None of us is born with the right face. It’s a tough job being a portrait photographer.”— Imogen Cunningham
 The other day, my pal Barry Staver and I were talking about our home-based studios and how the pandemic had affected our studio photography. We both wondered if we even needed them anymore. I mentioned that if I didn’t use my studio before the end of the year, I would turn the space into a giant LEGO layout. (Pam Simpson surprised me with a shoot just a few weeks ago, so I’m starting to get optimistic.) Barry then suggested that I could use different parts of my house to make portraits. And why not…
Before I had an in-home studio, I used many of the rooms in my former home as a studio. This is something I still do even though I have an in-home studio.
One of the tips for photographers that I’ve mentioned in previews posts in the series is to look for locations where the light is perfect for portraits. One of my favorite places to shoot in my former home was the kitchen, because it had a large North-facing bay window,
Follow the Light
If the upside of shooting portraits in your house is that it’s convenient, then the downside is that sooner or later your photographs are going to start looking similar. Moving to a new home or redecorating your existing one can be expensive alternatives so (perhaps) the best way to make your photographs look different is to make them look different in how they’re processed. Here’s one way that I did just that.
 How I made this portrait: I originally photographed Dusty in the kitchen of my former home in color (above right) using mostly available light with some supplementary fill from a Canon 420EX speedlite with a Sto-Fen Omni Bounce diffuser to soften the light.The pose was one Dusty had wanted to try but couldn’t seem to get it “right” in some of her sessions with other photographers. We got it right the first time and played with the posing to come up with this final version.
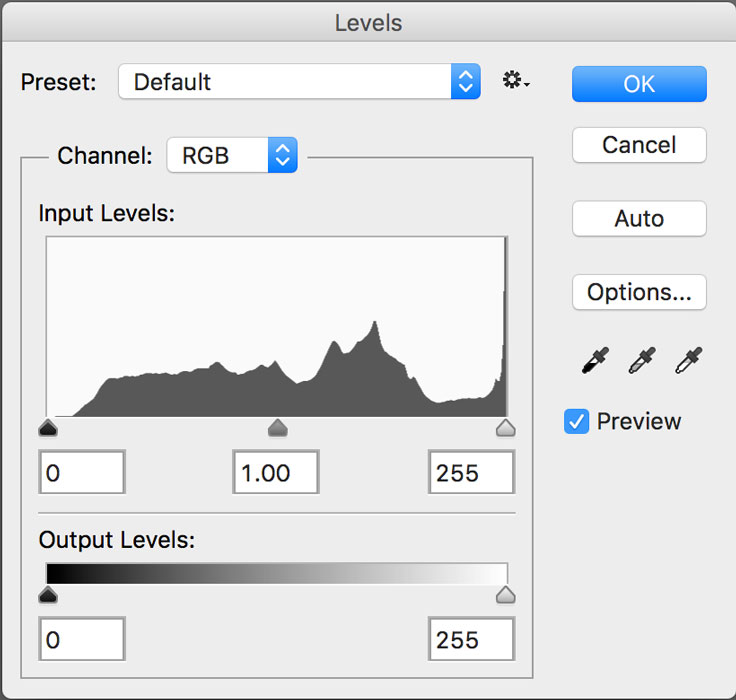
The camera used was a Canon EOS 10D with the wonderful EF 28-105mm f/3.5-4.5 lens. These days used copies of this lens can sometimes be found at affordable prices. Exposure was 1/60 sec at f/4.5 and ISO 400 with a plus one and one-half stop exposure compensation but according to the histogram it was not a “perfect” exposure.
 I corrected the slight underexposure using techniques previously explained, starting by creating a duplicate layer…
Then I did some light retouching on the corrected color JPEG file using Photoshop’s Healing and Clone brushes, followed by applying Imagenomic’s Portraiture plug in. The retouching was applied to a separate layer and I changed that layer’s opacity to 33% reducing the effect’s strength and avoiding an over retouched look.
The image file was further tweaked using the Vivenza plug-in, especially its Contrast and Structure sliders. Next I converted it to monochrome using Silver Efex, topped off by applying the Glamour Glow filter that’s part of Color Efex . Finally I cropped it slightly with Photoshop’s Crop tool using the 5×7 image aspect ratio to tighten the image a bit.
If you enjoyed today’s blog post and would like to buy Joe a cup of tea ($2.75, Starbucks raised the price of Earl Grey), click here.

The original title of my book Posing for Portrait and Glamour Photography was The ABC’s of Portrait Posing. On this blog there are many posts about posing. Use the Search box in the upper right-hand corner and type “posing” to find appropriate results. If you want something more lasting, used copies of my book are available from Amazon starting around $17. The Kindle version is $28.45 for those who prefer a digital format.