Today’s Post by Joe Farace
Just don’t give up trying to do what you really want to do. Where there is love and inspiration, I don’t think you can go wrong. — Ella Fitzgerald
As I’ve mentioned here many times, like many photographers I get inspiration for my images from many different sources. One of my photographer friends finds it in old master’s paintings; I get inspiration for some of my photographs from the movies. Recently I watched Frank Capra’s 1937 classic film Lost Horizon—for the fourth time, I think—and was struck not just by its cinematography but by the quality of the still images used to illustrate a “making-of” documentary on the disc. The large format photos displayed clearly demonstrated why the 1930’s and 40’s was the golden age of Hollywood still photography.
 All this was going through my head when I was making some glamour images of Tia Stoneman who I thought had the classic looks of a 1940’s film star—Patricia Neal. Ms. Neal appeared in thirteen films and won an Oscar for her role in the Paul Newman film Hud, and I recently watched her in the original1951 film of The Day the Earth Stood Still.
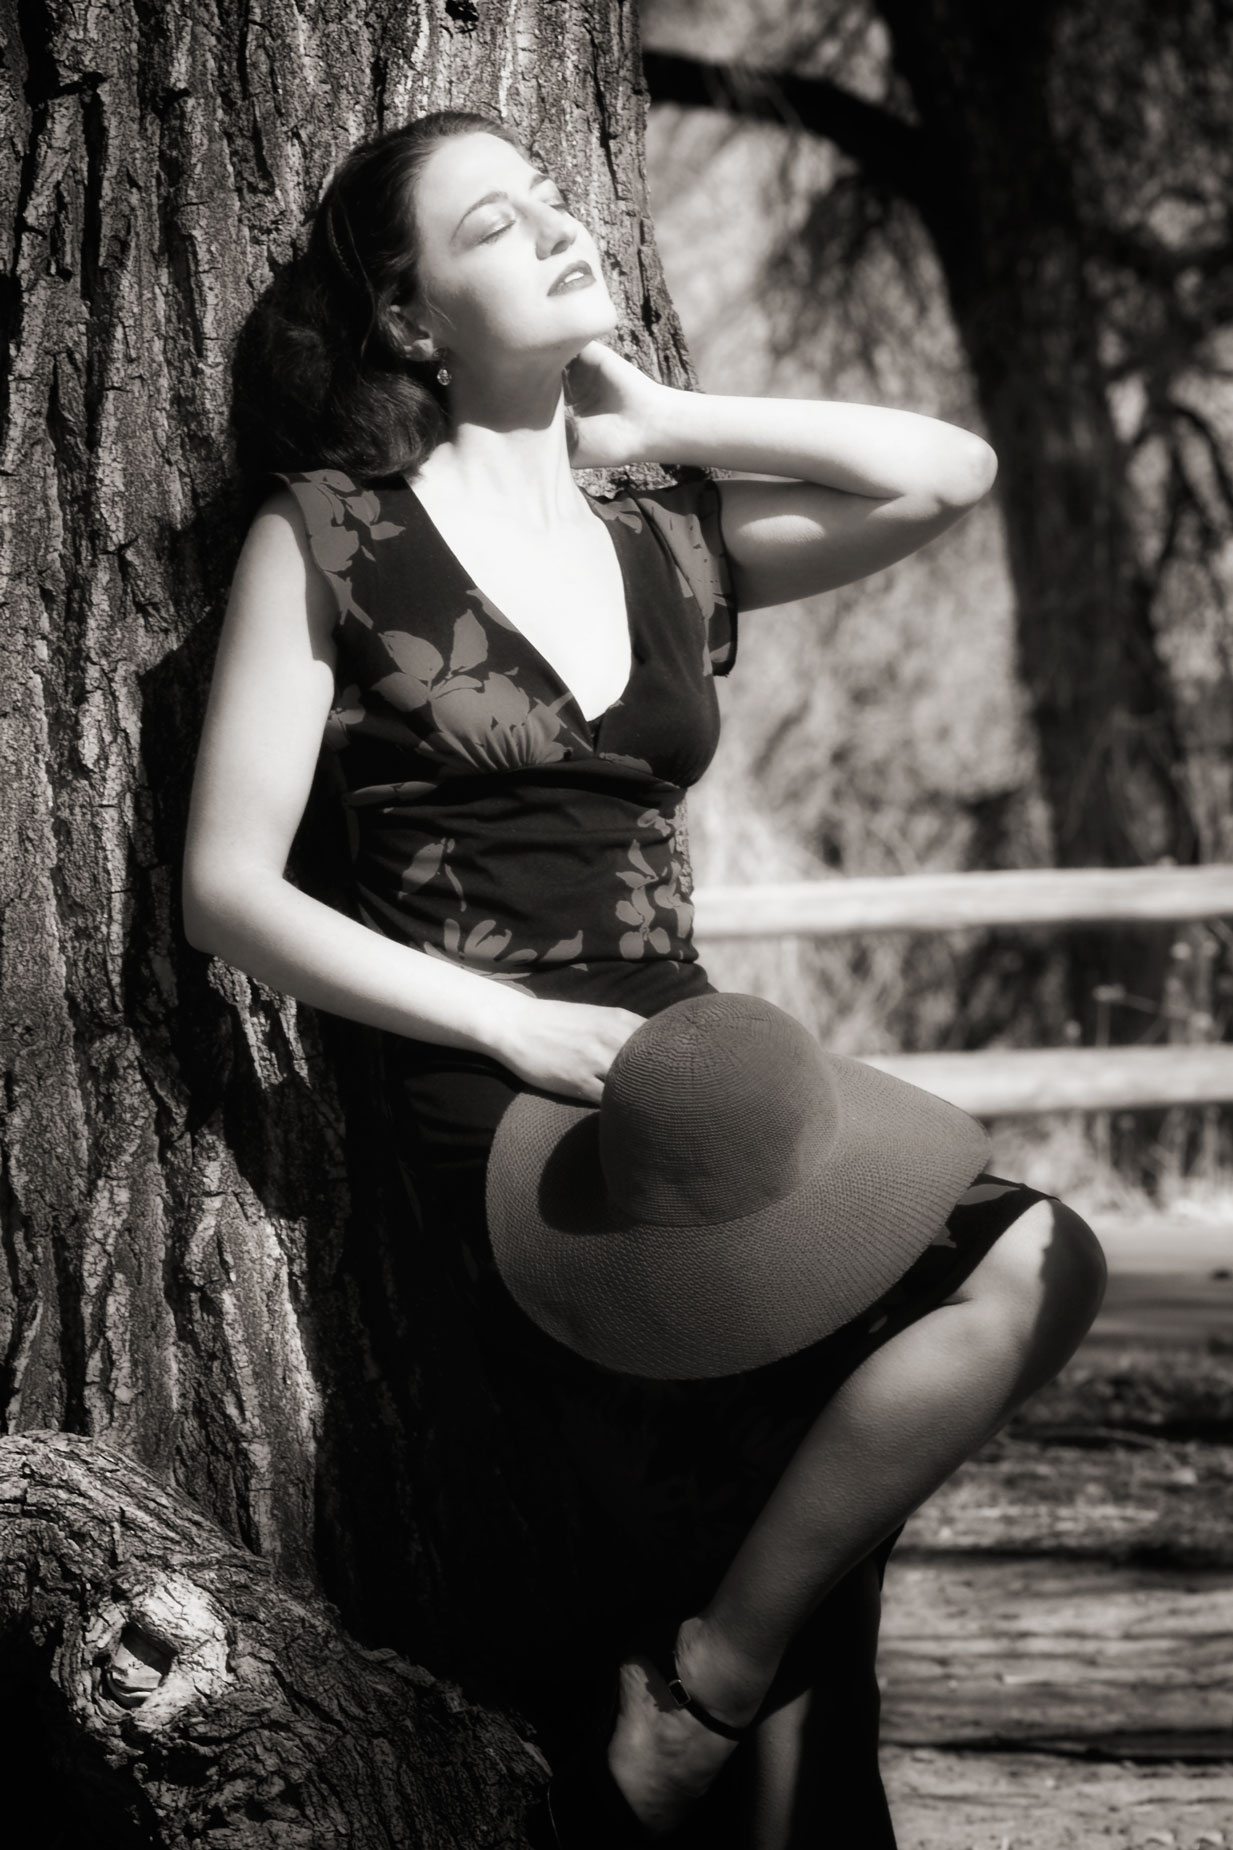
How I Made this Portrait: I previously featured my first muse, Tia Stoneman, in the first post in this series of outdoor portraiture posts that was entitled Change of Pace: A Few Outdoor Portrait Tips, Like that photograph of Tia, this portrait was also made at Barr Lake State Park on the lakeside area of the park. Both images have a retro vibe but this one may be a bit stronger. I think the hat is a big help as a prop.
The camera used to make this portrait was an Olympus E-300 from their original Four-Thirds series of DSLRs that they introduced in 2002. This camera used Kodak’s KAF-8300CE FFT-CCD sensor that is now beloved by many shooters of older digital cameras because they believe it produces the most filmic (and maybe cinematic) look. Read what Snappiness has to say about all this in his YouTube video CCD is the New Film. The lens used was the awesome Zuiko Digital ED 150mm f/2 Lens with an available light exposure of 1/125 sec at f/9 and ISO 200. The original JPEG image was converted to monochrome with Silver Efex and Platinum toned with PhotoKit.
Monochrome Conversion
Most cameras not only let you shoot directly in black and white but I’ve found that these monochrome image files are more difficult to retouch because of the smaller number of color tones in them. Instead, I prefer shooting in RAW+JPEG mode, with the camera set in monochrome mode. That way I have a black & white JPEG image that I can show the subject and a color RAW file that I’ll use to retouch and then convert to monochrome later.
After testing 25 different methods and products for converting color images to monochrome (for an article in the former print edition of Shutterbug ) I found Silver Efex was the best and most versatile for what I do. The software also lets me apply different colored camera filters and grain If I like. I previously stayed away from adding film grain to portraits but now occasionally do it to add a little softness. That’s a tip I learned from the amazingly talented portrait photographer Cliff Lawson.
 If you enjoyed today’s blog post and would like to treat Joe to a cup of Earl Grey tea ($2.50), click here. And if you do, many thanks.
If you’re interested in learning how I shoot available light glamour portraits, please pick up a copy of my book Available Light Glamour Photography and right now Amazon is reporting it as “Temporarily out of stock.” Used copies are available for around twenty-five bucks, as I write this, and Kindle copies are \available for $27.12 for those preferring a digital format.