Today’s Post by Joe Farace
If you feel glamorous, you definitely look glamorous.—Scarlett Johansson
 If you’re a regular reader of this blog or follow me on Instagram (please do at @joefarace because it’s the only social media I’m currently on) you may know that several years ago, my basement was flooded during an intense thunderstorm causing lots of damage to my basement, including my in-home studio.
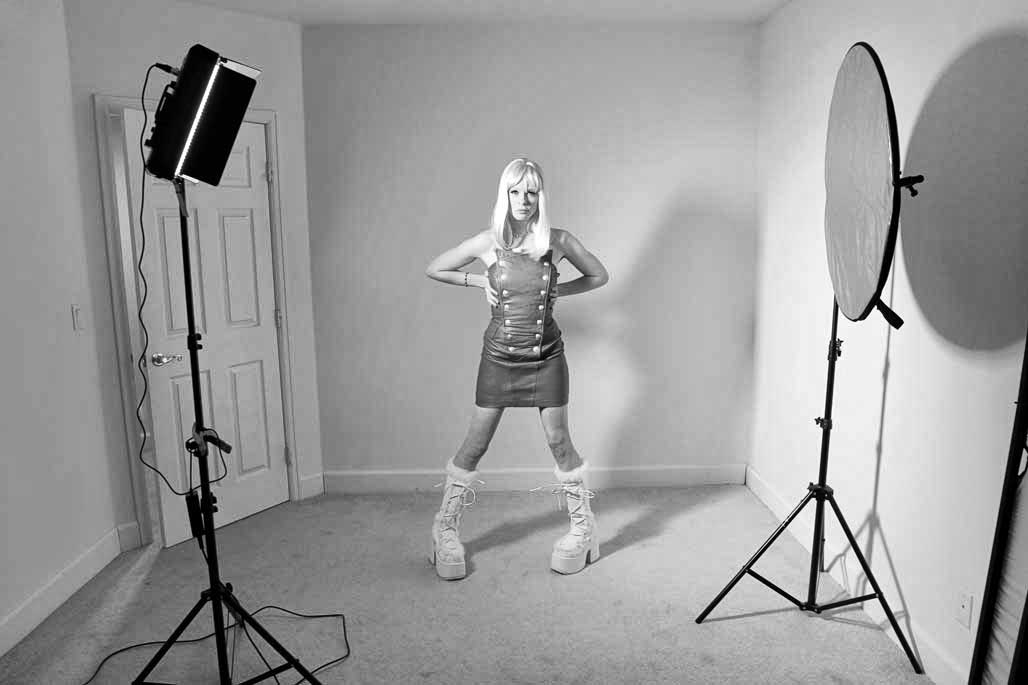
My basement studio is approximately 11×15-feet and at one end there’s a window well—that’s where part of the flood waters came in. (The rest came through a similar window in the family room on the other side of the studio wall.) The wall opposite the window in the studio is where I place my backgrounds and has an angle corner cut for a door that you can see in the setup photos with Pam Simpson at right. While architecturally interesting, this feature makes setting up any kind of background challenging. That’s one reason my wife camera up with her “three-layer” background concept.
 Considerations: There are lots of things to think about when setting up a home studio beginning with exploiting all of the possibilities of the space that’s available. It’s that space that will also determine the kind of lenses and focal lengths you’ll be able to use, which is invariably why I use zooms for my relatively small shooting space. There are some exceptions.
What about your subject? You’ll need to work with them in the space you’ve set aside and place them in poses that will help them achieve the best possible photographs. Posing is highly subjective but I’ve written about this subject many times, including in a book (below,) and posts found here and here. Since I get lots of e-mail asking for posts on this subject, I expect it will continue to be a theme for the future. Don’t forget, you also need a dedicated and private place for them to change and put on make-up.
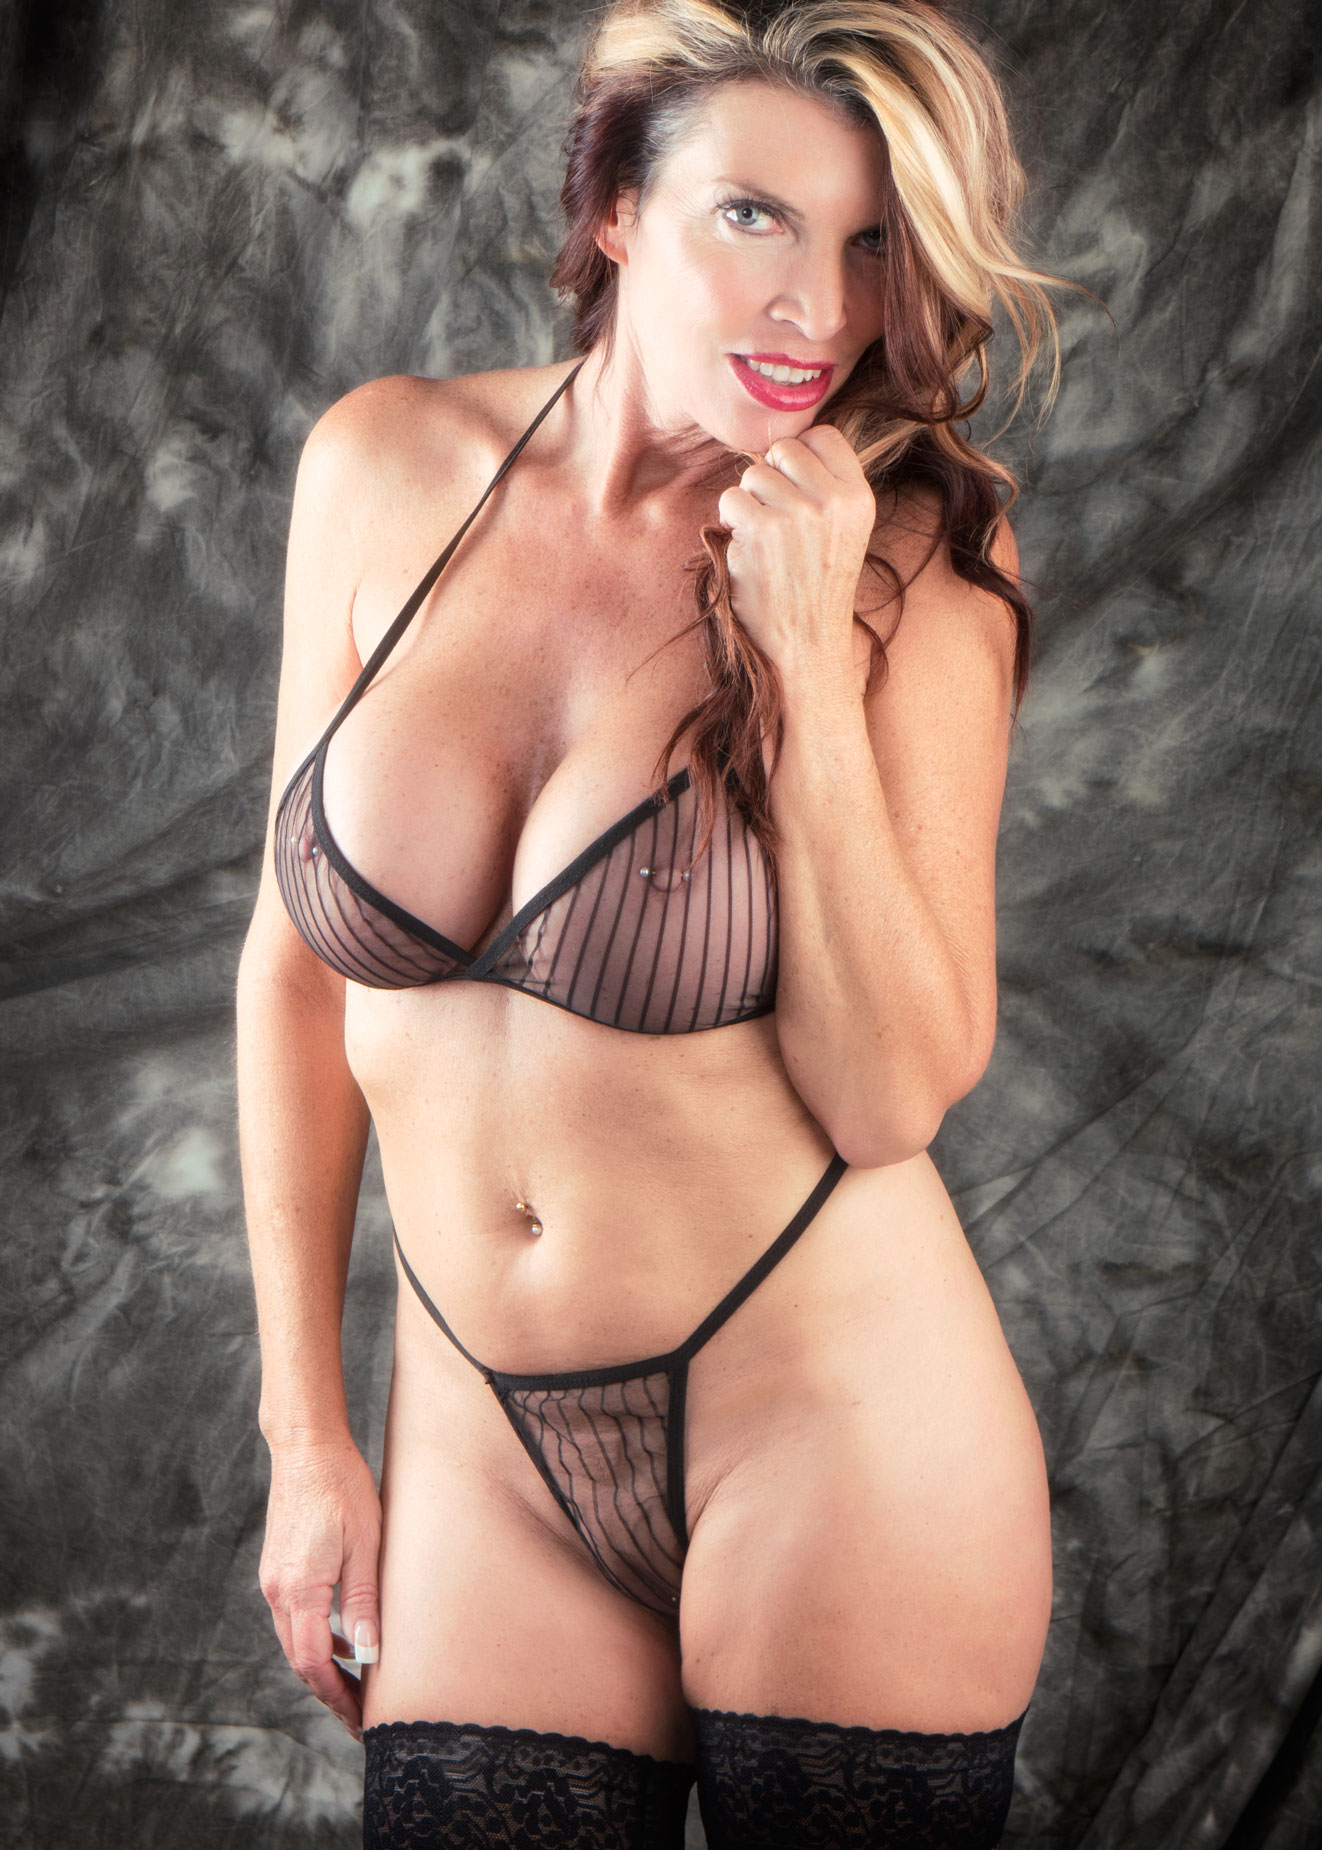
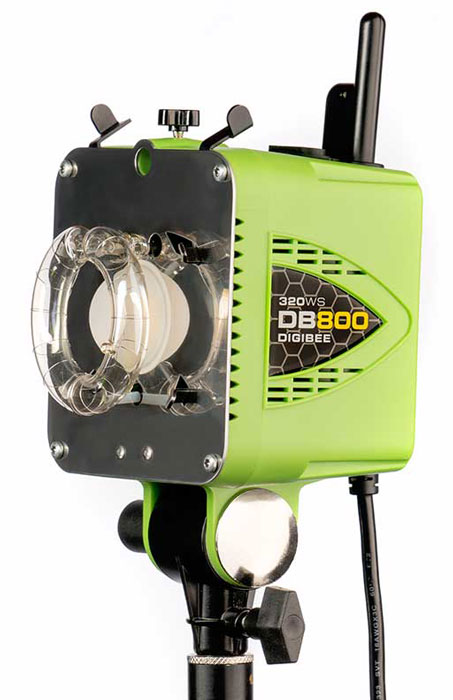
How I made this photograph: The featured image of famous Internet model Maria Cedar was made during one of our last photo shoots together. This image was one of the images I made of her in a 12-shot sequence; This pose was frame number 9. The portrait was made in my home studio with lighting from a Paul C. Buff DigiBee DB800 with Plume Ltd Wafer softbox mounted that was placed at camera right as the key light. An Alien Bee B800 with 16×30-inch Westcott Apollo Strip soft box is at camera left while another Digibee with a 48-inch Dynalite Quad Square black/silver umbrella was located at camera left in a back corner of my studio .
 The camera used was a Panasonic Lumix GH4 with Lumix G Vario 14-45mm f/3.5-5.6 lens (at 45mm) with an exposure of 1/160 sec at f/6.3 and ISO 200. Background was an inexpensive muslin that was later destroyed in that infamous basement flooding incident.
Postscript: While the other images that were captured during my session with Ms. Cedar are, like her, beautiful and tasteful, I regretfully cannot show you more portraits from this session. I hope someday I’ll have access to an on-line forum where I can display some of those kinds of photographs. Right now, I’m looking into creating one in 2023. Tumblr claims they have relaxed their rules but based on my recent experience this is not true
 If you enjoyed today’s blog post and would like to buy ($3.50) Joe a cup of tea, click here.
The original title of my book Posing for Portrait and Glamour Photography was The ABC’s of Portrait Posing. On this blog there are many posts about posing. Use the Search box in the upper right-hand corner and type “posing” to find appropriate posts. If you want something more lasting, take a look at my book that’s available new from Amazon for $29.95, as I write this, Kindle version is $28.45 for those who prefer a digital format.