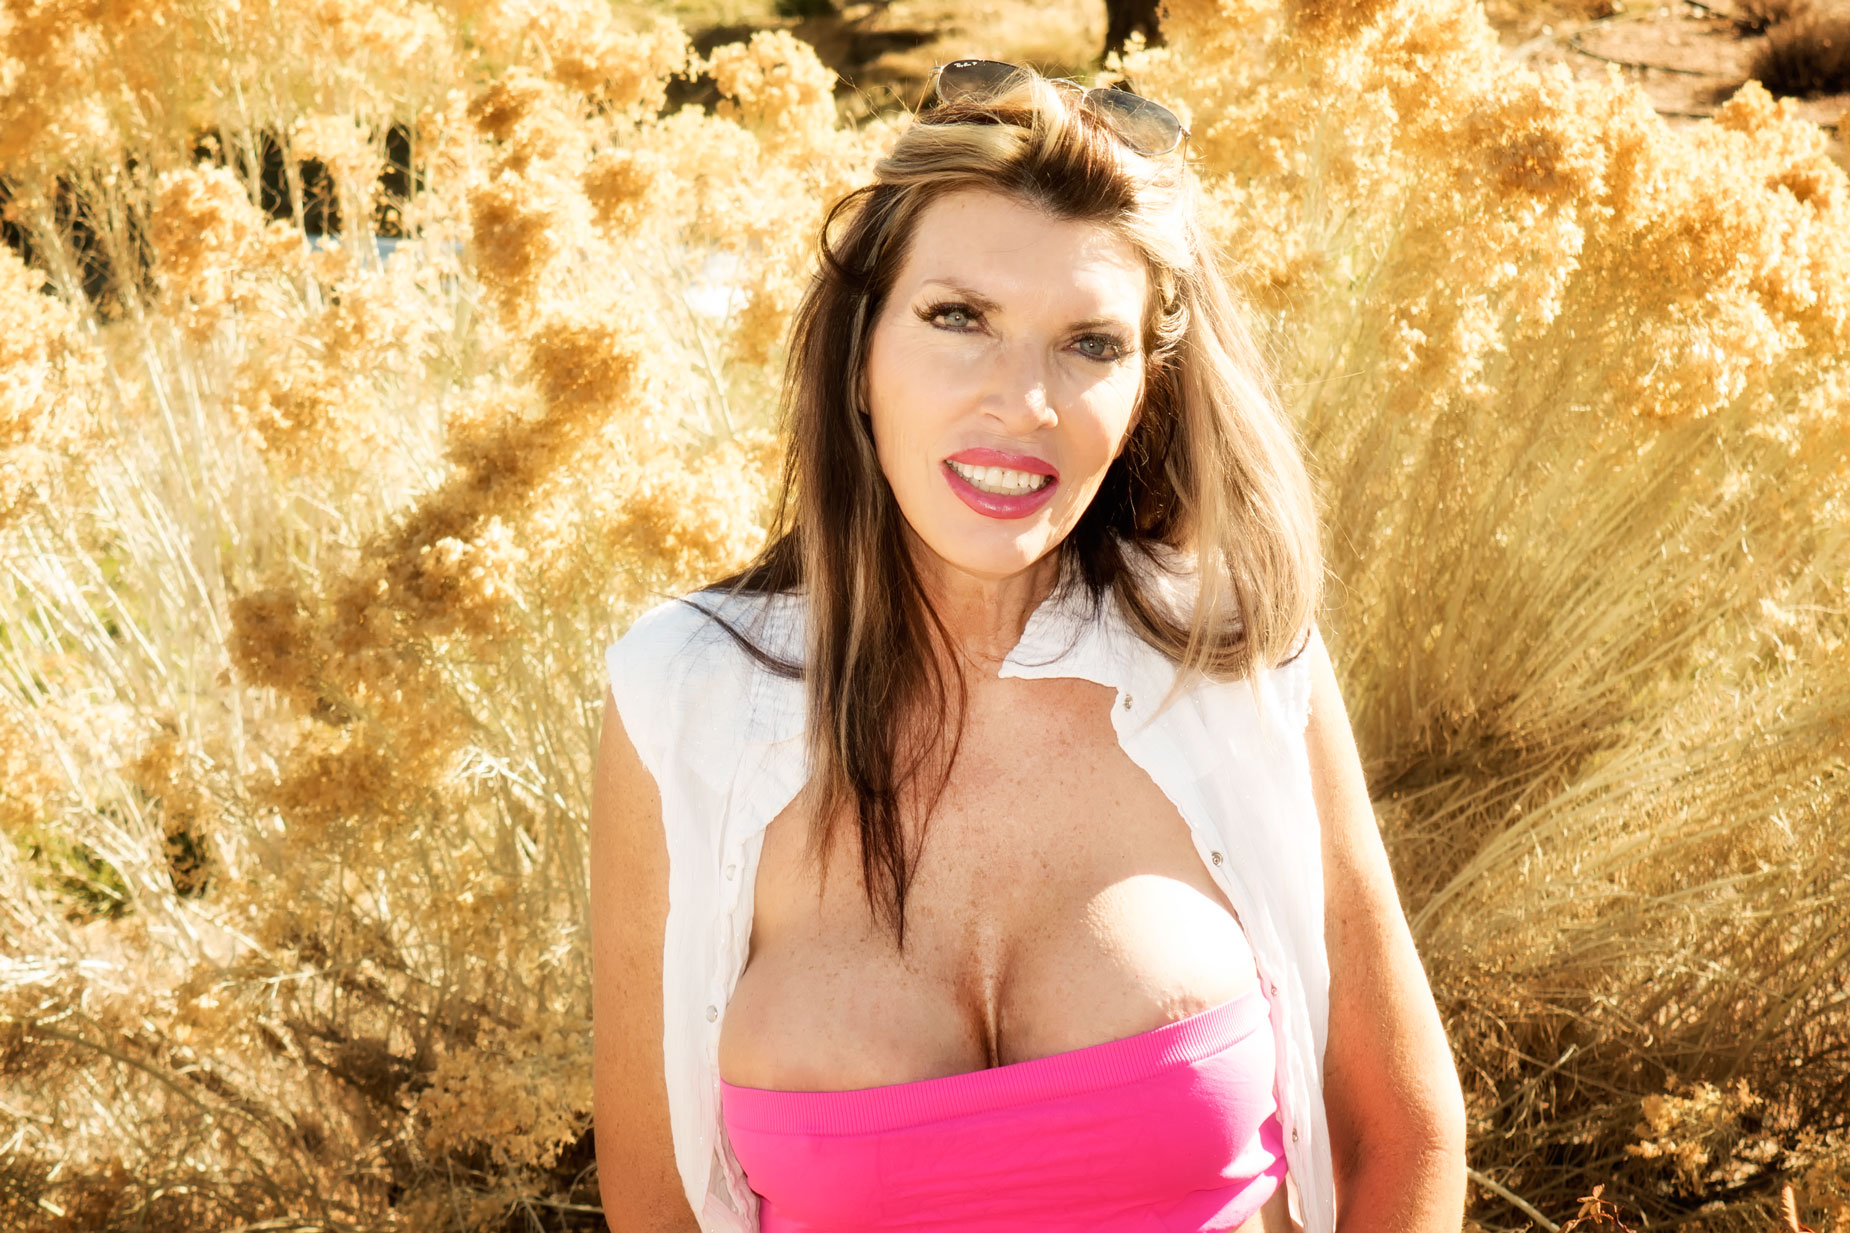
My Sunday series on outdoor portraiture continues today with an image of the legendary Internet model Maria Cedar who, as it turns out, was not photographed at a group model shoot as has been the case with many of the recent models featured in this series. Instead, she was photographed in a private shoot we did together at the Hidden Mesa Open Space in Colorado.
Today’s Post by Joe Farace
Keep your face always toward the sunshine – and shadows will fall behind you. —Walt Whitman
I believe the best photographs will be made from the best possible exposed images. Under most lighting situations, including sunny days, modern camera technology seems to have relieved us of any guesswork to determine a specific exposure setting. Maybe that’s why I’m surprised when people who don’t seem to care about obtaining the correct exposure, say, “I’ll just fix it later in Photoshop.” Yes, it’s true you can always use some digital darkroom techniques to rescue some photographs but I personally only use them when I make mistakes!
On a Sunny Day…
The classic way of exposing images made on sunny days is the famous “Sunny 16 rule.” The concept is based on using an exposure that’s based on setting the lens aperture to f/16 with the shutter speed being set at what’s closest to the ISO number you’ve selected. Back in the film days, it was the ISO speed of the film used. For example, ff your camera is set at ISO 125, the Sunny 16 exposure would be 1/125th of a second at f/16.
One of the biggest problems with making portraits on sunny days and a mistake some photographers make is having the subject face toward the sun. Their thinking is that this pose will put the most light on the subject and while that may be true it also produces world class squints and nobody except Clint Eastwood looks good when squinting. I prefer to have the subject relax and turn her back to the sun while using flash to illuminate her face. When used correctly this fill flash technique won’t look out of place and can add a little sparkle to the subject’s eyes.

How I made this photograph: I photographed Maria Cedar in the Hidden Mesa Open Space on a bright sunny day. The camera used was a Panasonic Lumix GH4 with Lumix G Vario 14-45mm f/3.5-5.6 lens at 37mm (74mm equivalent.) The exposure was 1/200 sec at f/5.6 and ISO 200 with a plus one and one-third stops exposure compensation. I used the camera’s built-in flash as fill. The GH4’s flash sync is at 1/250 sec.
Lighting Ratios
The term Lighting Ratio refers to a number that compares the light output of the key or main light to the fill light. The higher the lighting ratio is, the higher the contrast will be. Conversely, the lower the ratio, the lower the contrast. This can be easy—or at least easier—to control in the studio but is more of a challenge outdoors working with available light.
One way to maximize how you control the lighting ratio is by using a handheld light meter. In-camera meters typically measure light that’s reflected from the scene being photographed. Hand-held incident light meters, like my old Gossen Luna Star F2 can also measure the incident light—the amount of light falling on the subject. Spot meters like the classic Pentax V or the more modern Sekonic Speedmaster L-858D-U can measure a narrowly focused area in a scene but still measure reflected light. If you have time, please check out my post Using a Handheld Meter for Portraits. Using a handheld meter will let you compare the brightest part of the image with the darkest, giving you the lighting ratio. For the final exposure, most people just take an average of the two settings but I’ll usually bracket that average just to be safe.
Some Basics: If you take a meter reading for a subject that’s 1/500 sec at f/11 and want to use a slower shutter speed and choose 1/125 sec you will have to adjust the aperture (make it smaller) so the same (equivalent) amount of light falls on the sensor (or film.) By selecting either Aperture (Av) or Shutter (Tv) priority exposure modes, your camera should be able calculate the equivalent exposure, eliminating any guesswork. To tell the truth, sometimes when working under challenging lighting conditions, I’ll typically use Manual mode.
