Today’s Post by Joe Farace
“Which is probably the reason why I work exclusively in black and white… to highlight that contrast.” — Leonard Nimoy
 Being able to view a monochrome scene through a mirrorless camera’s EVF really helps the visualization process because, as Flip Wilson once said, “what you see is what you’ll get.”
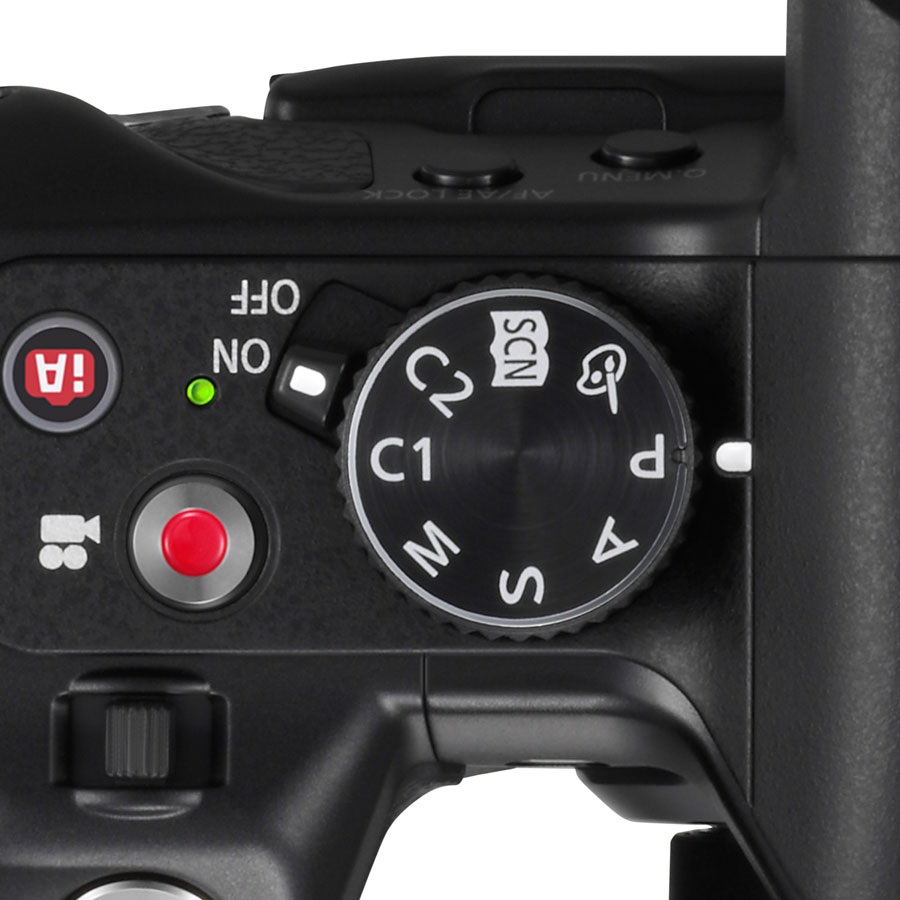
More and more DSLRs and mirrorless cameras include one or more Custom (C1, C2 etc.) options on their control dials, along with the standard P, Tv, Av, and M settings. Using the camera’s menus you can program these custom settings to shift your JPEG images* from color to black and white capture, tuned exactly the way you want, with just a twist of a dial instead of diving through menus trying to find the monochrome setting. I’ll show you how I do it; you, of course, may prefer a different way…this is not a “my way or the highway” blog.
Here’s One Method
The process I’ll show is for Panasonic Lumix mirrorless cameras; Canon, Fujifilm, Leica, Nikon, Olympus and Sony cameras should have settings similar in function although the menu names may slightly be different. Your user’s guide will point you in the direction but these steps will show how the process typically works.
 Step 1: Select “Rec” from the Menu because you want to affect how images are recorded. This brings up standard menu options and Photo Style is atop most Lumix camera’s page one. Use the Menu/Set button to select Monochrome from the Photo Styles menu.
Step 2: Once the Monochrome mode is selected you have access to the sharpness, contrast, saturation, and noise reduction controls that allow you to further tweak how you want your finished black and white image to look.
Step 3: For Contrast use the right-hand button on the four-way controller to increase contrast by two steps; the left-hand button decreases contrast up to two steps. Tip: I prefer a contrastier image and like to add plus one or even plus two steps. You may prefer less so the option is there, including leaving it alone.
Step 4: Sharpness has the same four-stop range. Use it or not but I would first test to see what levels of sharpness you might prefer. Tip: My choice is none but that’s just me. Saturation is easier to use because you can see any changes on-screen. The center setting is neutral, while each step to the right produces a cooler tone and each step to the left is warmer, more sepia-like, with the two clicks left being a bit too orange for my taste, something it seems all in-camera toning settings I’ve tried, especially Olympus, have in to common. I set up one-click left as a custom function for C2 giving me the option of changing from color to black and white to sepia tone with a simple dial rotation.
Step 5: I suggest testing to see what levels of Noise Reduction you prefer. If you’re setting up your custom setting for street photography at higher (than normal) ISO settings, noise reduction might be more important to you than if you’re shooting other kinds of subjects.
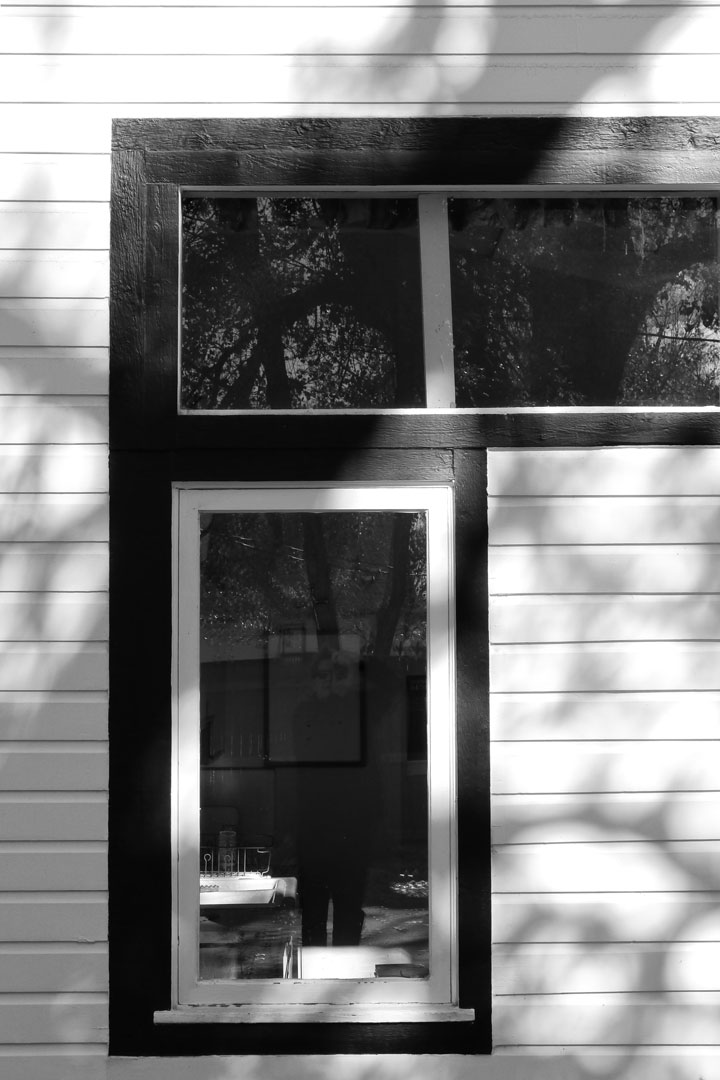
How I Made this Photo: The Ave Maria Chapel at St. Mathews Episcopal Church in Parker, Colorado was built in 1916 and has many black and white details that make for interesting monochrome shooting. This image was shot in a Panasonic Lumix G5’s C1 (black and white) mode with the 14-42mm f/3.5-5.6 kit lens at 31mm with an exposure of 1/320 sec at f/9 and ISO 400
Step 5: The final step is locking in a set of conditions for a particular dial setting. Back on the main menu page the icon below “Rec” is Custom Menu. The first item on page one (of eight) is “Cust Set Mem.” In this menu, you will notice there are four options: You turn the control dial to C2 and the screen shows a variation of the standard menu seen in Step 1. Selecting it shows three custom choices, from C2 to C2-2 and C2-3. The total number of options varies by camera manufacturer but, in this case, allows the Lumix G5 to have four custom options instead of the two indicated on the control dial.
Too Many Steps?
While it might seem like there are a lot of steps involved in setting up a custom black and white mode in your camera, the process is not complex and can be carried out over your morning’s coffee or tea, before heading out for a day’s shooting. Once you’re ready to go, it only takes a single dial twist to capture your very own customized monochrome images. Using a custom capture mode lets you concentrate on the image instead of the technical details of achieving it and that’s the single biggest advantage of setting up a custom black or white mode or two.
*Hedge your bets? Shoot RAW+JPEG. This will give you that custom black-and-white JPEG file along with a Color RAW file.
My book Creative Digital Monochrome Effects is available from Amazon with new copies at $11.46 with used copies starting at a little more than two bucks, as I write this. There’s no Kindle version available, sorry.
