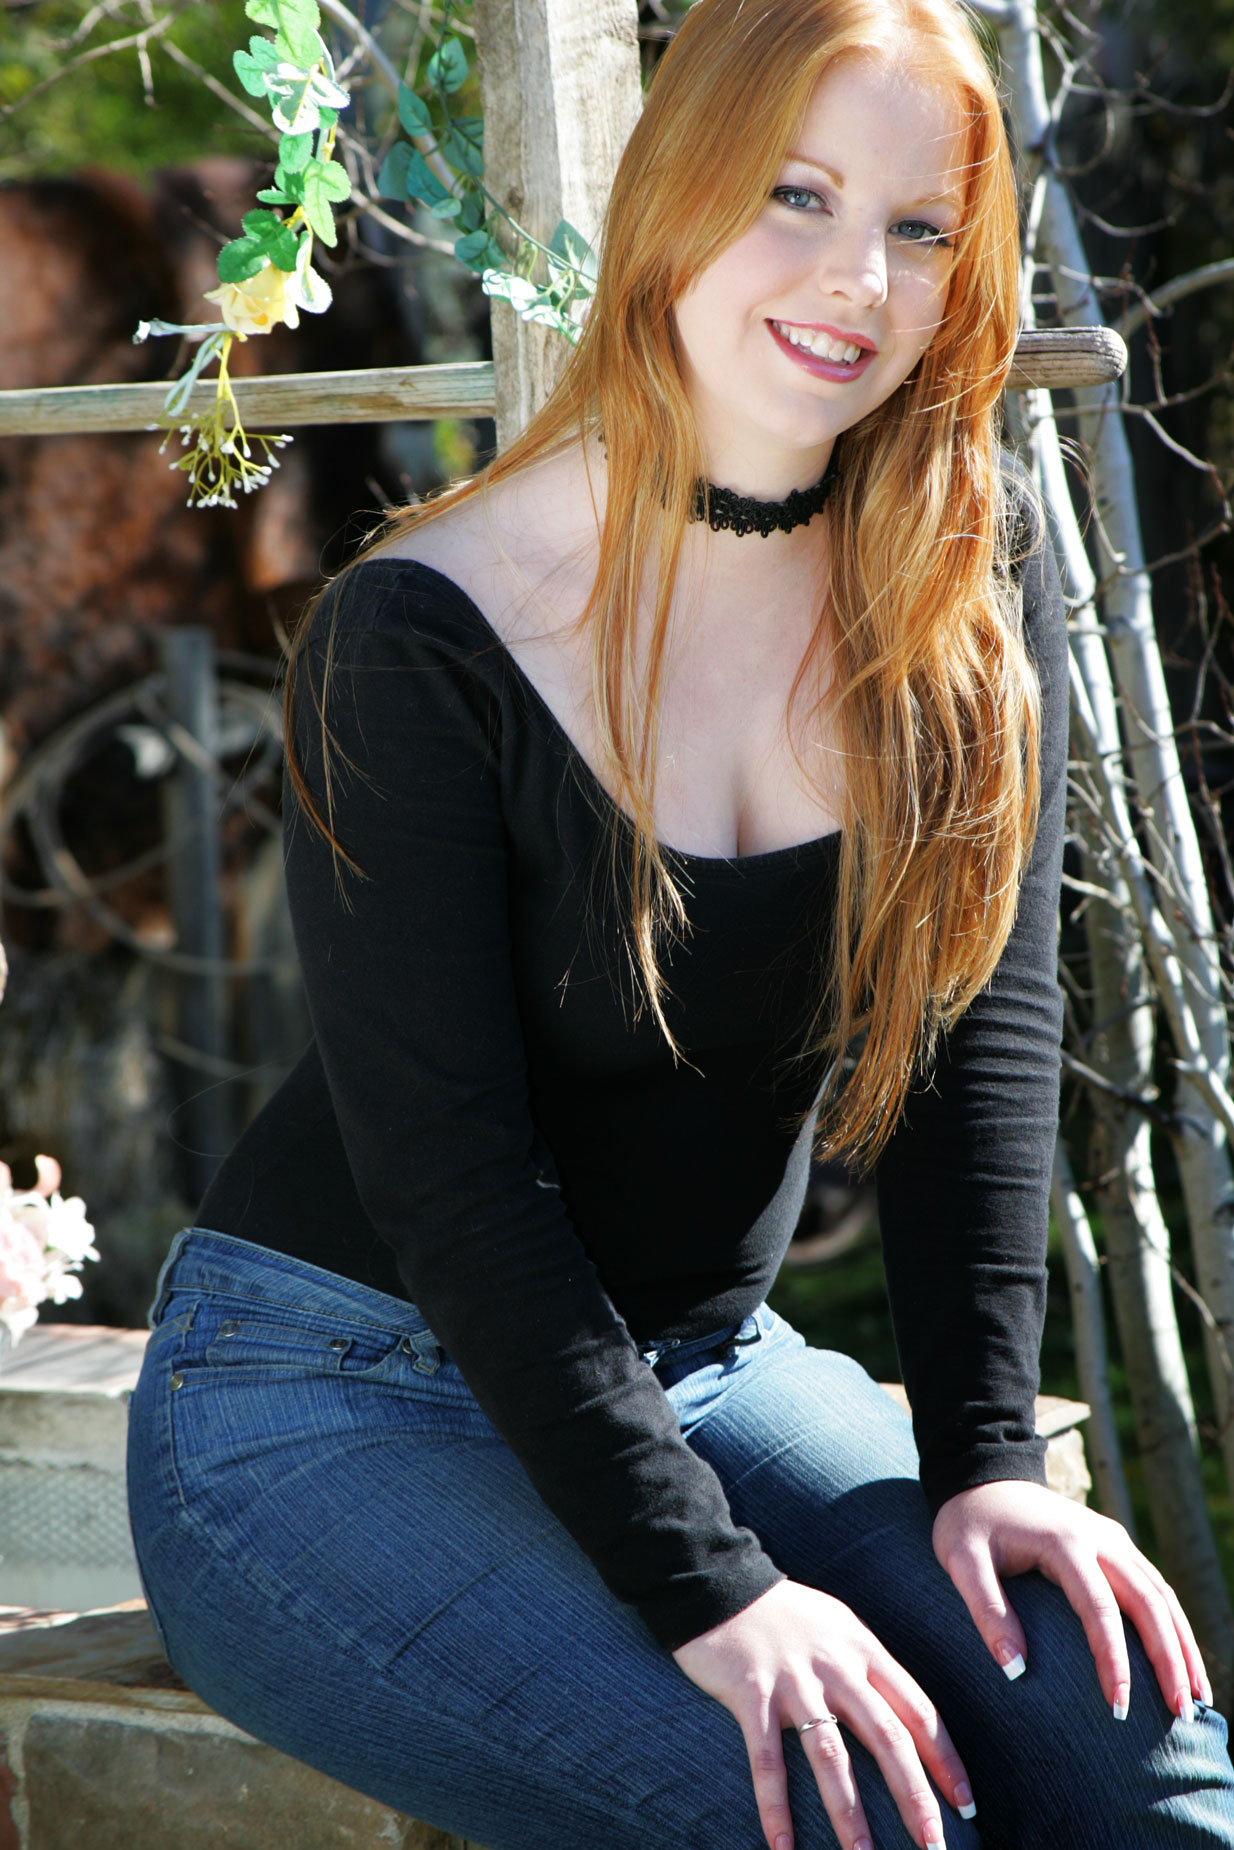
My Sunday series on outdoor portraiture continues today with an image of Farrin who I photographed at a group model shoot in Northern Colorado. Today’s feature image is from the first time I photographed her; I also photographed her the following year during a Halloween-themed group model shoot.
Today’s Post by Joe Farace
“In portrait photography, the most important thing is capturing the essence of the person.” — Helmut Newton
Previously on this Blog: Before she had her current job, I accompanied my wife on some of her business trips to Albuquerque, New Mexico. She would usually drop me off at different locations where I would wander around making photographs. After lunch one day, I walked past a group of young women and overheard one of them say, “You can’t capture the essence of a person with a photograph.” Metaphysically we could all argue all day about what constitutes a person’s “essence” and I’m sure Nietzsche would be the guy to have that conversation with. What’s that have to do with today’s portrait?
It’s all About the Light
 All modern DSLr’s and mirrorless cameras have some kind of built-in light meter and some even have spot meters but I still occasionally use a hand-held meter, especially when photographing people outdoors.
The hand-held meter that I use is a Gossen Luna Star F2. it’s old but also small, lightweight and takes reflected or the incident readings I use when making outdoor portraits. The meter also measures electronic flash and I use it for making corded or non-corded readings in my home studio. Here’s a quick overview of the different kinds of meters and the kind of metering most hand held meters are capable of:
- Incident light meters measure the amount of light that’s falling on a subject.
- Reflected-light meters measure light that’s reflected by the scene or the subject being photographed.
When making outdoor portraits, I like to measure the light on both sides of the person’s face to determine what the lighting ratio might be. There are all kinds of rules telling you the ideal lighting ratio—I even wrote a post about it—but Renaissance painters used a technique called chiaroscuro that featured lighting ratios that would make most studio photographer’s hair stand on end but these people also produced art that has transcended the centuries. The “right” lighting ratio for you will vary depending on the shape of the subject’s face and the look you want to produce for the final image.
How I made this portrait: I’m not usually the kind of guy to photograph “the girl next door” but this portrait of Farrin doesn’t fit any other category! (Trivia: Farrin is Brenda’s twin sister. Check out that post for an interesting photograph showing how one sister looks compared to the other.)
The camera used for this portrait was a Canon EOS 1D Mark II N with an EF 28-105mm f/3.5-4.5 USM lens that I made the mistake of later selling. The exposure was 1/200 sec at f/7.1 and ISO 100 with a minus two-third stop exposure compensation. A Canon 550EX speedlite was used as fill with a Sto-fen Omni Bounce diffuser attached to soften the light.

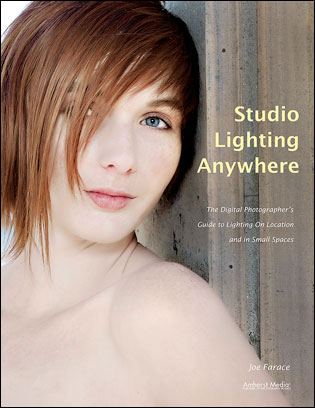
For more tips, tricks and techniques for creating studio lighting effects without having to spend big bucks on gear, please pick up a copy of my book Studio Lighting Anywhere, which features a cover photograph by Mary Farace. It’s available used from Amazon for around $33, as I write this. The Kindle version is only $19.99 for those preferring a digital format.