Today’s Post by Joe Farace
The art of art, the glory of expression and the sunshine of the light of letters, is simplicity. —Walt Whitman
Light is one of the key elements that differentiate a good photograph from a snapshot. That’s why I’m always surprised by the number of people who don’t care about correct exposure and use the worn-out cliche, “I’ll fix it later in Photoshop.” Based on my experience, where exposure snafus are concerned, there is some truth to this statement but again, based on my experience, getting it right “in camera” will always be the best approach because sometimes you can’t fix it in Photoshop.
The “Correct” Exposure
Nevertheless, a digital image that’s too far overoverexposed or even underexposed cannot always be saved with image editing software. That’s why I think it’s important to understand how to achieve proper exposure in-camera.
There was a time in the not-so-distant past when film cameras did not have built in light meters, let alone automatic exposure capabilities. In those days, photographers either used a hand-held exposure meter or relied on the data sheet packaged with each roll of film that provided basic exposure guidelines for taking photographs in bright sun, hazy sun, or cloudy conditions.

How I made this photograph: Regular readers know that one of my favorite places to test cameras is to photograph the gazebo at O’Brien Park in Parker, Colorado and I went there near the end of a snowy day. For this image, I used a Canon EOS 80D and an EF-S18-135mm f/3.5-5.6 IS USM lens at 19mm and watched as the light began to grow muddy. I made this photograph using the camera’s 3EV setting of its Standard Art HDR mode that assembles three images in camera to produce the result you see here. The nominal exposure was 1/500 sec at f/5 and ISO 400.
Who determines what’s “properly exposed?”
 Well, you do. Back in the day, another widely used exposure method was built around using the film’s ISO rating and the aperture f/16 aka the “Sunny 16” rule that is just as valid today as it was back then. On a sunny day, you set the lens aperture at f/16 with a shutter speed that’s equal to the reciprocal of the ISO setting.
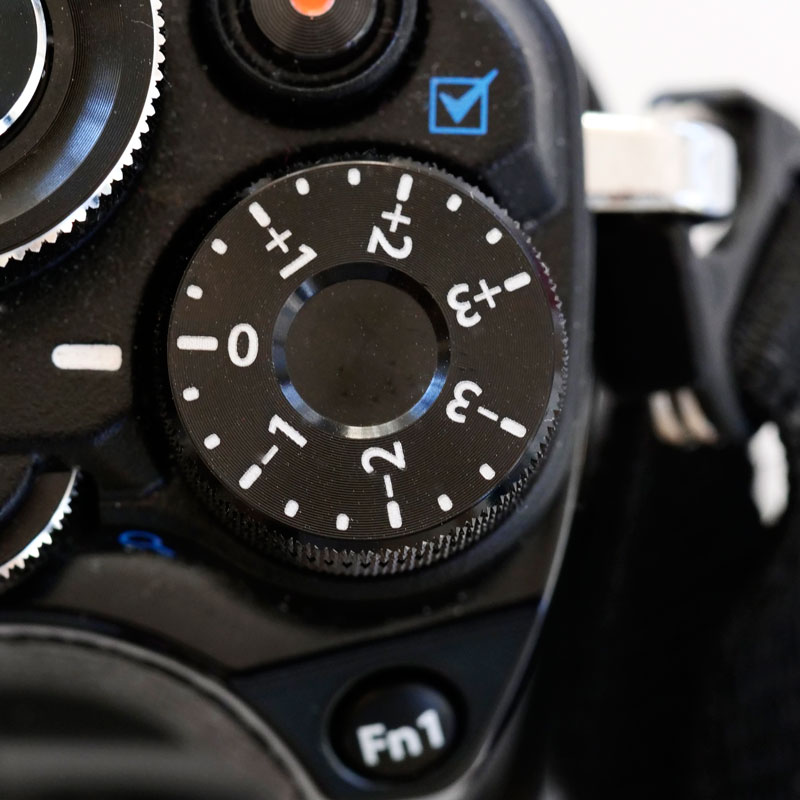
To achieve properly exposed images you can also make minor adjustments to a camera’s automatic exposure settings, including using any of your camera’s available metering patterns. My favorite camera control for tweaking exposure is exposure compensation. which can be adjusted in one-third or one-half stops. Here’s how it works: If the camera is set in Aperture Priority (Av) mode, the exposure compensation changes the exposure time; if the camera is in Shutter Priority (Sv) mode, the aperture is changed. If electronic flash is being used, some cameras will adjust the (compatible) speedlight output as well. To find out how your particular camera accomplishes these functions, you’re going to have to read your camera’s manual, which these day may be (inconveniently) on-line.There are as many exposure possibilities as there are camera models so give it a test the next time you shoot.
For more specifics on the subject of correct exposure, check out this post and also this one. There’s probably more posts about exposure on this blog than most any other subject so there’s lots more here. Use the Search feature—the Magnifying Glass icon—and plug in “proper” or “correct” exposure to find even more post about this subject.
 If you enjoyed today’s blog post and would like to buy Joe a cup of Earl Grey tea ($2.50), click here. And if you do, thank so very much.
Along with photographer Barry Staver, Joe is co-author of Better Available Light Digital Photography that’s available from Amazon for $21.50 with used copies starting at giveaway prices—starting around five bucks