Today’s Post by Joe Farace
“It’s a world, someone’s face. When I capture it, I see the future of the world.”– Malick Sidibé
 From last week’s post: “One of the things that I like to do to get out of a photographic rut is to shoot some of the photographs made during a portrait session in monochrome mode. It doesn’t have to be all of the images in a session; just a few to, you know, see what happens. If you think that’s a bad idea because you worry about changing your mind later and want that original image to be in color, there are options…”
Most cameras have a RAW+JPEG option that lets you capture a monochrome (JPEG) and color (RAW) file at the same time. And almost all dual-slot mirrorless cameras and DSLRs, let you simultaneously save each file type onto a different card. That’s why these days during all of my portrait shoots, I use RAW+JPEG capture.
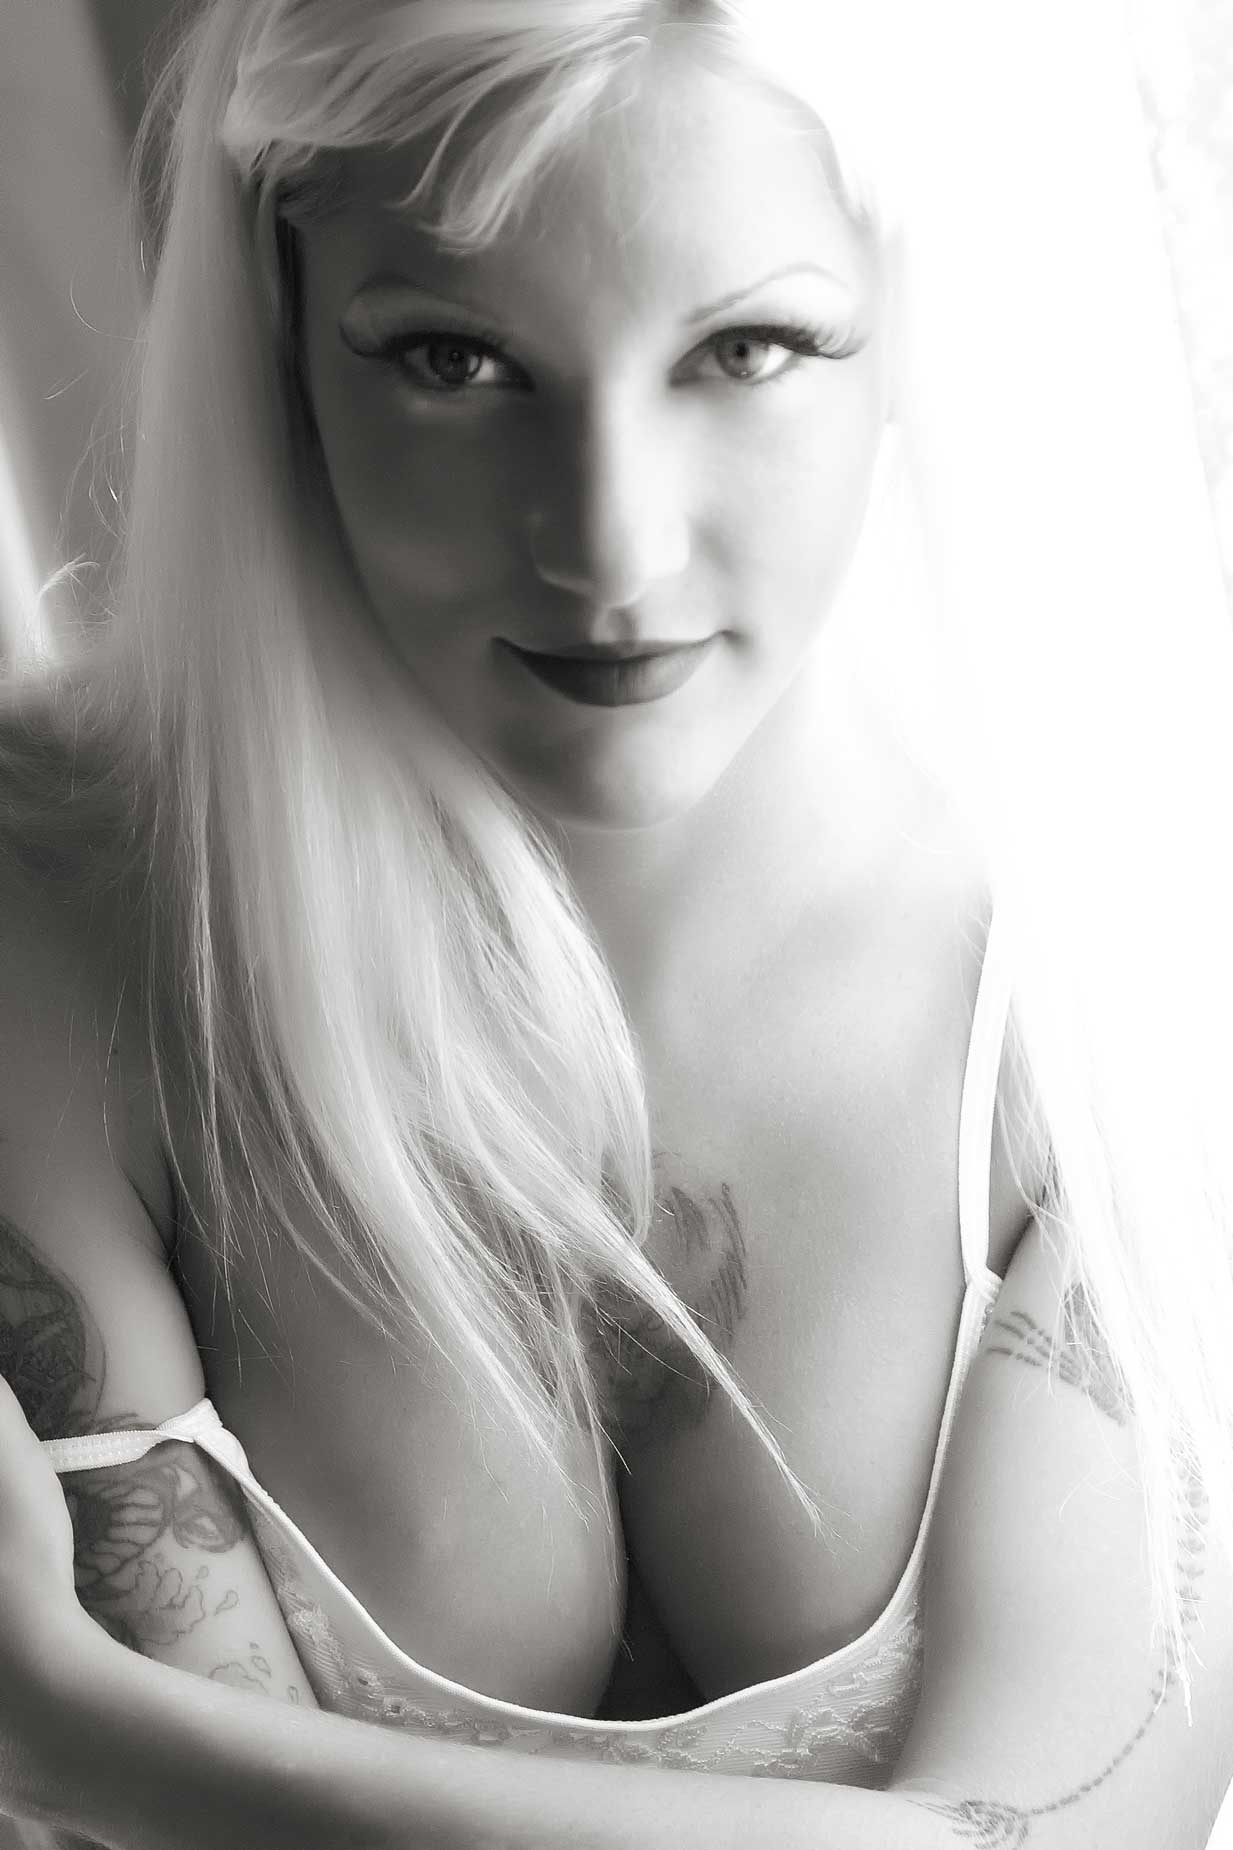
How I made this portrait: Most of the time. I’ll capture an image in color and convert it into monochrome in the digital darkroom later. For instance, that’s how I made the window light portrait of Michelle Monroe at right. The original (color) portrait was captured with a Canon EOS D60 (not 60D) and EF 28-105mm f/3.5-4.5 lens with an available light exposure of 1/200 at f/5.6 and ISO 800. Even though I used some positive exposure compensation for this image, the final exposure still produced some slight underexposure, that was repaired using a technique that I explain here.
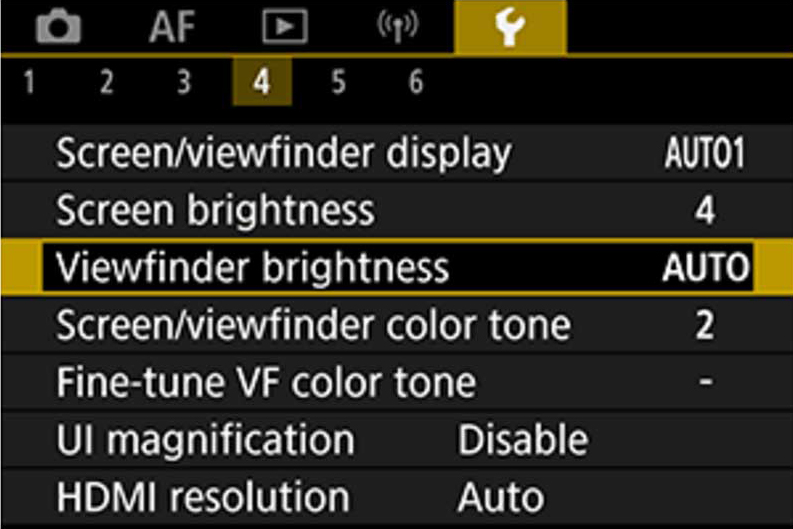
Underexposure was a common problem with some of Canon’s early DSLRs whose preview screens were often optimistic. This error could, of course, be easily corrected by increasing the screen’s brightness (see below) or using a histogram to check exposure, but (let me make a lame excuse) the group model shoot conditions, didn’t necessarily lend themselves to contemplative shooting. But then again, it was made during a time when I was an insane shoot-and-scoot photographer so it’s doubly my fault.
 The biggest advantage of post converting portraits is that all of my favorite retouching tools, such as Imagenomics’ Portraiture, work much better in color because there are more tones for the software to access, making the final retouched image look not only smother but also more natural. Tip: On using Portraiture. Enlarge the image on your screen and lower the retouched layer’s opacity until you see some skin texture showing. That keeps you from creating the kind of “plastic skin” look you see to often in portrait and glamour images on the Web and social media.
For a real behind-the-scenes look at how this portrait session went for me, please read the first installment of Stupid Photographer Tricks. The title alone should be a hint…

If you enjoyed today’s blog post and would like to buy Joe a cup of Earl Grey tea ($2.50), click here. And if you do, thanks so much.
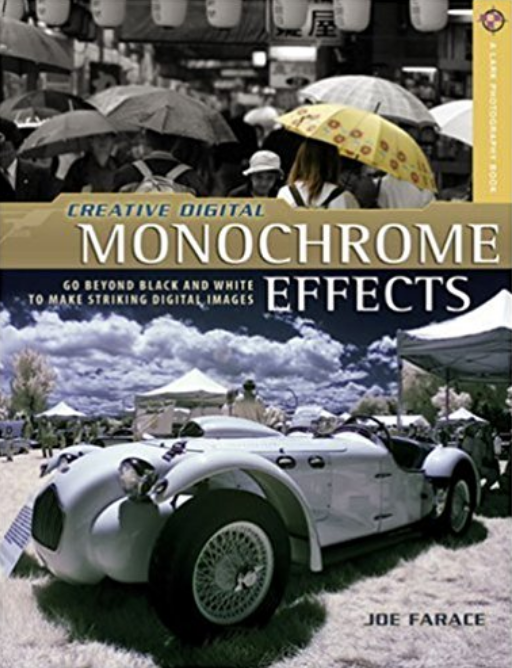
Joe is the author of Creative Digital Monochrome Effects with new copies selling for $4.96 used copies available from Amazon for a little more than four bucks. No Kindle versions available at this time.